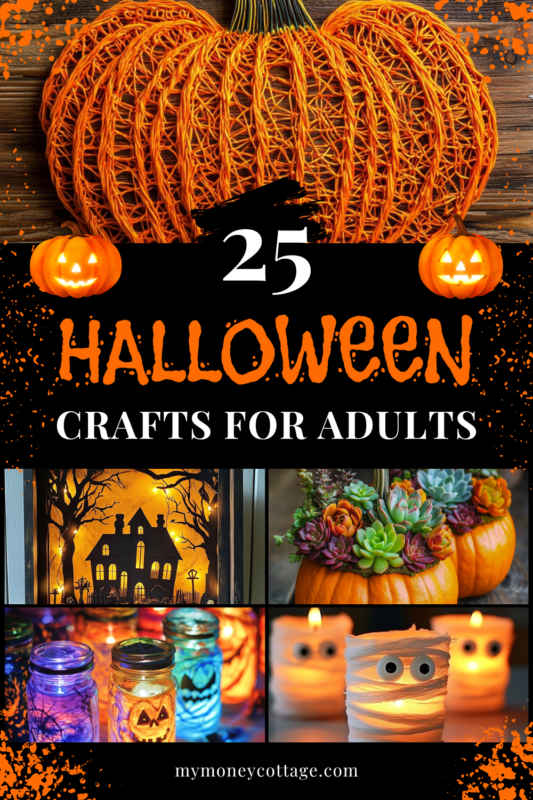
25 Halloween Crafts for Adults
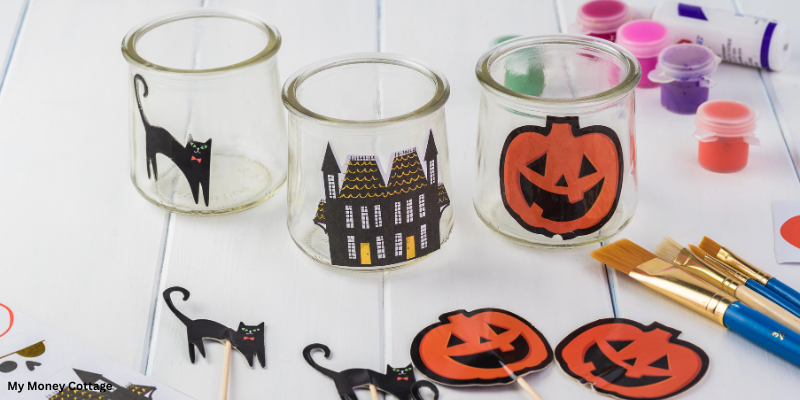
Halloween isn’t just for kids—it’s a time for adults to get in on the fun too! While we may have outgrown trick-or-treating, the thrill of spooky season never fades. Whether you’re hosting a haunted house party, looking to add a personal touch to your Halloween décor, or simply love a good DIY project, crafting is the perfect way to celebrate the season. From elegant and eerie decorations to unique party favors and chic autumnal accents, these 25 Halloween crafts for adults will inspire you to embrace your inner artist.
If you want to try some Halloween crafts with the kids, then I’ve got 20 ideas for you here.
So, grab your glue gun, dust off your paintbrushes, and let’s dive into the world of ghoulishly delightful creations!
25 Halloween Crafts for Adults
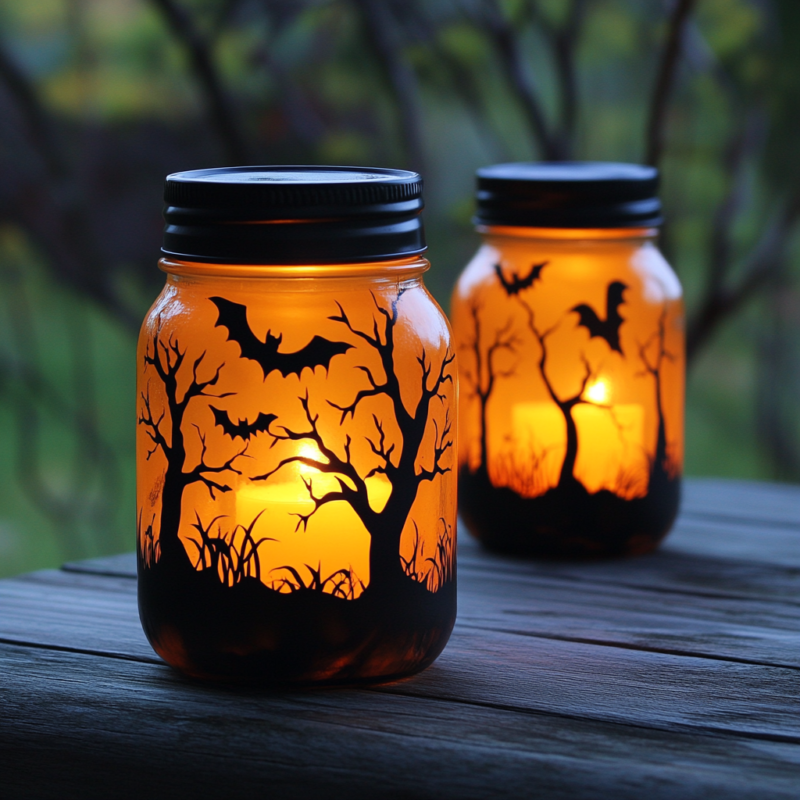
1. Spooky Mason Jar Lanterns
Materials:
- Mason jars
- Black acrylic paint
- Paintbrush
- Tea light candles (battery-operated)
- Halloween-themed stencils (bats, witches, ghosts, etc.)
- Mod Podge
- Sponge brush
Instructions:
- Clean and dry the mason jars thoroughly.
- Place the stencil on the jar and secure it with tape.
- Use a sponge brush to apply black acrylic paint over the stencil. Carefully remove the stencil and let the paint dry completely.
- Apply a coat of Mod Podge over the painted area to seal it.
- Place a tea light candle inside the jar and light it up.
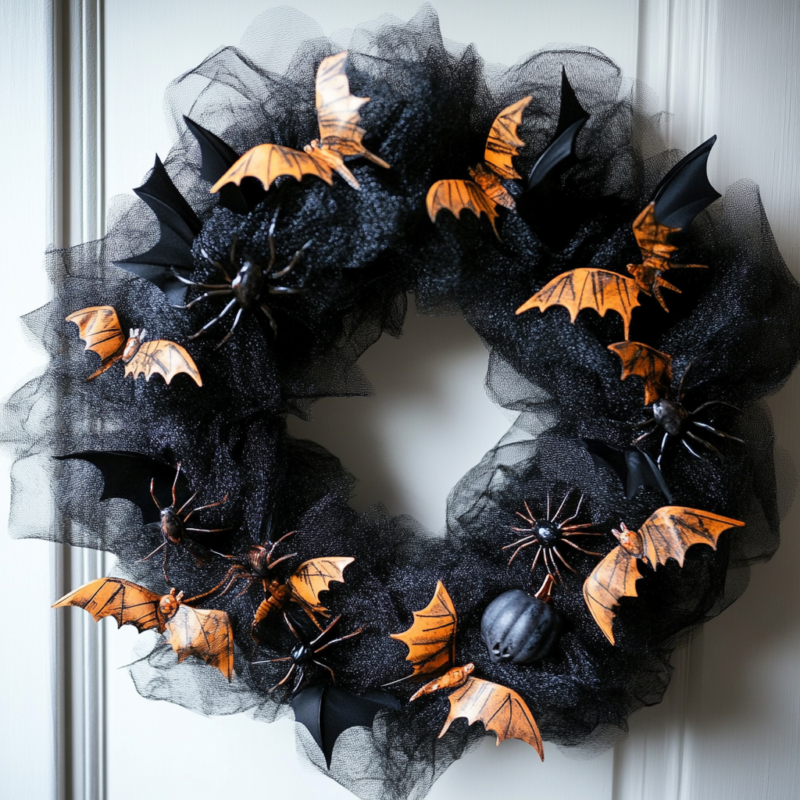
2. Halloween Wreath
Materials:
- Foam wreath form
- Black tulle or mesh ribbon
- Hot glue gun
- Halloween decorations (plastic spiders, bats, skulls, etc.)
- Ribbon for hanging
Instructions:
- Wrap the foam wreath form with black tulle or mesh ribbon, securing it with hot glue as you go.
- Arrange your Halloween decorations around the wreath and attach them with hot glue.
- Create a loop with the ribbon and glue it to the back of the wreath for hanging.
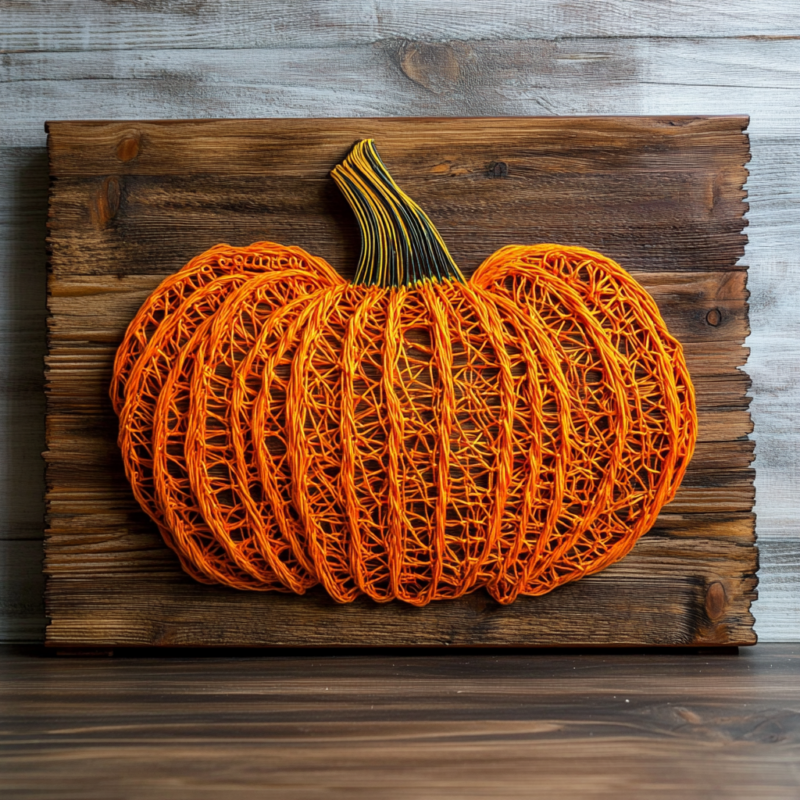
3. Pumpkin String Art
Materials:
- Wooden board
- Orange and green string or yarn
- Small nails
- Hammer
- Pumpkin template
- Pencil
Instructions:
- Print out a pumpkin template and place it on the wooden board.
- Hammer nails along the outline of the pumpkin, spacing them about 1/2 inch apart.
- Remove the paper template.
- Tie the orange string to one nail and start weaving it back and forth across the nails to fill in the pumpkin shape.
- Use green string for the stem, following the same process.
- Tie off the ends and trim any excess string.
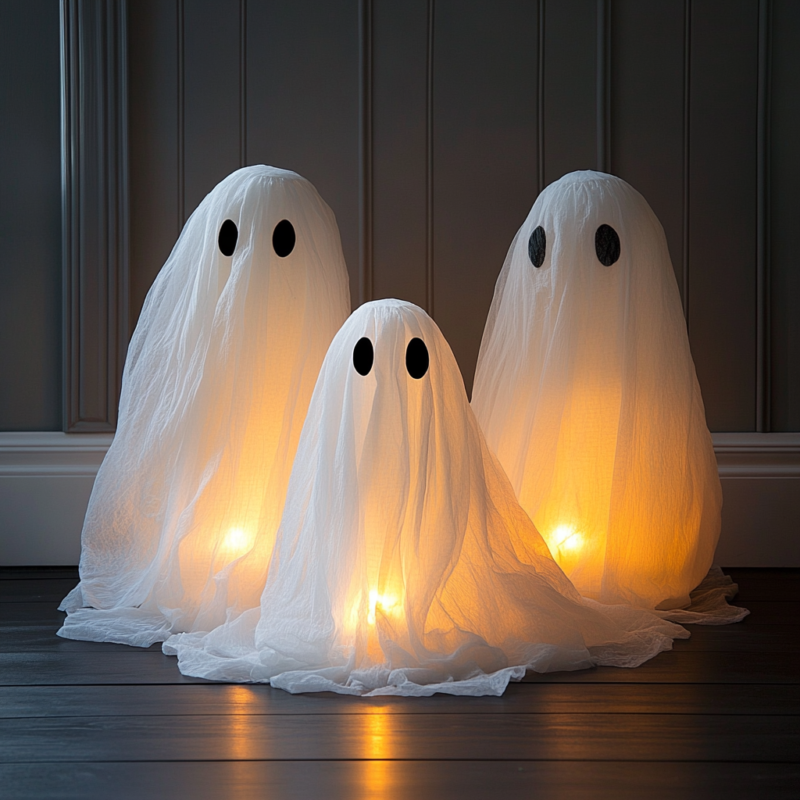
4. Glowing Ghosts
Materials:
- White fabric or cheesecloth
- Balloons
- Fabric stiffener or liquid starch
- Black felt
- Scissors
- Battery-operated LED lights
Instructions:
- Inflate the balloons to your desired ghost size.
- Drape the white fabric or cheesecloth over the balloon.
- Apply fabric stiffener or liquid starch to the fabric and let it dry completely.
- Once dry, pop the balloon and remove it.
- Cut out eyes and a mouth from black felt and attach them to the ghost with glue.
- Place a battery-operated LED light inside the ghost to make it glow.
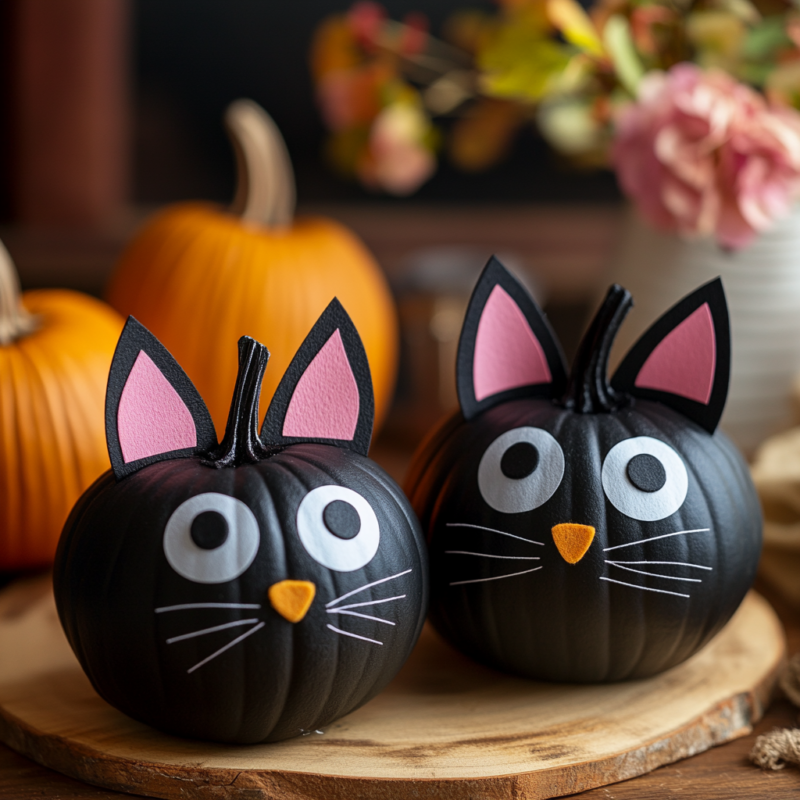
5. Black Cat Pumpkins
Materials:
- Small pumpkins
- Black spray paint
- Black felt
- Hot glue gun
- Scissors
- Googly eyes
Instructions:
- Spray paint the pumpkins black and let them dry completely.
- Cut out ears and a tail from black felt.
- Attach the ears, tail, and googly eyes to the pumpkin using hot glue.
- Optionally, you can add a small pink felt nose or whiskers using black pipe cleaners.
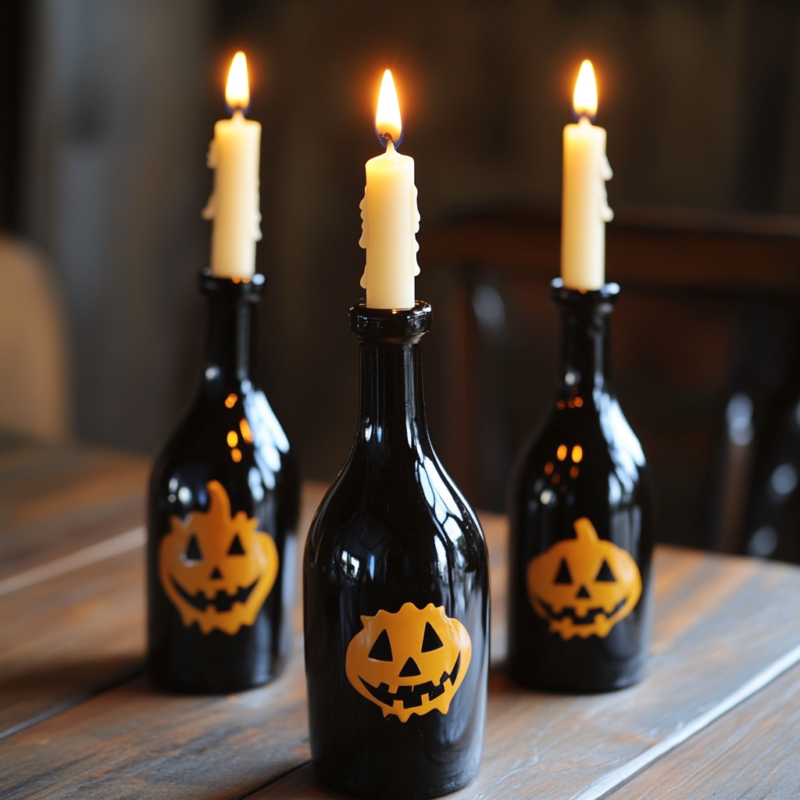
6. Wine Bottle Candlestick Holders
Materials:
- Empty wine bottles
- Black spray paint
- Taper candles
- Halloween-themed decals or stickers
Instructions:
- Clean the wine bottles and remove any labels.
- Spray paint the bottles black and let them dry completely.
- Apply Halloween-themed decals or stickers to the bottles.
- Insert taper candles into the bottle openings. Light the candles for a spooky effect.
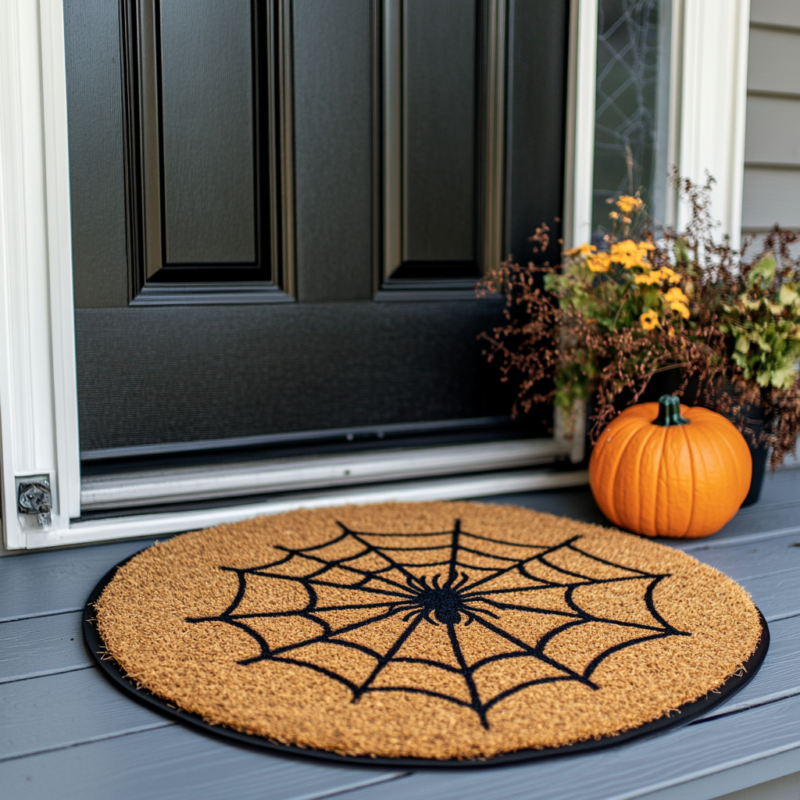
7. Spider Web Doormat
Materials:
- Plain coir doormat
- Black spray paint
- Spider web stencil
- Painter’s tape
Instructions:
- Place the spider web stencil on the coir doormat and secure it with painter’s tape.
- Spray paint over the stencil with black spray paint.
- Carefully remove the stencil and let the paint dry completely.
- Optionally, add plastic spiders for an extra creepy touch.
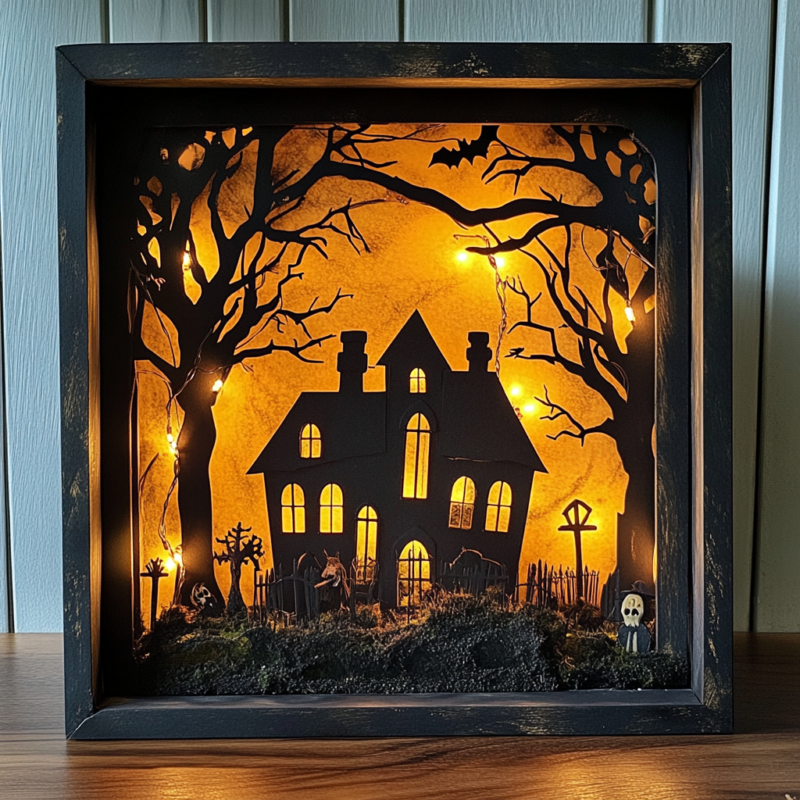
8. Haunted House Shadow Box
Materials:
- Shadow box frame
- Black cardstock
- X-Acto knife
- LED string lights
- Halloween-themed miniatures (trees, gravestones, etc.)
- Hot glue gun
Instructions:
- Cut out a haunted house silhouette from black cardstock using an X-Acto knife.
- Insert the silhouette into the shadow box frame.
- Arrange LED string lights behind the silhouette to illuminate it.
- Decorate the inside of the shadow box with Halloween-themed miniatures and secure them with hot glue.
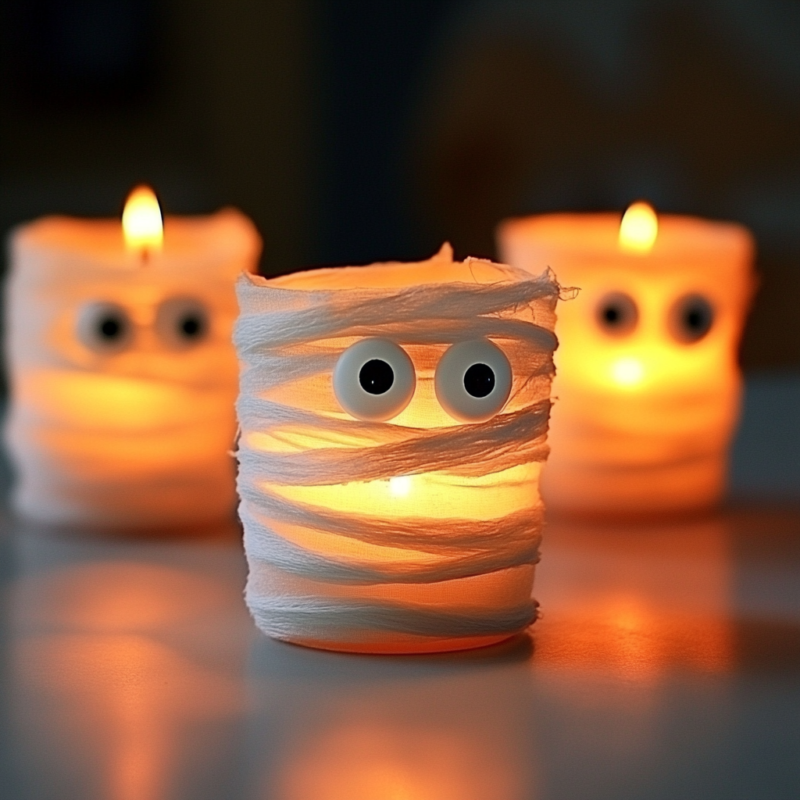
9. Mummified Candle Holders
Materials:
- Glass candle holders or jars
- Gauze or white medical tape
- Googly eyes
- Hot glue gun
- Tea light candles (battery-operated or real)
Instructions:
- Wrap the glass candle holders or jars with gauze or white medical tape, leaving some gaps for a mummified look.
- Glue googly eyes onto the front of the candle holder.
- Place a tea light candle inside to create a glowing mummy effect.
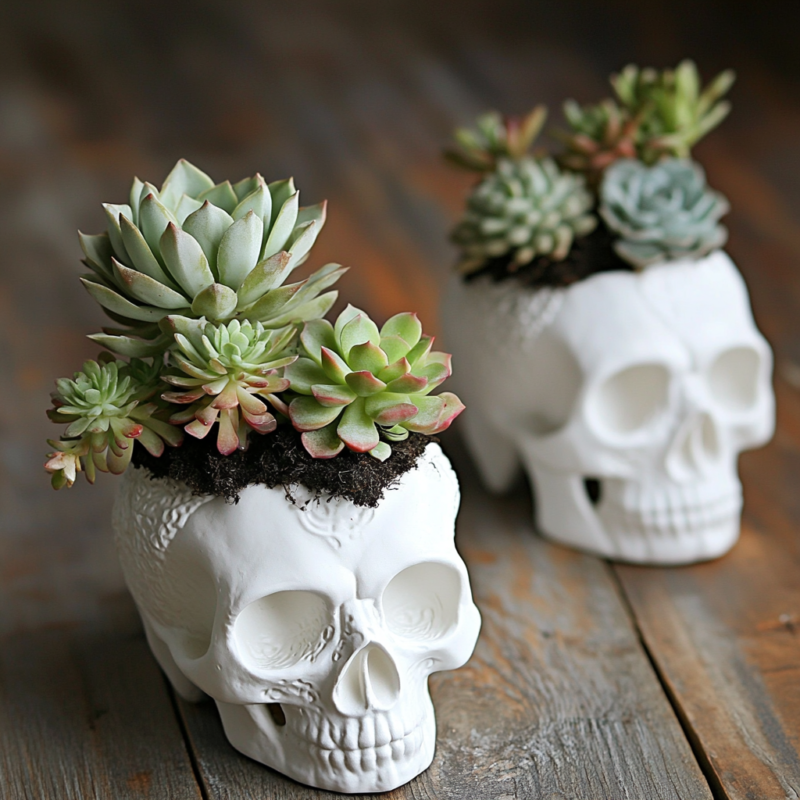
10. Skull Planters
Materials:
- Plastic skulls
- White spray paint (optional)
- Small succulents or air plants
- Potting soil
Instructions:
- If desired, spray paint the plastic skulls white and let them dry completely.
- Cut an opening at the top of the skull large enough to fit your plant.
- Fill the skull with potting soil and plant your succulent or air plant.
- Arrange the skull planters as a spooky centerpiece or decoration.
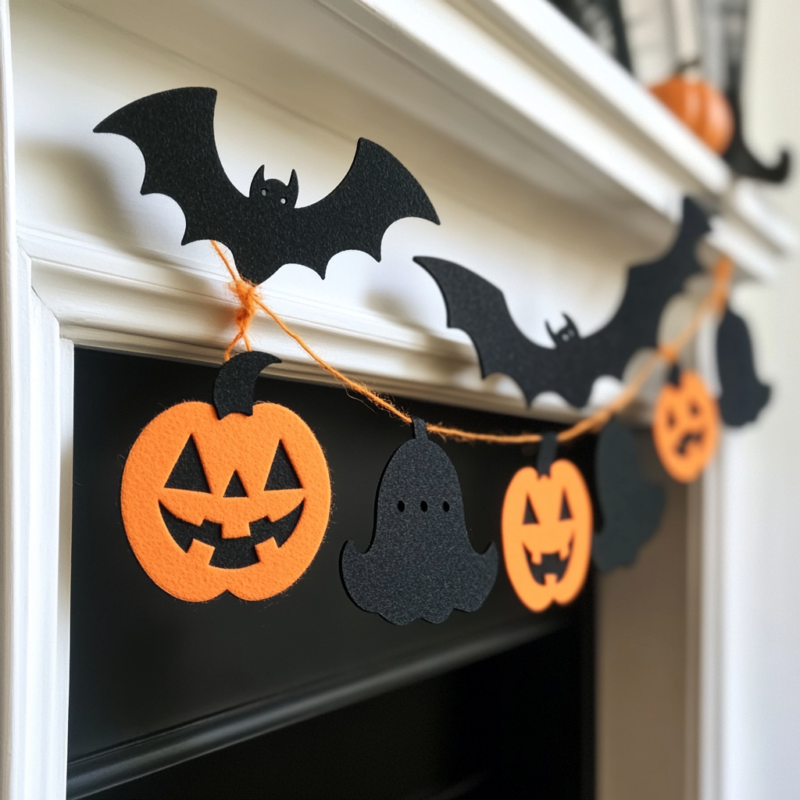
11. Halloween Garland
Materials:
- Black and orange felt
- Scissors
- Needle and thread or hot glue gun
- String or twine
Instructions:
- Cut out Halloween shapes (bats, pumpkins, ghosts, etc.) from black and orange felt.
- Use a needle and thread or hot glue gun to attach the shapes to a length of string or twine.
- Hang the garland across a mantel, doorway, or window for a festive touch.
12. Floating Witch Hat Luminaries

Materials:
- Black witch hats
- Fishing line
- Battery-operated LED lights
- Ceiling hooks
Instructions:
- Attach a length of fishing line to the top of each witch hat.
- Secure battery-operated LED lights inside the hats.
- Use ceiling hooks to hang the witch hats from the ceiling, giving the illusion that they are floating.
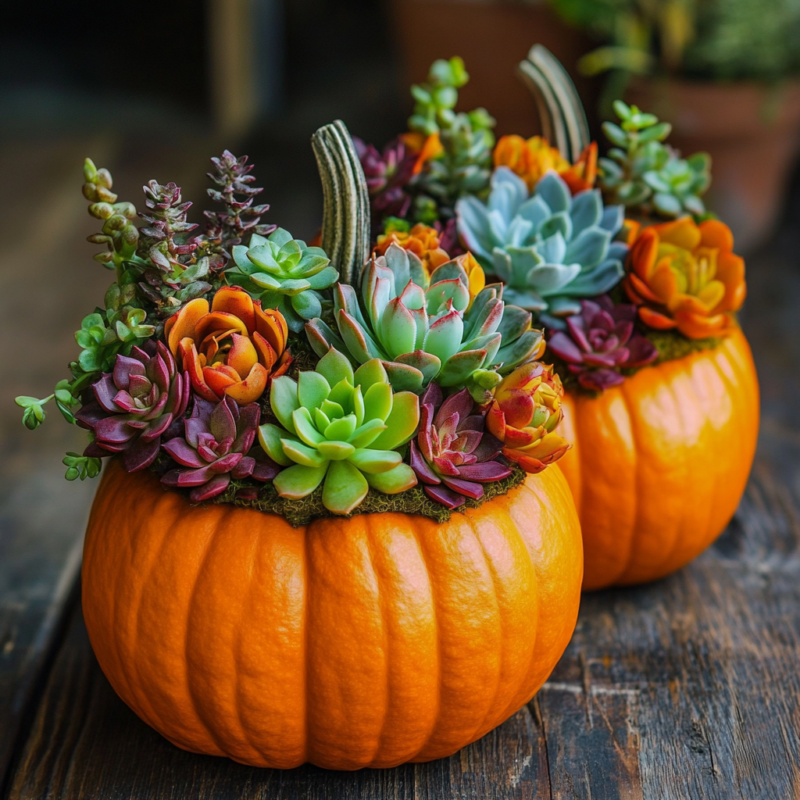
13. Pumpkin Succulent Centerpiece
Materials:
- Small pumpkins
- Succulents
- Floral foam
- Hot glue gun
Instructions:
- Cut the top off the small pumpkins and remove the seeds.
- Insert floral foam into the pumpkin cavity.
- Arrange succulents on top of the floral foam and secure them with hot glue if necessary.
- Use the pumpkin succulent centerpiece to decorate your table or mantel.
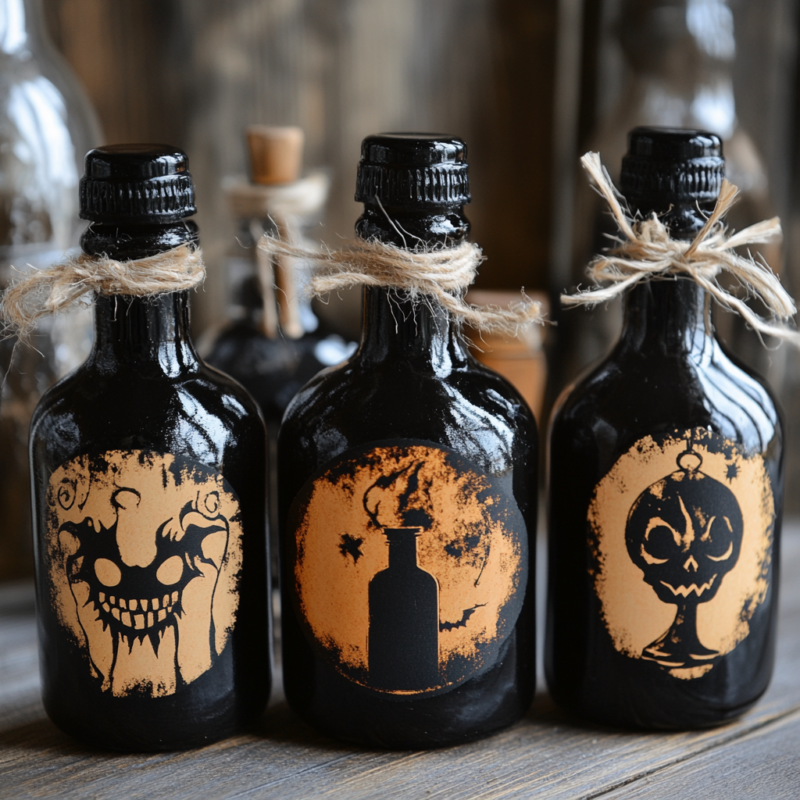
14. Halloween Potion Bottles
Materials:
- Empty glass bottles
- Black spray paint
- Halloween labels or printables
- Mod Podge or glue
- Twine or ribbon
Instructions:
- Clean the glass bottles and remove any labels.
- Spray paint the bottles black and let them dry completely.
- Print out Halloween potion labels and attach them to the bottles using Mod Podge or glue.
- Tie twine or ribbon around the neck of the bottles for added decoration.
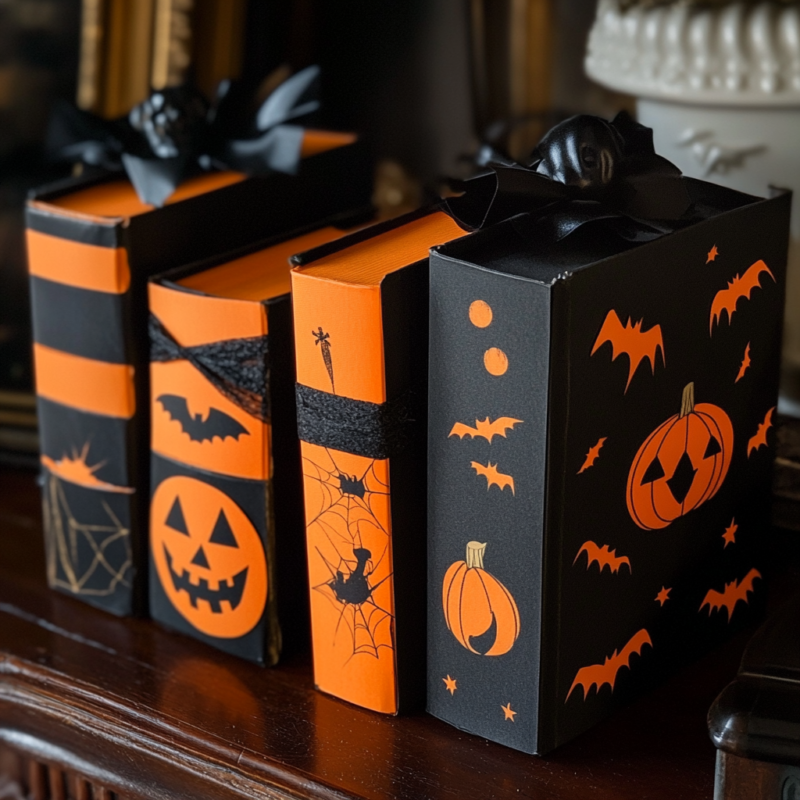
15. Halloween Book Covers
Materials:
- Old books
- Black and orange construction paper
- Glue stick
- Scissors
- Halloween-themed stickers or printables
- Ribbon (optional)
Instructions:
- Cut the construction paper to fit the covers of the old books.
- Glue the construction paper onto the book covers.
- Decorate the covers with Halloween-themed stickers or printables.
- Optionally, tie a ribbon around the books for added decoration.
- Stack the books on a table or shelf for a spooky literary display.
16. Creepy Candle Drips

Materials:
- Tall white candles
- Red candle or red wax crayon
- Lighter or matches
Instructions:
- Light the red candle or melt the red wax crayon.
- Carefully drip the red wax over the tops of the white candles to create a “blood” drip effect.
- Let the wax cool and harden.
- Arrange the creepy candles on a candelabra or in candle holders for a chilling centerpiece.
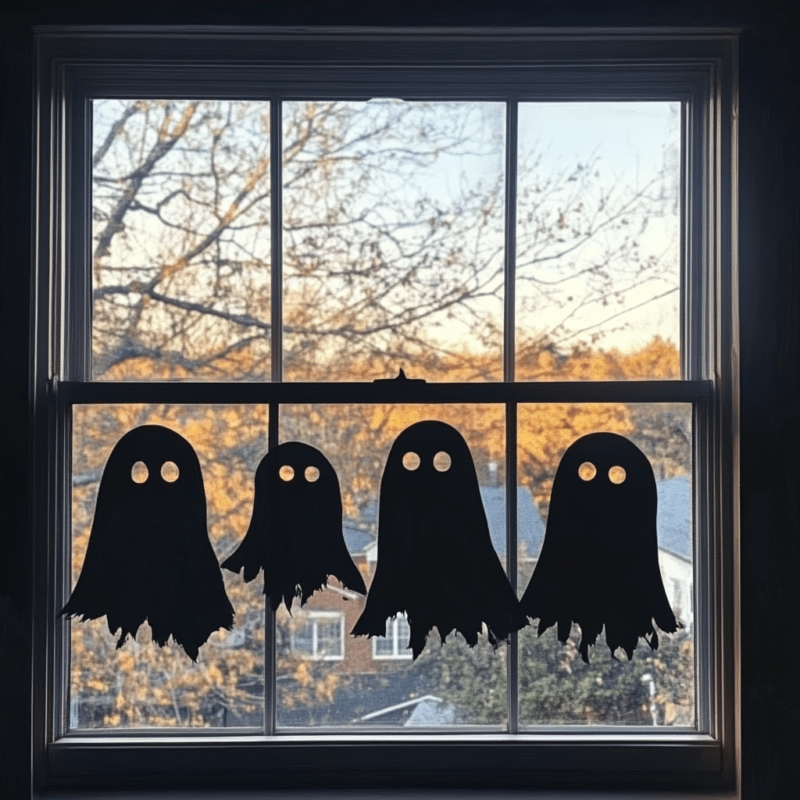
17. Ghostly Window Silhouettes
Materials:
- Black construction paper
- White chalk or pencil
- Scissors
- Double-sided tape
Instructions:
- Draw ghost shapes on the black construction paper using white chalk or a pencil.
- Cut out the ghost shapes.
- Use double-sided tape to attach the ghost silhouettes to your windows.
- When backlit by indoor lights, the silhouettes will create a spooky effect visible from outside.
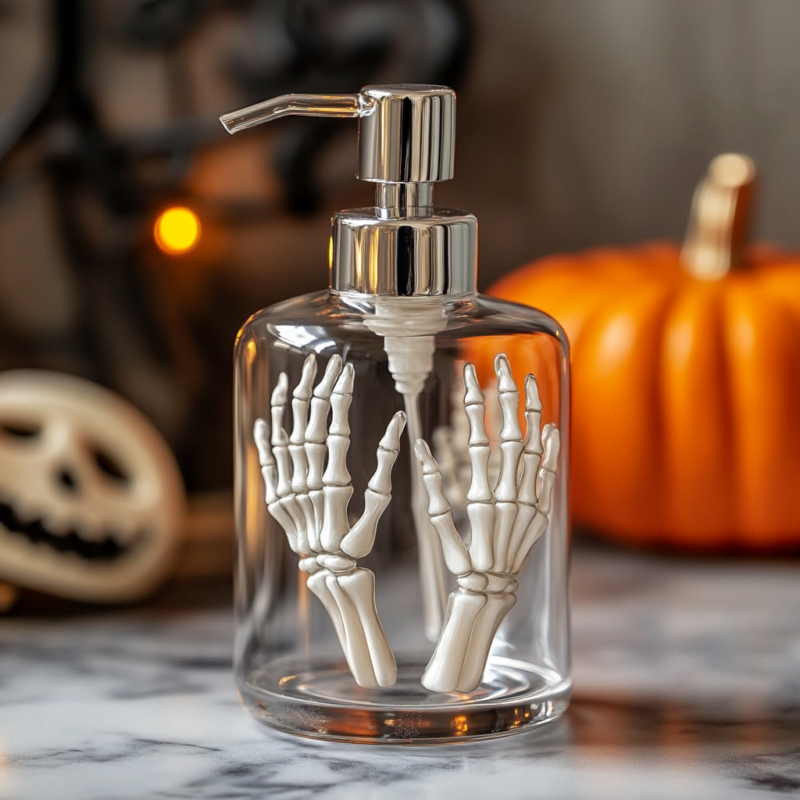
18. Skeleton Hand Soap Dispenser
Materials:
- Clear soap dispenser
- Small plastic skeleton hands
- Liquid hand soap (preferably in a spooky color like green or orange)
Instructions:
- Remove the pump from the clear soap dispenser.
- Insert the small plastic skeleton hands into the dispenser.
- Fill the dispenser with liquid hand soap.
- Replace the pump and use the spooky soap dispenser in your bathroom or kitchen.
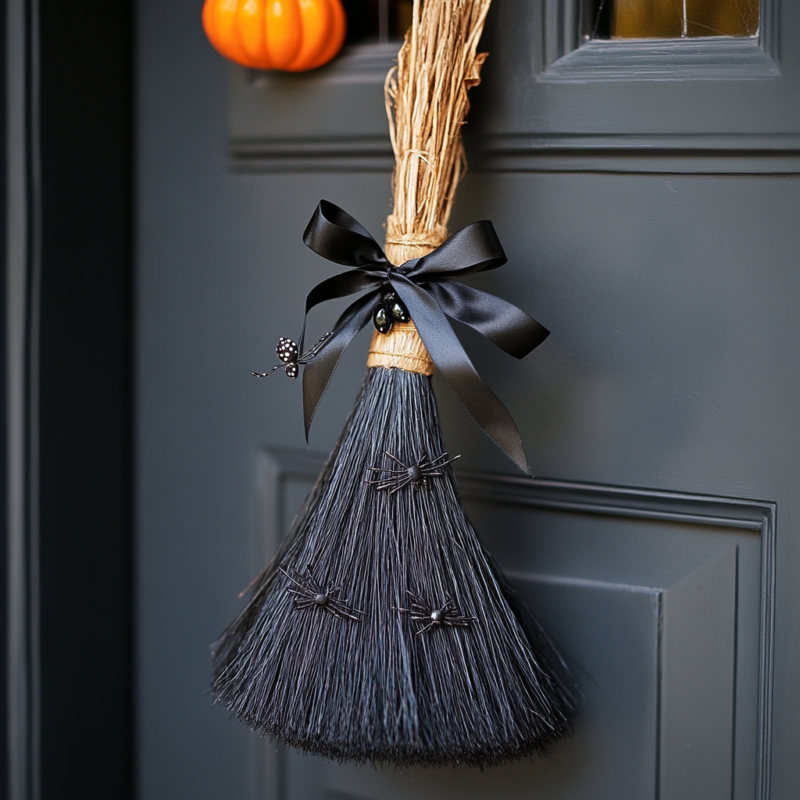
19. Witch’s Broomstick Door Hanger
Materials:
- Small broom or bundle of twigs
- Black ribbon
- Halloween-themed ornaments (small pumpkins, spiders, etc.)
- Hot glue gun
Instructions:
- Tie a black ribbon around the handle of the broom, creating a loop for hanging.
- Use hot glue to attach Halloween-themed ornaments to the broom.
- Hang the broomstick on your front door or wall as a witchy welcome.
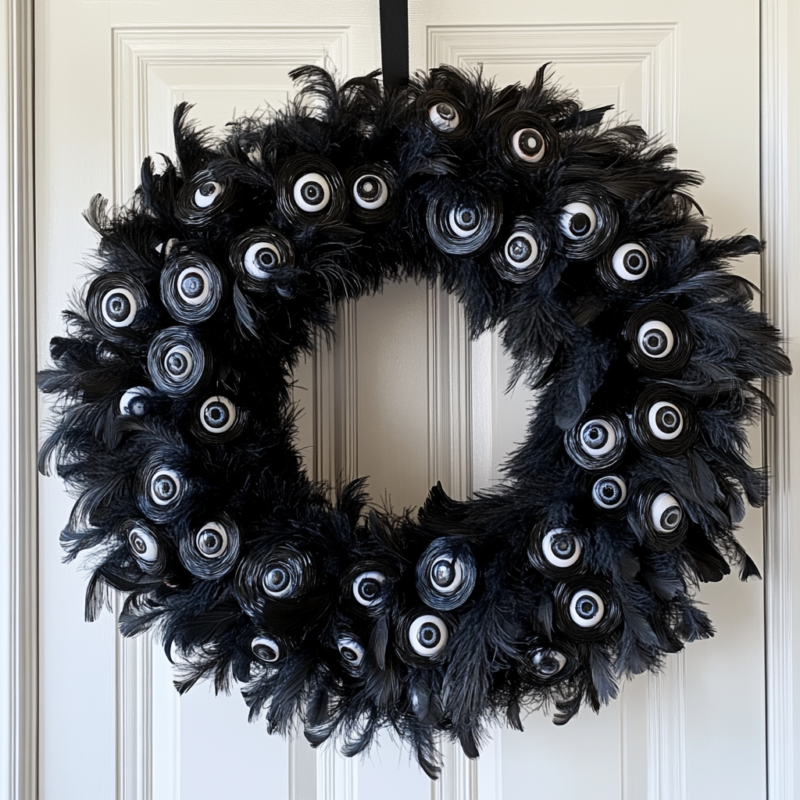
20. Eyeball Wreath
Materials:
- Foam wreath form
- Black feather boa
- Hot glue gun
- Plastic eyeballs
- Ribbon for hanging
Instructions:
- Wrap the foam wreath form with the black feather boa, securing it with hot glue as you go.
- Glue plastic eyeballs around the wreath, evenly spacing them out.
- Create a loop with the ribbon and glue it to the back of the wreath for hanging.
- Hang the eyeball wreath on your door or wall for a creepy decoration.
21. Pumpkin Terrarium
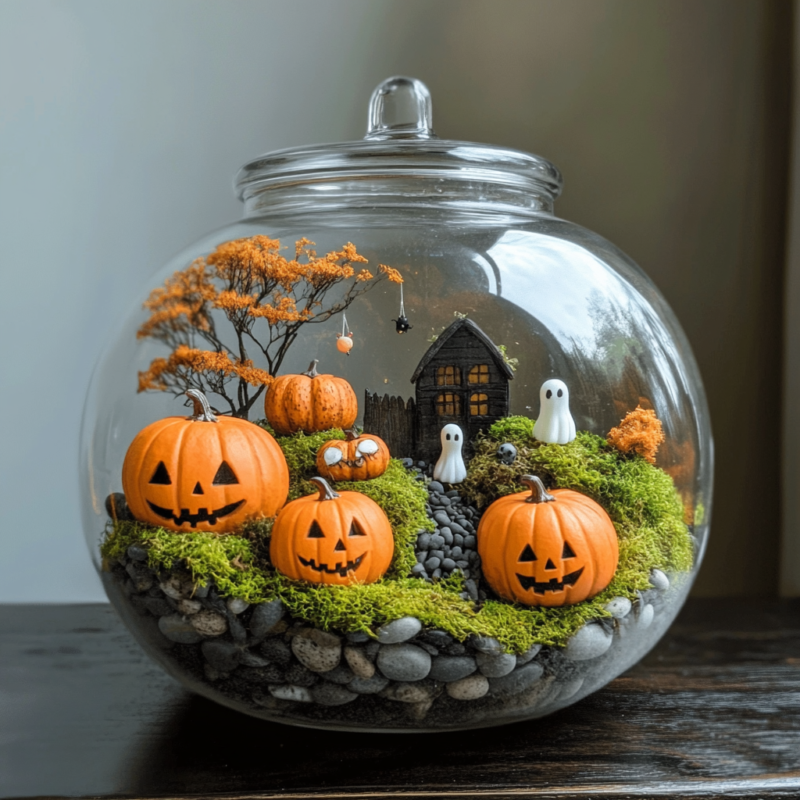
Materials:
- Clear glass pumpkin jar of glass bowl
- Small Halloween figurines (mini pumpkins, ghosts, etc.)
- Moss or faux grass
- Small rocks or pebbles
Instructions:
- Place a layer of small rocks or pebbles at the bottom of the glass pumpkin jar.
- Add a layer of moss or faux grass on top of the rocks.
- Arrange the small Halloween figurines inside the jar.
- Close the jar with the glass lid if you have one and display your pumpkin terrarium as a festive centerpiece.
22. Bat Branch Centerpiece
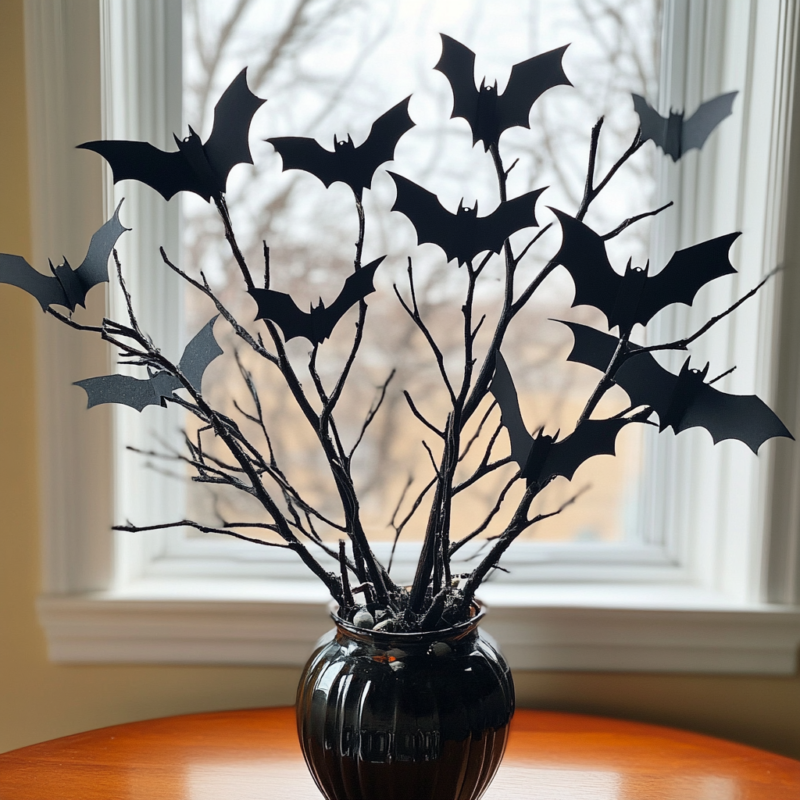
Materials:
- Bare branches
- Black construction paper
- Scissors
- Hot glue gun
- Vase or container
- Small rocks or pebbles
Instructions:
- Cut out bat shapes from the black construction paper.
- Use hot glue to attach the bats to the branches.
- Place the branches in a vase or container and fill it with small rocks or pebbles to hold the branches in place.
- Display the bat branch centerpiece on your table or mantel.
23. Potion Jar Luminaries
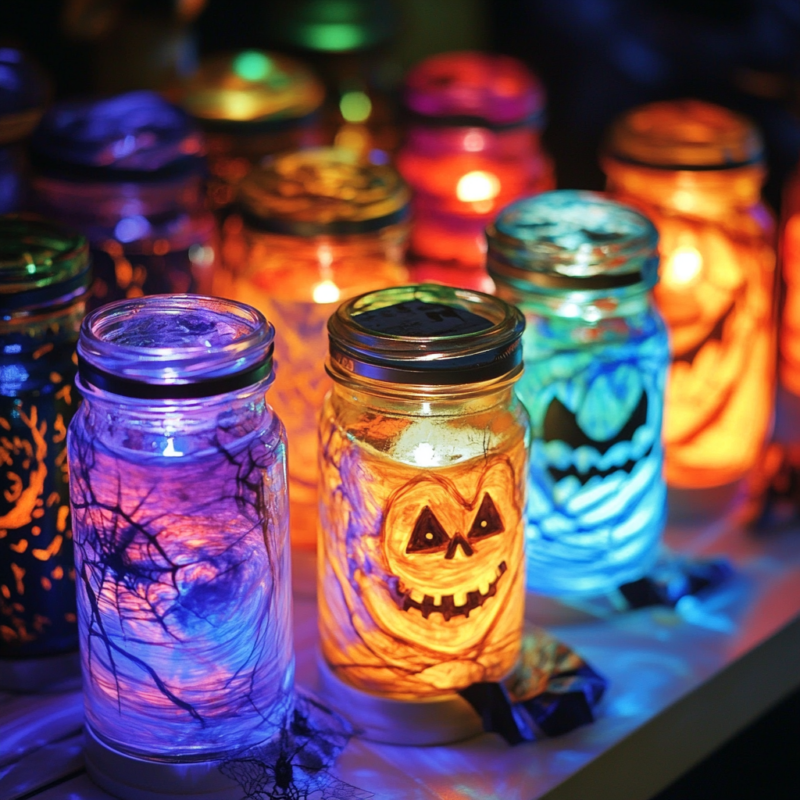
Materials:
- Small glass jars
- Food coloring
- Water
- Battery-operated tea lights (waterproof)
- Halloween-themed labels or printables
- Mod Podge or glue
Instructions:
- Fill the glass jars with water and add a few drops of food coloring to create a potion-like appearance.
- Place a battery-operated tea light inside each jar.
- Print out Halloween-themed labels and attach them to the jars using Mod Podge or glue.
- Arrange the potion jar luminaries on a table or shelf for a magical glow.
24. Spiderweb Table Runner
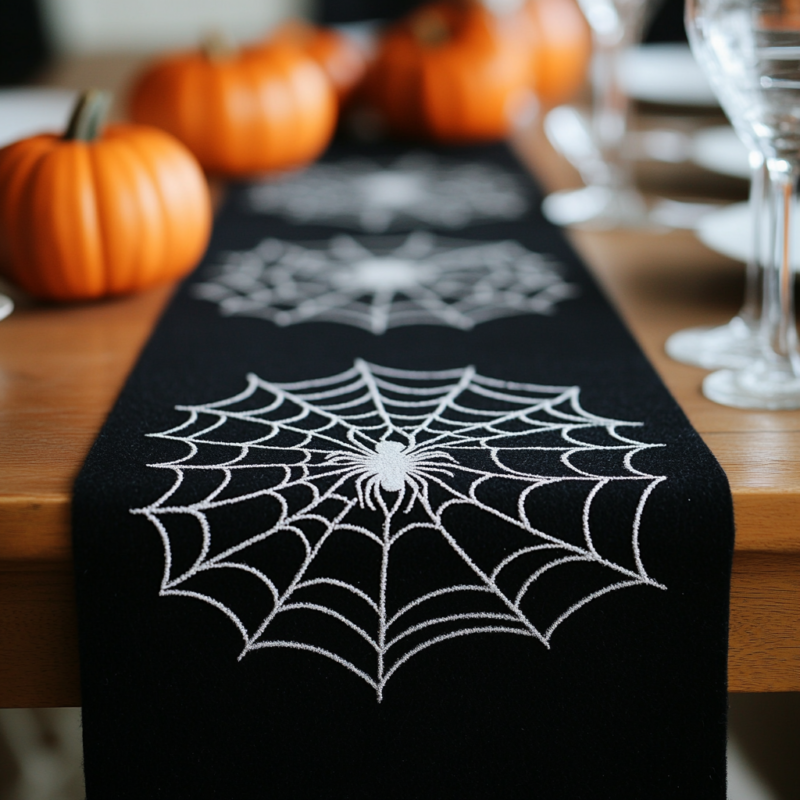
Materials:
- Black felt
- White fabric paint
- Scissors
- Spiderweb stencil
Instructions:
- Cut the black felt to the desired length and width for your table runner.
- Place the spiderweb stencil on the felt and use white fabric paint to create spiderweb designs.
- Let the paint dry completely.
- Place the spiderweb table runner on your dining table for a spooky touch.
25. Floating Candle Display
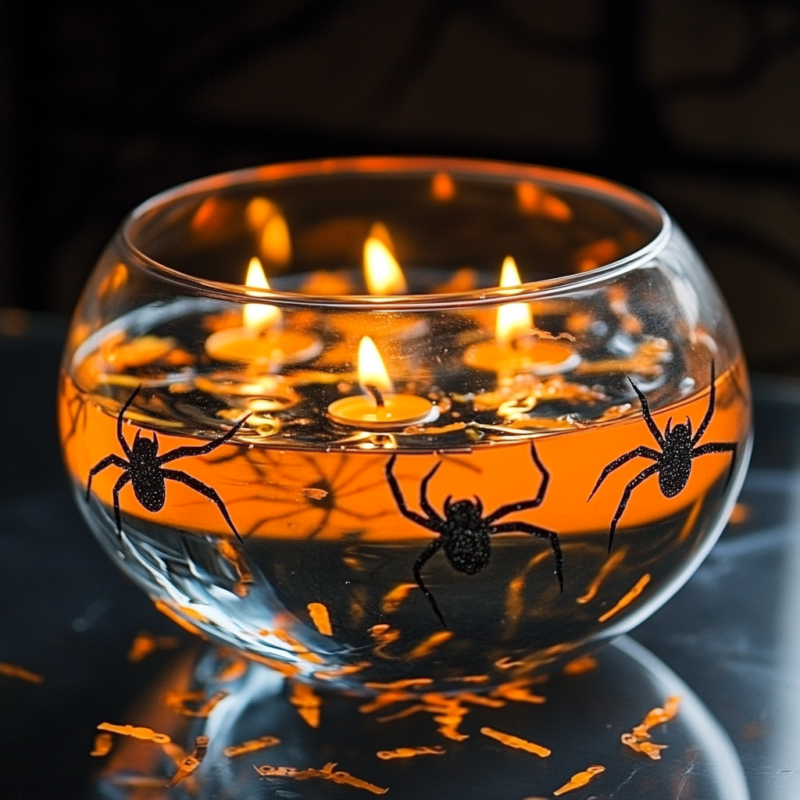
Materials:
- Clear glass bowl or vase
- Water
- Floating candles
- Small plastic spiders or Halloween confetti
Instructions:
- Fill the clear glass bowl or vase with water.
- Place the floating candles on the surface of the water.
- Add small plastic spiders or Halloween confetti to the water for extra decoration.
- Light the candles and display the floating candle arrangement as a centerpiece.
Halloween doesn’t have to be all about the kids. Sometimes, it’s nice, as an adult, to join in with the fun and get creative. These 25 Halloween crafts for adults are simple enough for beginners but they all create stunning Halloween decorations.

These are such cute Halloween decor ideas! Not too spooky haha. My kids have been begging me to get the Halloween decorations out but I have been trying to hold off until after we have our carpets cleaned this week. Maybe we can start with some of these once that is done. Thanks again for sharing!