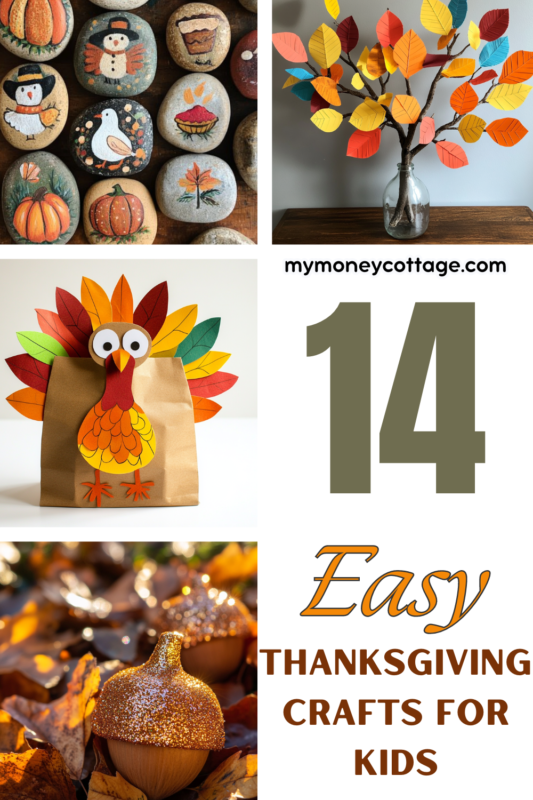
14 Easy Thanksgiving Crafts For Kids
Thanksgiving is a time for family, gratitude, and creating lasting memories. As the holiday approaches, it’s the perfect opportunity to engage your children in festive activities that not only entertain but also bring a personal touch to your holiday celebrations. Thanksgiving crafts for kids are a wonderful way to foster creativity and teach them about the importance of the holiday.
In this blog post, I’ve put together 14 easy Thanksgiving craft ideas that are perfect for kids of all ages. Whether you’re looking for simple projects that toddlers can enjoy or more intricate crafts for older children, you’ll find plenty of inspiration here. Gather your supplies, set up a crafting station, and let the holiday fun begin! These activities are not only a great way to keep little hands busy, but they also provide a wonderful opportunity for family bonding and creating festive decor that everyone can enjoy.
14 Thanksgiving Crafts For Kids
1. Pinecone Turkey

Turn a simple pinecone into a festive turkey with this easy craft.
Materials:
- Pinecones
- Colored craft feathers
- Brown, red, and yellow construction paper
- Googly eyes
- Glue
- Scissors
Instructions:
- Glue the colored feathers to the back of the pinecone to form the turkey’s tail.
- Cut out a small brown circle for the turkey’s head and glue it to the front of the pinecone.
- Add googly eyes to the head.
- Cut out a small yellow triangle for the beak and a red wattle shape, then glue them onto the head.
2. Corn Husk Dolls
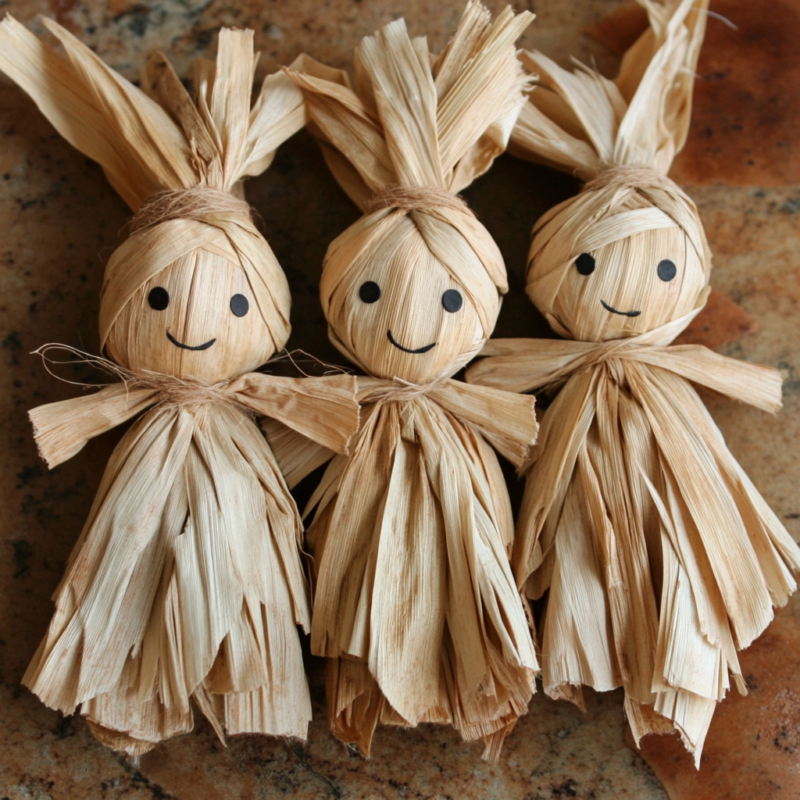
This traditional craft is a fun way to teach kids about historical Thanksgiving traditions.
Materials:
- Dried corn husks
- Twine or string
- Scissors
- A bowl of water
Instructions:
- Soak the corn husks in water to make them pliable.
- Take several husks and tie them together at the top with twine to form the head.
- Fold the husks down over the tied end to form the body.
- Use more twine to tie off sections for the arms and torso.
- Trim the ends to create the legs and hands.
3. Thankful Tree
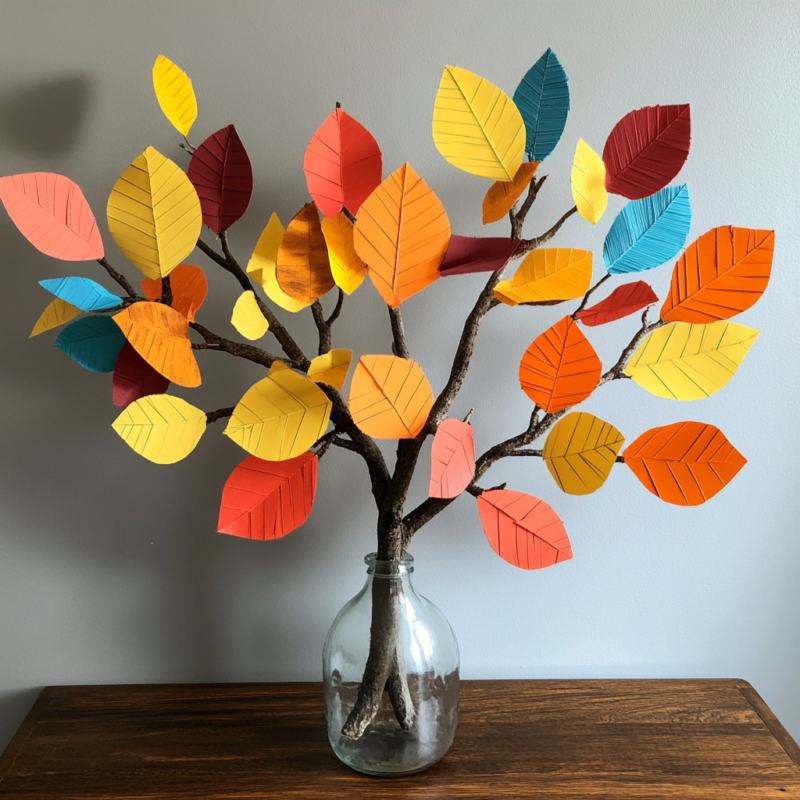
A Thankful Tree is a great way for kids to express gratitude and share what they are thankful for.
Materials:
- Construction paper (various fall colors)
- Scissors
- Glue
- Markers
- A small branch or stick
- A vase or jar
Instructions:
- Cut out leaf shapes from the construction paper.
- Have the kids write something they are thankful for on each leaf.
- Attach the leaves to the branch using glue or tape.
- Place the branch in a vase or jar to display your Thankful Tree.
4. Pumpkin Seed Mosaic Art

This craft uses pumpkin seeds to create beautiful mosaic art, perfect for fall decorations.
Materials:
- Pumpkin seeds (cleaned and dried)
- Food coloring (optional)
- Construction paper or cardstock
- Glue
- Pencils
Instructions:
- If desired, dye the pumpkin seeds using food coloring and let them dry completely.
- Draw a simple design or outline on the construction paper (like a turkey, pumpkin, or leaf).
- Apply glue within the design outline and place the pumpkin seeds to fill in the shapes.
- Let the mosaic dry completely before displaying.
5. Feather Headbands

Kids can create and wear their own feather headbands, adding a fun and festive touch to Thanksgiving celebrations.
Materials:
- Construction paper (various colors)
- Scissors
- Glue or tape
- Markers or crayons
- Craft feathers
Instructions:
- Cut a long strip of construction paper to fit around the child’s head and secure the ends with glue or tape.
- Decorate the strip with markers or crayons.
- Glue or tape craft feathers to the inside of the headband so they stand up when worn.
- Let the headband dry before wearing.
6. Leaf Stamping Art

Create beautiful fall-themed art using real leaves as stamps.
Materials:
- Leaves (various shapes and sizes)
- Washable paint
- Paintbrushes
- Paper
Instructions:
- Collect leaves of different shapes and sizes.
- Paint one side of each leaf with washable paint using a paintbrush.
- Press the painted side of the leaf onto the paper to create a stamp.
- Repeat with different leaves and colors to create a fall-themed artwork.
7. Gratitude Rocks

Encourage kids to express their gratitude by creating and decorating gratitude rocks.
Materials:
- Smooth rocks or stones
- Acrylic paint or markers
- Paintbrushes
- Mod Podge (optional)
Instructions:
- Clean the rocks and let them dry completely.
- Paint or decorate the rocks with words or images that represent things the kids are thankful for.
- Allow the paint to dry, and if desired, seal the rocks with a coat of Mod Podge for a glossy finish.
- Display the gratitude rocks around the house or garden.
8. Paper Bag Turkey Puppets

These fun and easy paper bag puppets are great for imaginative play and Thanksgiving storytelling.
Materials:
- Brown paper bags
- Construction paper (various colors)
- Scissors
- Glue
- Googly eyes
- Markers or crayons
Instructions:
- Cut out shapes from the construction paper for the turkey’s feathers, beak, and wattle.
- Glue the feathers to the back of the paper bag, so they stick out when the bag is folded.
- Glue the beak and wattle to the front of the bag, along with googly eyes.
- Use markers or crayons to add any additional details.
- Let the puppet dry before using it for play.
9. Acorn Cap Jewels

Create sparkly acorn cap jewels that can be used as decorations or gifts.
Materials:
- Acorn caps
- Glue
- Glitter or small craft gems
- String or ribbon (optional)
Instructions:
- Clean the acorn caps and let them dry completely.
- Cover each acorn cap with glue.
- Sprinkle glitter or place small craft gems onto the glue.
- Allow the glue to dry completely.
- If desired, attach a string or ribbon to the acorn caps to create hanging decorations.
10. Felt Leaf Garland

This felt leaf garland adds a cozy and festive touch to any room.
Materials:
- Felt sheets (various fall colors)
- Scissors
- Needle and thread or hot glue gun
- String or twine
Instructions:
- Cut out leaf shapes from the felt sheets.
- Use a needle and thread to string the leaves together, or use a hot glue gun to attach the leaves to a piece of string or twine.
- Hang the garland in a desired location to add a festive touch to your space.
11. Cinnamon Stick Candle Holders

Create fragrant and festive candle holders using cinnamon sticks.
Materials:
- Cinnamon sticks
- Small glass votive candle holders
- Hot glue gun
- Ribbon or twine
- Tea light candles
Instructions:
- Use the hot glue gun to attach cinnamon sticks vertically around the outside of the glass votive holder.
- Wrap a ribbon or piece of twine around the cinnamon sticks and tie it into a bow for added decoration.
- Place a tea light candle inside the holder.
- Light the candle and enjoy the warm, spicy aroma.
12. Thanksgiving Story Stones
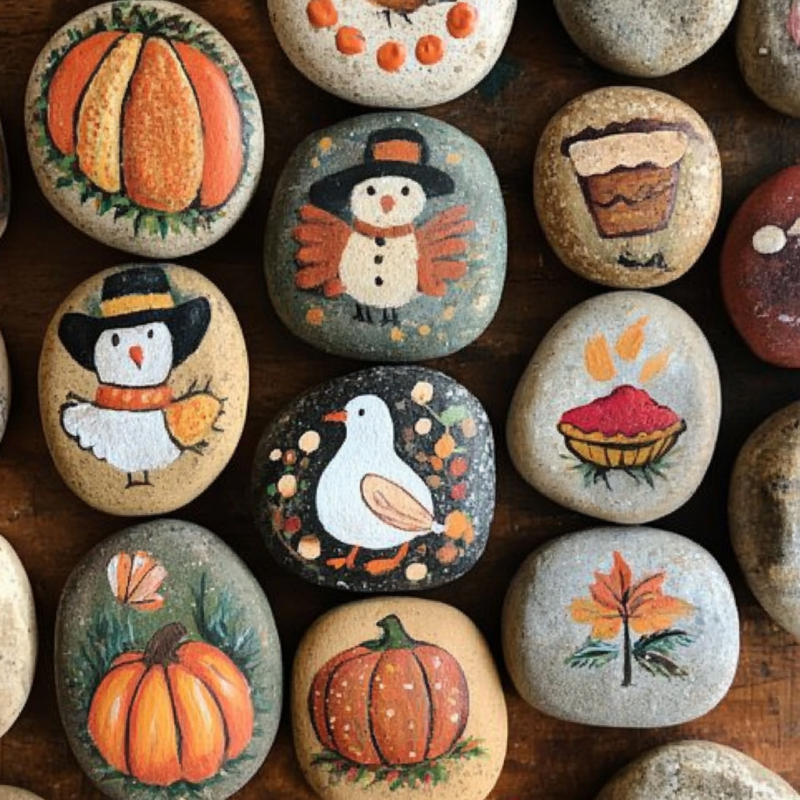
Encourage storytelling and creativity with these custom-painted story stones.
Materials:
- Smooth stones or pebbles
- Acrylic paint or markers
- Paintbrushes
- Mod Podge (optional)
Instructions:
- Clean the stones and let them dry completely.
- Paint each stone with a different Thanksgiving-related image (e.g., turkey, pumpkin, pie, pilgrim hat).
- Allow the paint to dry, and if desired, seal the stones with a coat of Mod Podge.
- Use the stones to create and tell Thanksgiving stories.
13. Paper Pumpkin Patch

Kids can create their own mini pumpkin patch using paper and a little bit of imagination.
Materials:
- Orange, green, and brown construction paper
- Scissors
- Glue
- Markers or crayons
Instructions:
- Cut out pumpkin shapes from the orange construction paper.
- Cut out leaves and vines from the green construction paper.
- Cut out small rectangles from the brown construction paper to use as pumpkin stems.
- Glue the stems, leaves, and vines to the pumpkins.
- Use markers or crayons to add details to the pumpkins.
- Arrange the pumpkins to create a mini pumpkin patch.
14. Tissue Paper Fall Trees

Create vibrant fall trees using tissue paper and construction paper.
Materials:
- Brown construction paper
- Tissue paper (various fall colors)
- Scissors
- Glue
Instructions:
- Cut out a tree trunk and branches from the brown construction paper.
- Tear or cut the tissue paper into small squares.
- Crumple the tissue paper squares and glue them onto the branches to create leaves.
- Let the tree dry before displaying.
Remember, the true joy of these activities lies in the process rather than the perfection of the final product. Encourage your children to express their creativity freely and celebrate their unique contributions. As you clean up and put away the crafting supplies, reflect on the valuable lessons and skills your kids have gained, from fine motor skills to the joy of creating something with their own hands. Most importantly, cherish the laughter, conversations, and bonding moments that crafting together has brought into your home. Happy Thanksgiving!