Mini Halloween Candy Corn Cheesecakes for Your Spooky Spread
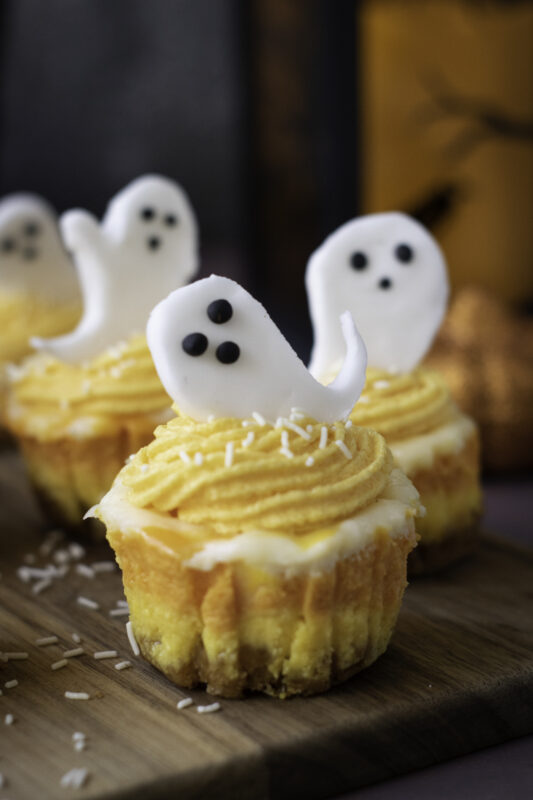
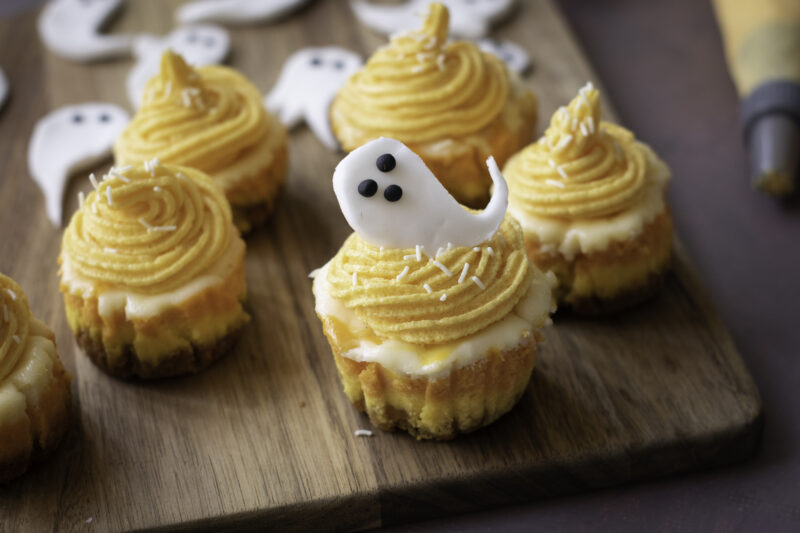
Halloween is the perfect excuse to get creative with desserts, and these Mini Halloween Candy Corn Cheesecakes are just what your spooky spread needs. I’ve always loved mini treats, there’s something so fun about them! Plus, they’re easy to serve, and these little cheesecakes pack in all the Halloween vibes with their vibrant orange and yellow layers, making them look just like candy corn. Whether you’re hosting a Halloween party or just want to surprise the kids with a festive treat, these cheesecakes are sure to make a statement!
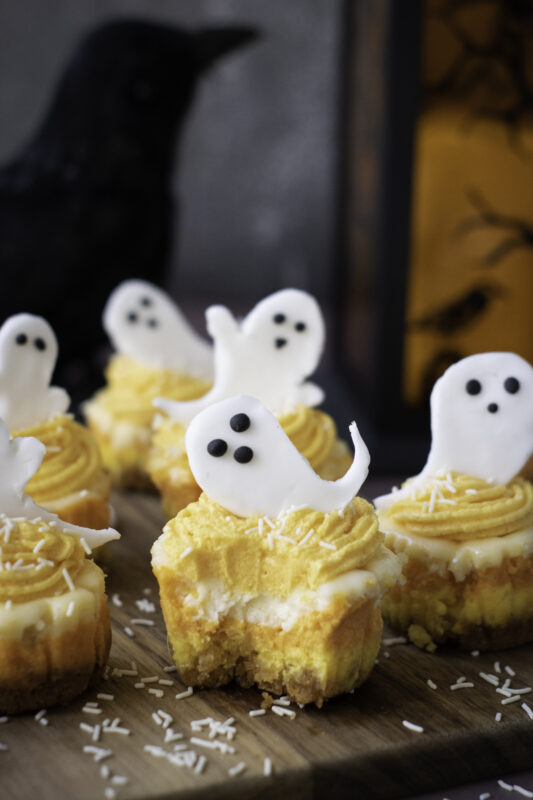
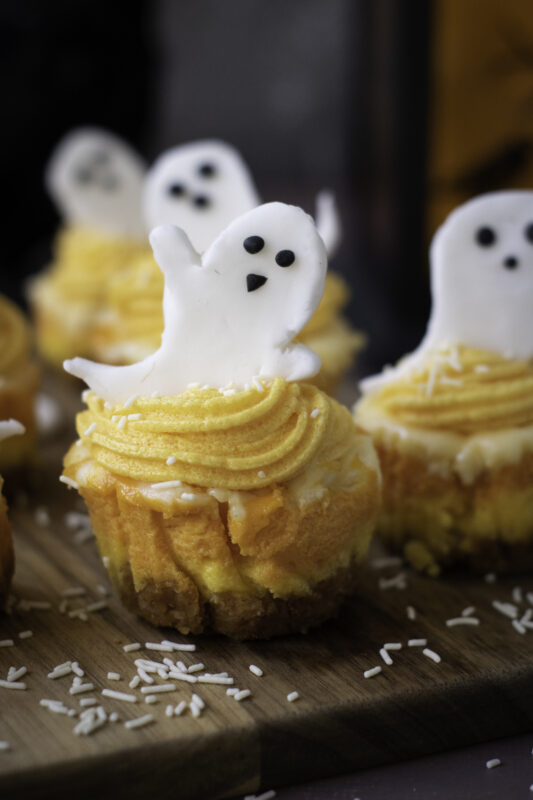
The best part? These cheesecakes are super simple to put together. They start with a buttery graham cracker crust and are topped with a smooth, creamy cheesecake filling that’s divided into three colors for that candy corn effect. I love that the layers create such a fun visual, and honestly, the combination of the tangy cream cheese and sweet frosting makes every bite absolutely irresistible. And don’t even get me started on the little fondant ghosts, they add such a cute touch and bring the whole look together.
Of course, I know you’re probably wondering if they’re as fun to make as they are to eat. Trust me, they are! With just a few steps – whipping up the crust, filling, frosting, and decorating, you’ll have these adorable little treats ready in no time. So, if you’re looking to add some extra magic to your Halloween spread, these Mini Halloween Candy Corn Cheesecakes are the way to go.
Ingredients
For the Crust:
-
1 cup graham cracker crumbs: These give the crust a buttery, crumbly texture that holds everything together perfectly.
-
2 tablespoons granulated sugar: A little sweetness to balance out the graham crackers and bring out the flavors.
-
1/4 cup unsalted butter, melted: The melted butter helps bind the crumbs together and adds a rich flavor.
For the Cheesecake Filling:
-
16 ounces cream cheese, softened: The key to a smooth, creamy cheesecake filling that melts in your mouth.
-
1/2 cup granulated sugar: Sweetens the filling just enough without overpowering the tangy cream cheese.
-
2 medium eggs: These help set the cheesecake, making it firm yet velvety.
-
1 teaspoon vanilla extract: Adds a subtle depth of flavor that complements the creaminess of the filling.
-
1/2 cup sour cream: For that extra smoothness and a bit of tang that makes the filling so irresistible.
-
Orange and yellow food coloring: Gives the filling its festive candy corn hues, making these cheesecakes perfect for Halloween.
For the Orange Frosting:
-
1/2 cup unsalted butter, softened: Creates a fluffy base for the frosting that’s rich but not too heavy.
-
2 cups powdered sugar: The key ingredient for sweet, smooth frosting that’s perfect for piping.
-
2-3 tablespoons heavy cream: Adds that extra bit of creaminess to make the frosting spreadable and dreamy.
-
1 teaspoon vanilla extract: Enhances the frosting’s flavor with a hint of warmth.
-
Orange food coloring: Gives the frosting that bold Halloween orange shade, making it pop!
For the Decorations:
-
White sprinkles: These add a little sparkle and a fun texture to finish off the look.
-
White sugar paste or fondant: Perfect for making cute ghost shapes to top off each cheesecake.
-
Black fondant or food coloring or edible marker: To bring your fondant ghosts to life with little eyes and mouths for a spooky, cute effect.
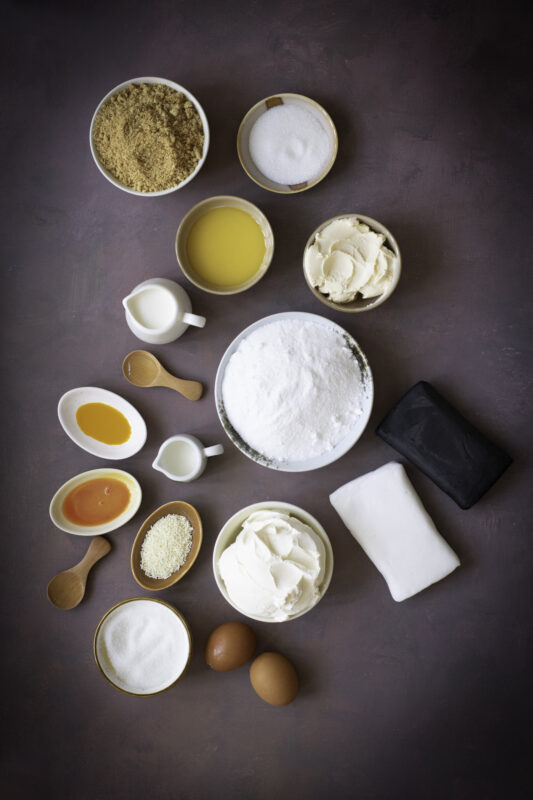
Step-by-Step Instructions
You can find a printable recipe card at the bottom of this post.
For the Crust:
-
Preheat the oven to 325°F (165°C) and line a 12-cup muffin tin with cupcake liners.
-
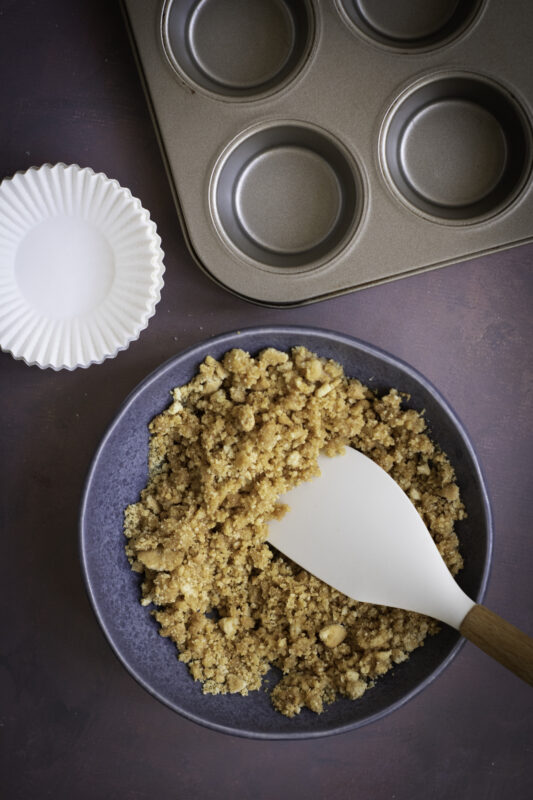
In a medium bowl, mix the graham cracker crumbs, granulated sugar, and melted butter until the crumbs are evenly coated.
-
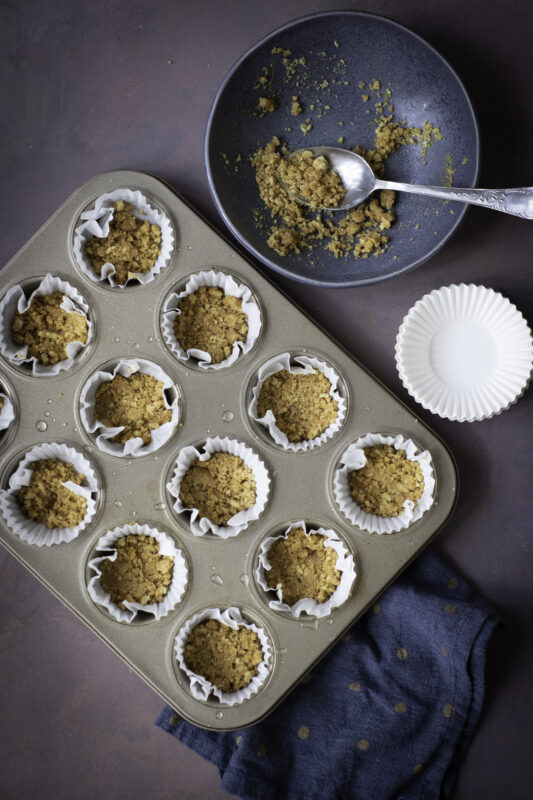
Divide the crumb mixture evenly among the cupcake liners, pressing firmly to form an even crust layer.
-
Bake for 5 minutes, then set aside to cool slightly.
For the Cheesecake Filling:
-
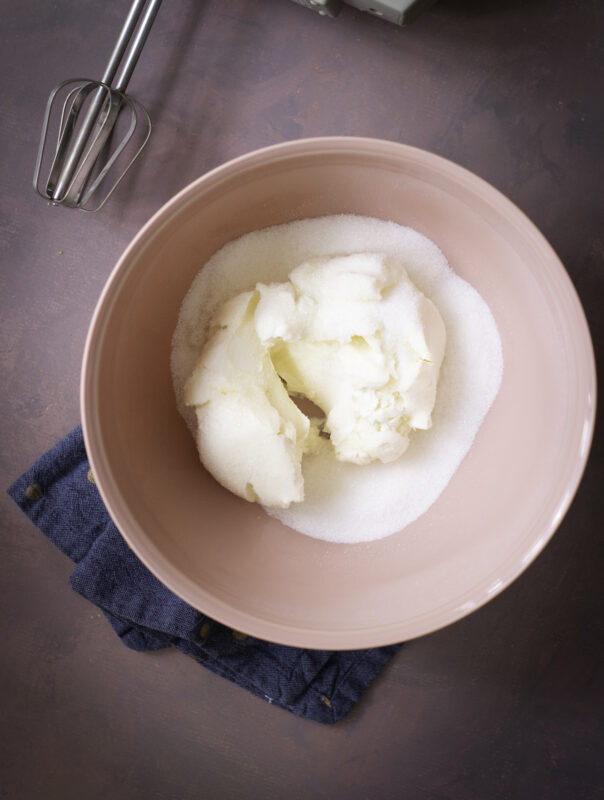
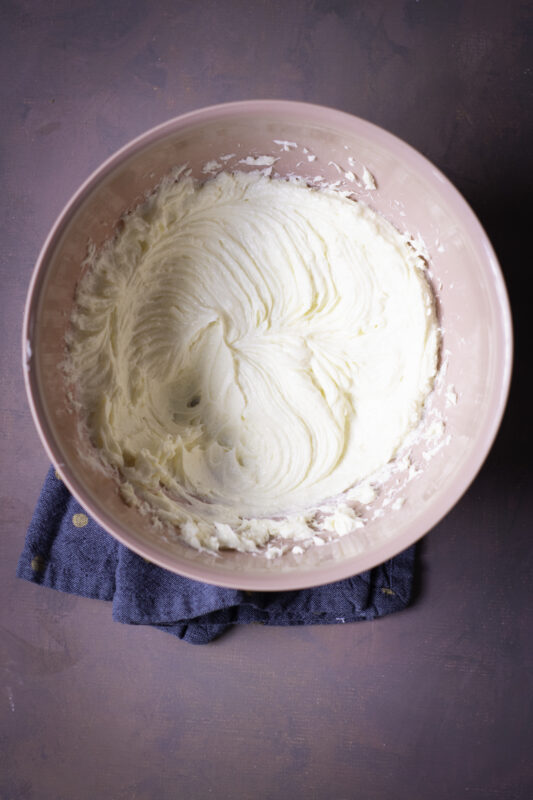
In a large bowl, beat the softened cream cheese with an electric mixer until smooth.
-
Add the granulated sugar and continue beating until combined.
-
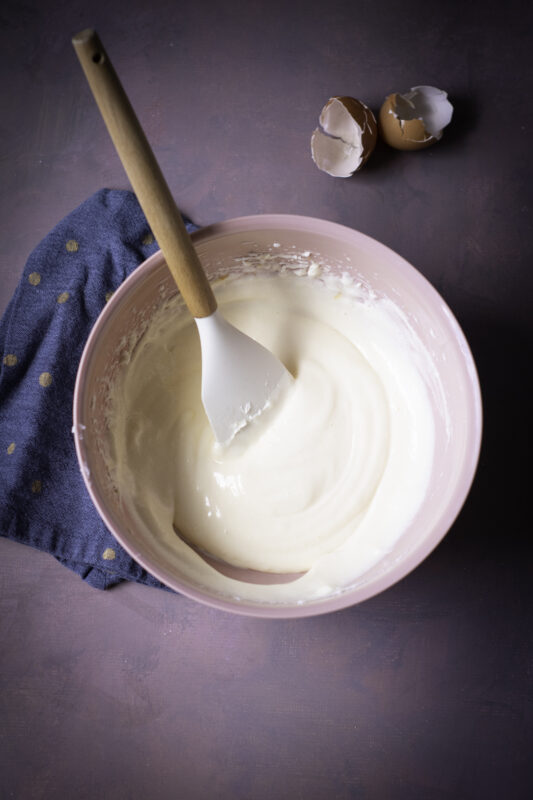
Add the eggs one at a time, beating well after each addition.
-
Mix in the vanilla extract and sour cream until smooth and creamy.
-
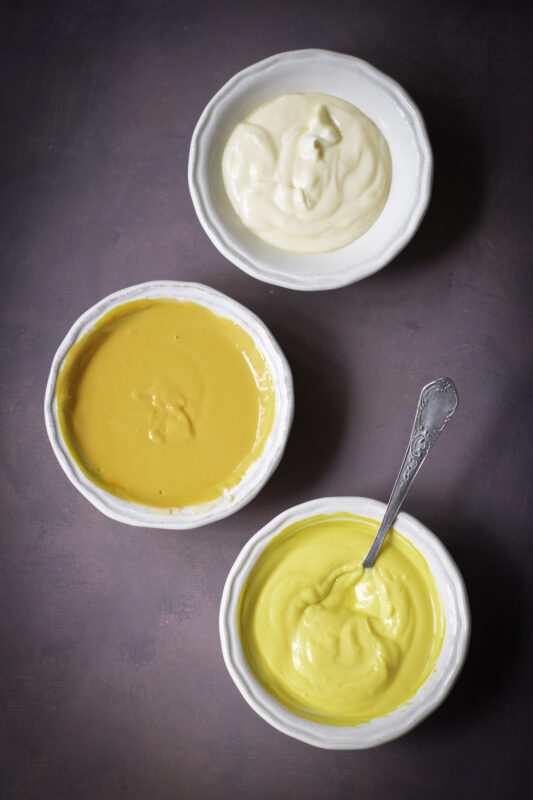
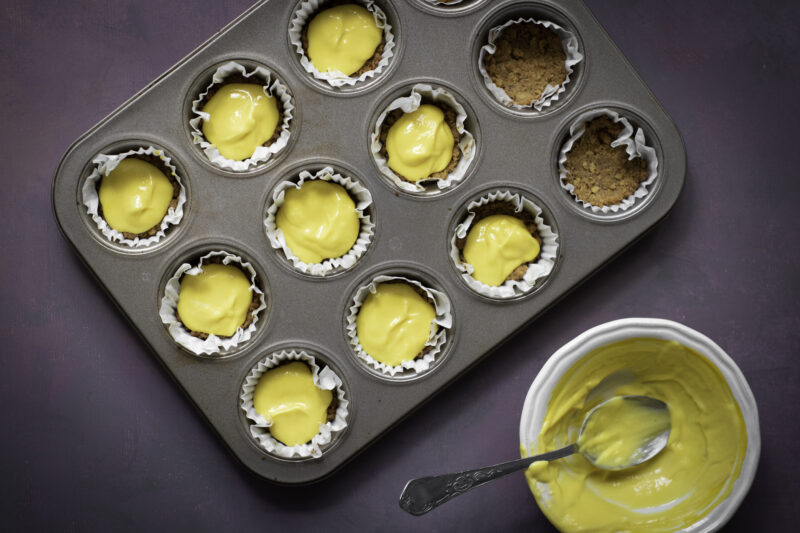
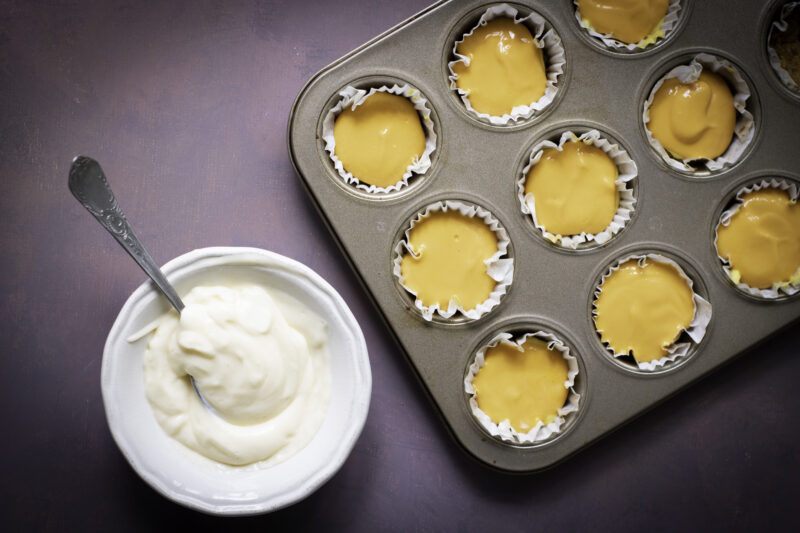
Divide the cheesecake batter evenly into three bowls. Tint one with yellow food coloring, another with orange, and leave the last one plain.
-
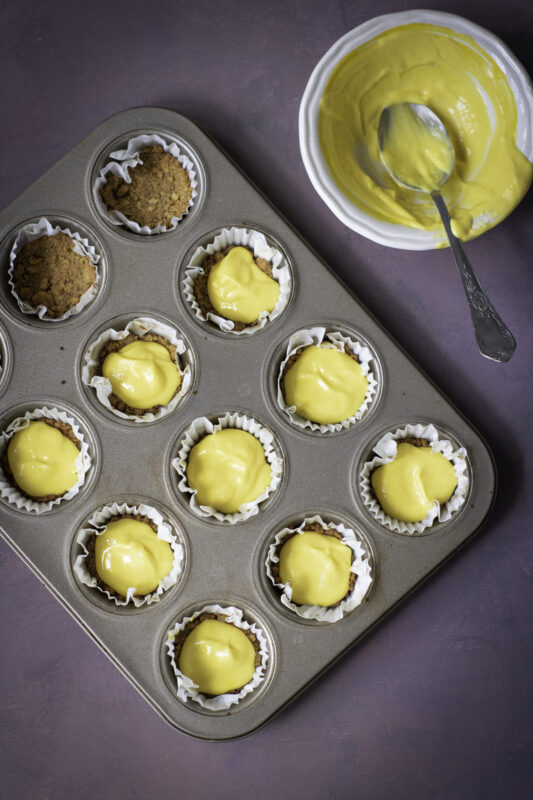
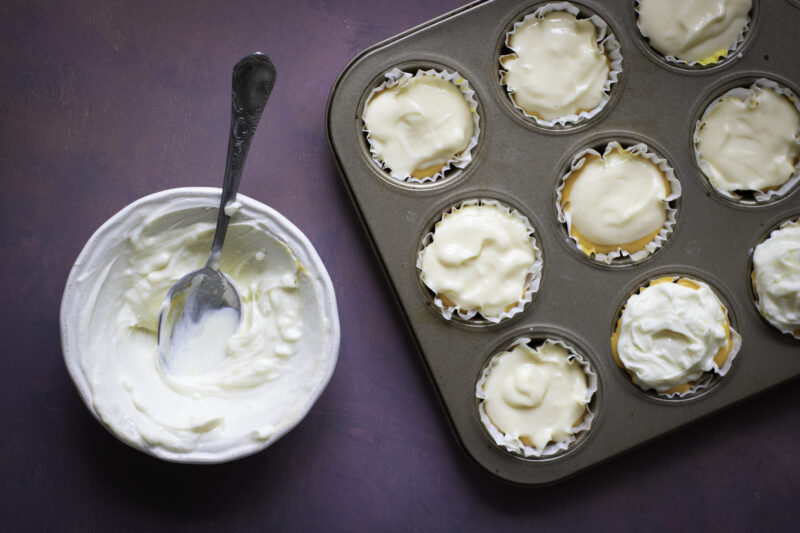
Spoon a layer of yellow batter into each cupcake liner, followed by a layer of orange, then a layer of plain batter.
-
Bake for 18-20 minutes, or until the centers are set.
-
Let the cheesecakes cool in the pan for 30 minutes, then refrigerate for at least 4 hours or overnight.
For the Orange Frosting:
-
Beat the softened butter in a large bowl with an electric mixer until light and fluffy.
-
Gradually add powdered sugar, beating until smooth and combined.
-
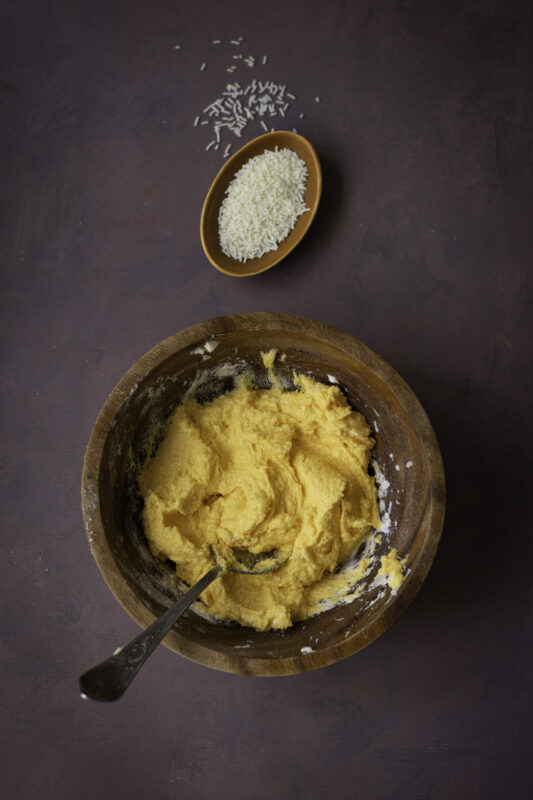
Add heavy cream and vanilla extract, then beat until fluffy. Tint with orange food coloring.
-
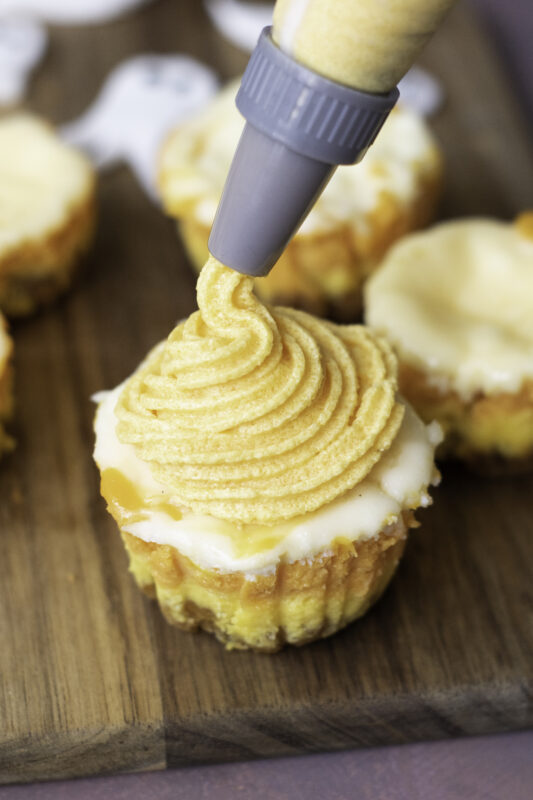
Once chilled, remove the mini cheesecakes from the liners and frost the tops with the orange frosting.
-
Sprinkle white sprinkles over the frosted cheesecakes.
For the Sugar Paste Ghosts:
-
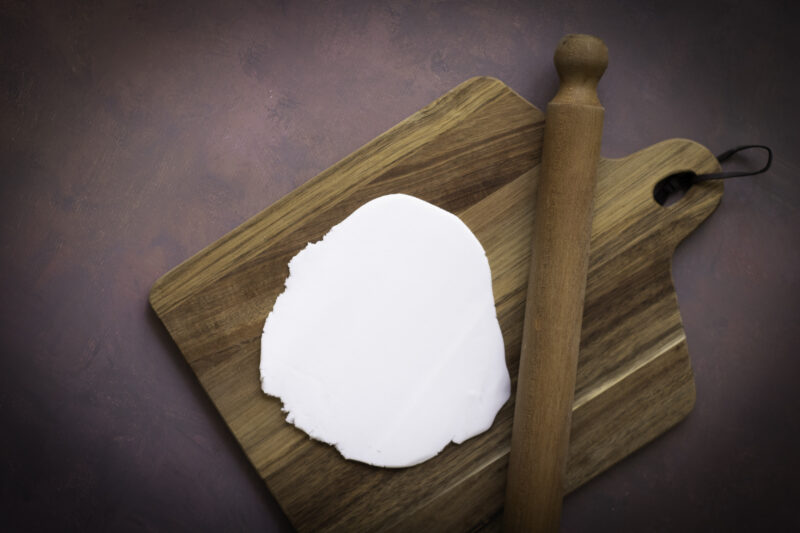
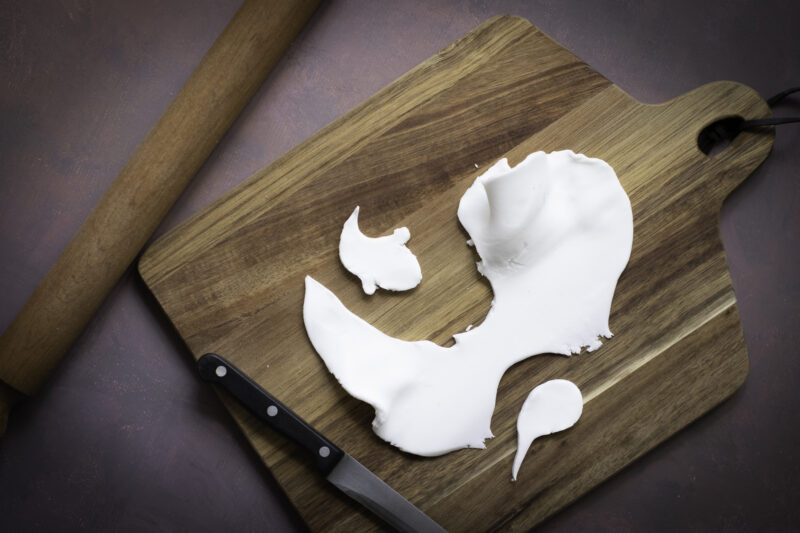
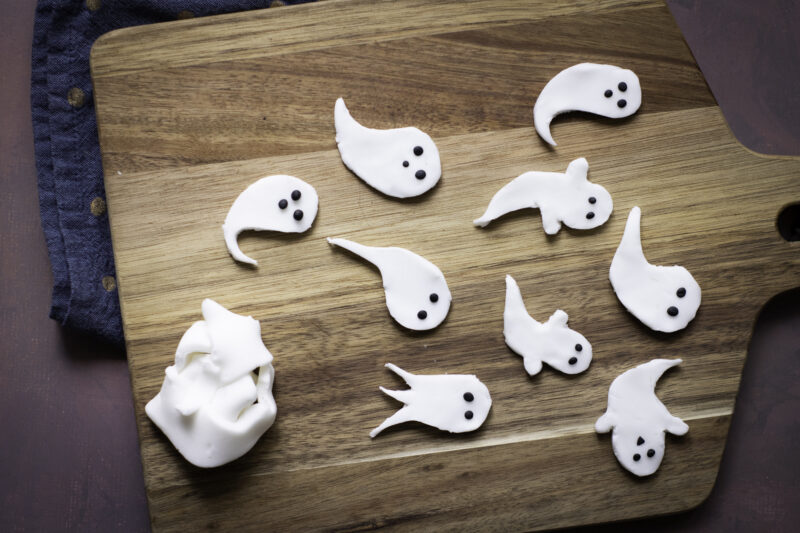
Roll out white sugar paste or fondant and cut into small ghost shapes using a cookie cutter or knife.
-
Use black food coloring or an edible marker to add eyes and mouths to each ghost.
-
Place a ghost on top of each frosted cheesecake.
-
Serve immediately or store in an airtight container in the fridge for up to 3 days.
Tips for the Perfect Mini Halloween Candy Corn Cheesecakes
-
Use room temperature cream cheese: Softened cream cheese is key to getting a smooth, lump-free cheesecake filling. Be sure to let it sit out for about 30 minutes before you start mixing.
-
Don’t overmix the filling: Overmixing can cause cracks in your cheesecakes. Just mix until everything is smooth and combined, and avoid beating the filling too much once the eggs are added.
-
Layer the colors carefully: When adding the colored cheesecake batter to the crust, use the back of a spoon or a small spatula to gently layer each color. This will help create the candy corn effect without blending the colors together.
-
Chill them properly: Patience is key! After baking, let your cheesecakes cool completely in the pan before transferring them to the fridge to chill. For best results, let them sit in the fridge for at least 4 hours or overnight.
-
Get creative with the decorations: While fondant ghosts are adorable, feel free to experiment with other spooky toppings like mini candy corn or even little chocolate spiders for extra fun!
-
Room temperature frosting: Make sure your butter is softened before making the frosting, as it’ll make the mixing process a lot easier and give you that perfect creamy texture.
-
Use a cookie scoop for even crusts: A cookie scoop is a game-changer for dividing the graham cracker crumbs evenly among the cupcake liners. It’ll give you a nice, uniform crust on each mini cheesecake.
Get Creative!
-
Play with different toppings: While fondant ghosts are adorable, you can also top your cheesecakes with mini chocolate spiders, gummy worms, or even candy eyeballs for a spooky touch.
-
Add a swirl: For a fun twist, gently swirl some of the food coloring into the cheesecake filling before baking to create a marbled effect. It’ll still have that candy corn vibe but with a cool visual twist!
-
Switch up the crust: Instead of the classic graham cracker crust, try using crushed Oreos, ginger cookies, or even a pretzel crust for a salty-sweet combo that’s sure to be a hit.
-
Flavor variations: Want to mix it up a bit? Add a teaspoon of cinnamon or pumpkin spice to the cheesecake filling for a seasonal twist. You can also try a chocolate ganache topping instead of frosting for a richer flavor.
-
Go for an edible “syringe” garnish: For a fun Halloween touch, fill a small syringe with raspberry or strawberry syrup and squirt it over the top of the cheesecake right before serving—it adds a splash of color and a bit of extra sweetness.
-
Add a crunch factor: Sprinkle crushed candy corn or crushed up caramel popcorn on top of the frosting for a little texture and more Halloween spirit.
-
Change up the colors: While the orange, yellow, and white layers are traditional, don’t be afraid to play with different food colors – purple and green would give you a more “monster” look, perfect for a different spin on Halloween!
Serving & Storing
-
Serving: These mini cheesecakes are perfect for serving at Halloween parties, as they’re easy to grab and go. You can serve them on a festive platter with some spooky props like mini pumpkins or cobwebs for extra flair. If you want to make them extra fun, dust them with a little powdered sugar right before serving for a “ghostly” touch.
-
Chill before serving: Make sure to refrigerate your cheesecakes for at least 4 hours or overnight. This helps them set properly and ensures that they have the perfect creamy texture when you bite into them.
-
Store in the fridge: To keep them fresh, store any leftovers in an airtight container in the fridge. They should stay good for up to 3 days, though I doubt they’ll last that long!
-
Freezing for later: Want to make them ahead of time? These cheesecakes freeze really well! Simply freeze them on a baking sheet until solid, then transfer them to a container or zip-top bag. Let them thaw in the fridge overnight before serving.
-
Make a day ahead: These cheesecakes actually get better with time as the flavors settle, so making them a day or two ahead is a great idea. Just make sure to frost and decorate them the day you plan to serve them to keep everything looking fresh!
Mini Halloween Candy Corn Cheesecakes
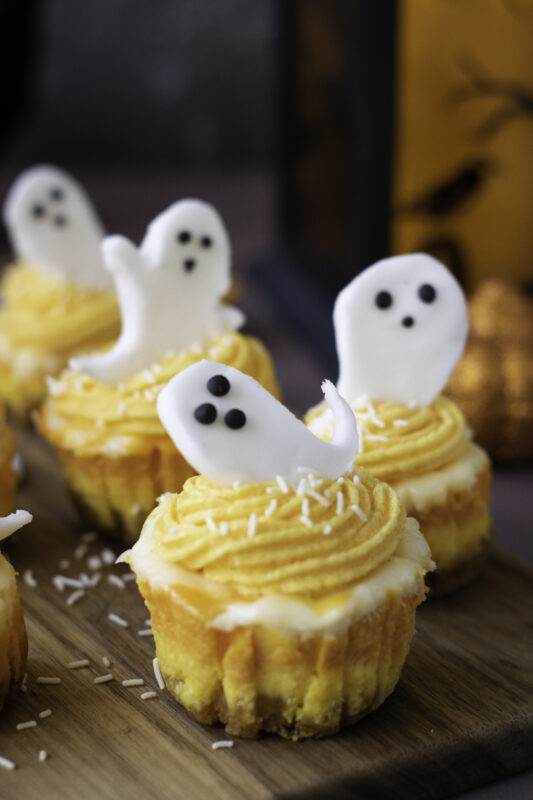
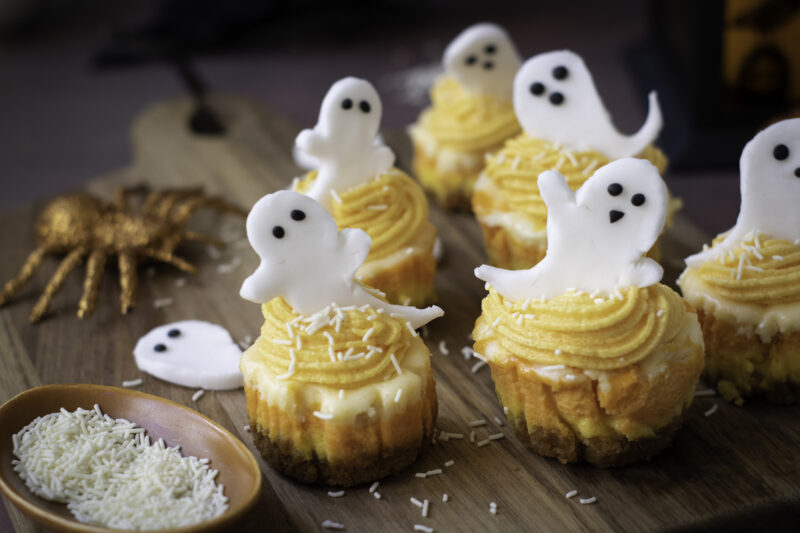
Mini Halloween Candy Corn Cheesecakes are the perfect spooky treat for your Halloween festivities! With a buttery graham cracker crust, creamy cheesecake filling in vibrant orange, yellow, and white layers, and topped with festive orange frosting and cute fondant ghosts, these mini cheesecakes are as delicious as they are fun. Serve them at your next Halloween party for a bite-sized dessert everyone will love!
Ingredients
For the Crust:
- 1 cup graham cracker crumbs
- 2 tablespoons granulated sugar
- 1/4 cup unsalted butter, melted
For the Cheesecake Filling:
- 16 ounces cream cheese, softened
- 1/2 cup granulated sugar
- 2 medium eggs
- 1 teaspoon vanilla extract
- 1/2 cup sour cream
- Orange and yellow food coloring
For the Orange Frosting:
- 1/2 cup unsalted butter, softened
- 2 cups powdered sugar
- 2-3 tablespoons heavy cream
- 1 teaspoon vanilla extract
- Orange food coloring
For the Decorations:
- White sprinkles
- White sugar paste or fondant
- Black fondant or food coloring or edible marker
Instructions
For the Crust:
- Preheat the oven to 325°F (165°C) and line a 12-cup muffin tin with cupcake liners.
- In a medium bowl, mix the graham cracker crumbs, granulated sugar, and melted butter until the crumbs are evenly coated.
- Divide the crumb mixture evenly among the cupcake liners, pressing firmly to form an even crust layer.
- Bake for 5 minutes, then set aside to cool slightly.
For the Cheesecake Filling:
- In a large bowl, beat the softened cream cheese with an electric mixer until smooth.
- Add the granulated sugar and continue beating until combined.
- Add the eggs one at a time, beating well after each addition.
- Mix in the vanilla extract and sour cream until smooth and creamy.
- Divide the cheesecake batter evenly into three bowls. Tint one with yellow food coloring, another with orange, and leave the last one plain.
- Spoon a layer of yellow batter into each cupcake liner, followed by a layer of orange, then a layer of plain batter.
- Bake for 18-20 minutes, or until the centers are set.
- Let the cheesecakes cool in the pan for 30 minutes, then refrigerate for at least 4 hours or overnight.
For the Orange Frosting:
- Beat the softened butter in a large bowl with an electric mixer until light and fluffy.
- Gradually add powdered sugar, beating until smooth and combined.
- Add heavy cream and vanilla extract, then beat until fluffy. Tint with orange food coloring.
- Once chilled, remove the mini cheesecakes from the liners and frost the tops with the orange frosting.
- Sprinkle white sprinkles over the frosted cheesecakes.
For the Sugar Paste Ghosts:
- Roll out white sugar paste or fondant and cut into small ghost shapes using a cookie cutter or knife.
- Use black food coloring or an edible marker to add eyes and mouths to each ghost.
- Place a ghost on top of each frosted cheesecake.
- Serve immediately or store in an airtight container in the fridge for up to 3 days.