No-Bake Easter Egg Cheesecakes Made Right Inside Chocolate Eggs
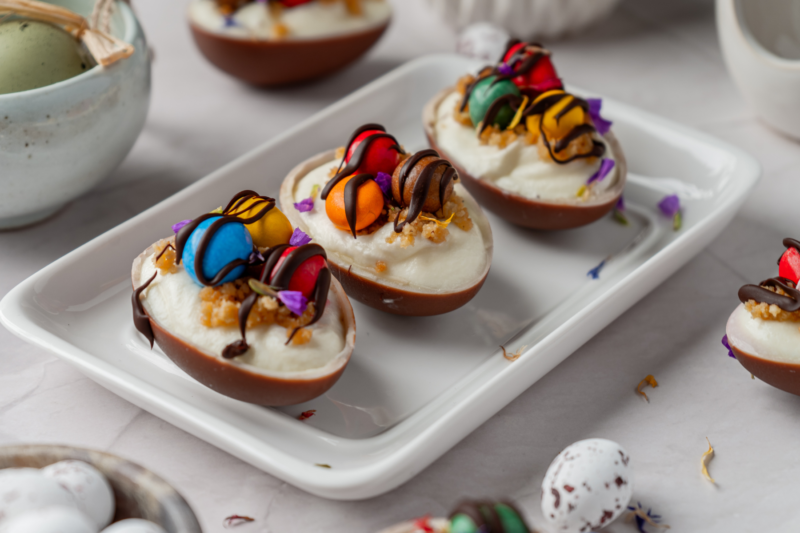
If you’re looking for an Easter dessert that feels a little bit magical without turning your kitchen upside down, these are it. There’s something about cracking open a chocolate egg and finding a creamy cheesecake filling inside that instantly makes people smile. They look festive and special, but the process is far more relaxed than you’d expect.
What makes these even better is that they’re completely no-bake. No juggling oven space, no worrying about cracks, and no last-minute dessert panic. You mix, whip, fill, and let the fridge handle the hard part. It’s the kind of recipe that feels calm and enjoyable to make, which is exactly what I want during busy holiday prep.
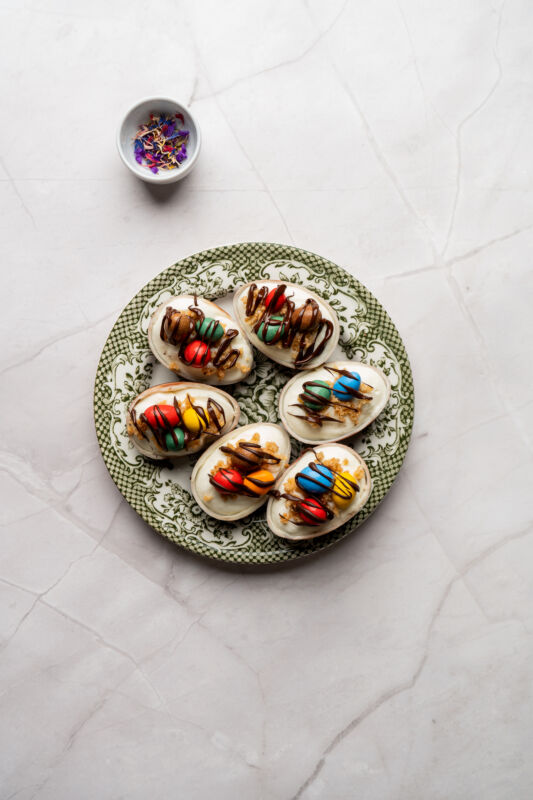
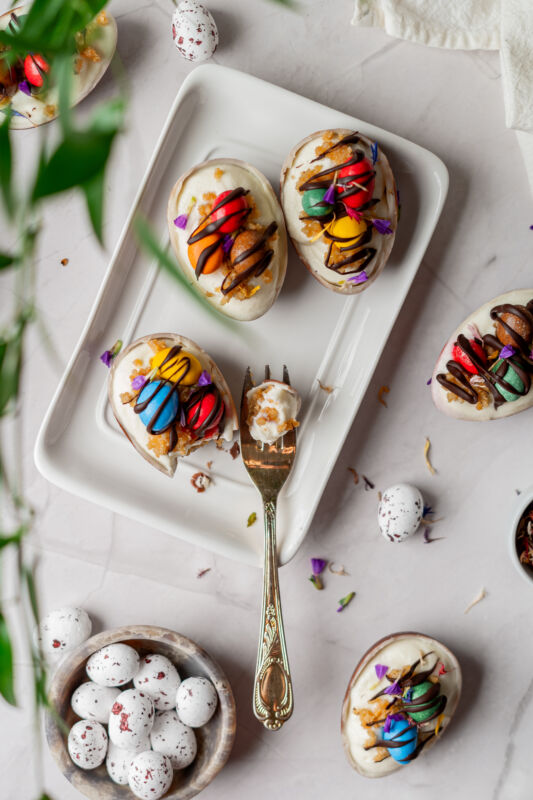
These little cheesecakes are also easy to dress up or keep simple. Add mini chocolate eggs, a drizzle of melted chocolate, or a few edible flowers for a springy touch. They fit right in on an Easter dessert table and are always a fun surprise when someone realizes what’s hiding inside that chocolate shell.
Make sure you take a look at some of my other Easter Dessert Recipes too!
Why We Love This Recipe
- No oven, no stress: You don’t have to bake a thing, which makes these perfect for busy spring days when the oven is already doing enough or you just don’t feel like turning it on.
- They look way fancier than they are: Serving cheesecake inside chocolate Easter eggs feels extra special, but the steps are surprisingly simple and totally doable.
- Perfect make-ahead dessert: You can prep these earlier in the day (or even the night before), tuck them in the fridge, and forget about dessert until it’s time to serve.
- Creamy, crunchy, chocolatey goodness: Between the smooth cheesecake, the buttery cookie base, and that chocolate shell, every bite hits all the right notes.
- So fun to decorate: Mini eggs, chocolate drizzle, cookie crumbs, flowers, you can keep it simple or go all out depending on your mood.
- Great for Easter tables and spring gatherings: They’re individual, mess-free, and always grab attention on a dessert table without needing any slicing or serving drama.

Equipment
-
Sharp knife: This is what you’ll use to carefully split the chocolate eggs, and warming the blade makes the whole process much smoother and less stressful.
-
Small bowl: Perfect for mixing up the cookie crumbs and melted butter into that sandy little base that holds everything together.
-
Mixing bowl: You’ll need this for beating the cream cheese and sugar until it’s nice and smooth with no lumps hanging around.
-
Hand mixer or whisk: A hand mixer makes quick work of whipping the cream, but a whisk works too if you don’t mind a bit of arm workout.
-
Rubber spatula: This is your best friend for gently folding the whipped cream into the cheesecake mixture without knocking all the fluff out.
-
Spoon or piping bag: Either one works for filling the chocolate egg shells, depending on how neat and fancy you’re feeling.
-
Baking tray or plate: Handy for setting the filled eggs on so they’re easy to move in and out of the fridge.
-
Refrigerator: Not glamorous, but essential, since it does all the setting while you sit back and relax.
Ingredients
-
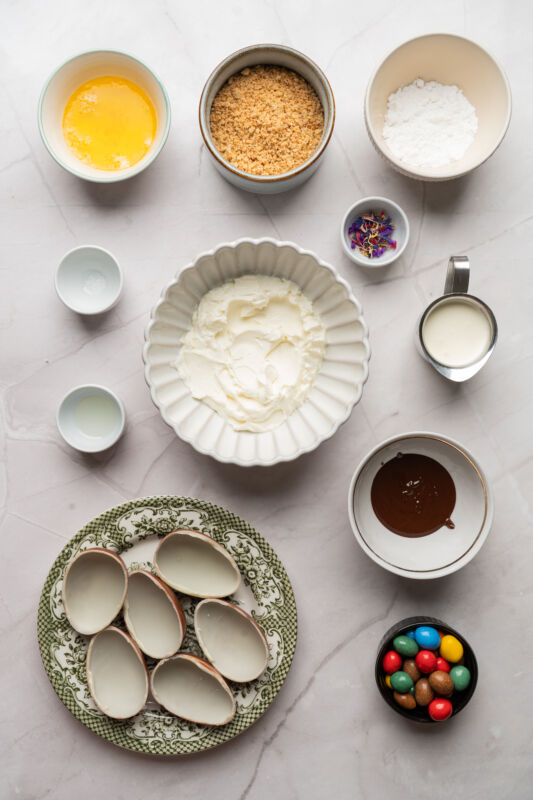
3 hollow chocolate Easter eggs (about 0.7 oz / 20 g each): These are the fun part, since they act as the “cups” for the cheesecake and instantly make the dessert feel special.
-
1/2 cup graham cracker crumbs, digestive biscuits, or crushed cookies (50 g): This creates that buttery little base, and you can use whatever cookies you already have on hand.
-
2 tablespoons (1/8 cup) unsalted butter, melted (30 g): The butter pulls the crumbs together so they press into a firm base instead of crumbling everywhere.
-
4 oz cream cheese, softened (113 g): Softened cream cheese blends up smooth and creamy, which is exactly what you want for a dreamy cheesecake filling.
-
2 tablespoons (⅛ cup) powdered sugar (15 g): Just enough sweetness to balance everything without making the filling overly sweet.
-
1/4 cup cold heavy whipping cream (60 ml): Whipping this cold gives the cheesecake that light, fluffy texture instead of something dense and heavy.
-
1/2 teaspoon vanilla extract: A small splash that rounds out the flavor and makes the cheesecake taste rich and cozy.
-
Pinch of salt (optional): This tiny addition helps bring out all the sweetness and chocolate flavors, even if no one can quite put their finger on why it tastes so good.
Toppings (Optional):
-
The rest of the cookie crust: A little sprinkle on top adds extra crunch and ties the whole thing together.
-
Mini chocolate eggs: These make the cheesecakes feel extra festive and instantly say “Easter.”
-
Melted chocolate, for drizzling: A quick drizzle adds that final bakery-style touch with almost no effort.
-
Edible flowers (such as pansies or violas): Totally optional, but they give the desserts a pretty spring finish that looks lovely on an Easter table.
Recipe Instructions
You can find a printable recipe card at the bottom of this post.
Step 1: Unwrap the chocolate eggs. Dip a sharp knife into hot water, wipe it dry, and carefully score along the seam of each egg. Repeat as needed until the eggs separate cleanly into halves, then set aside.
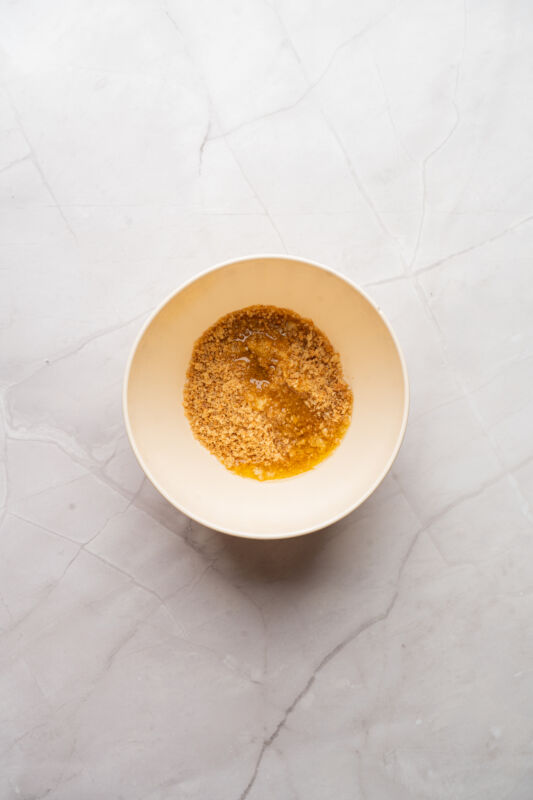
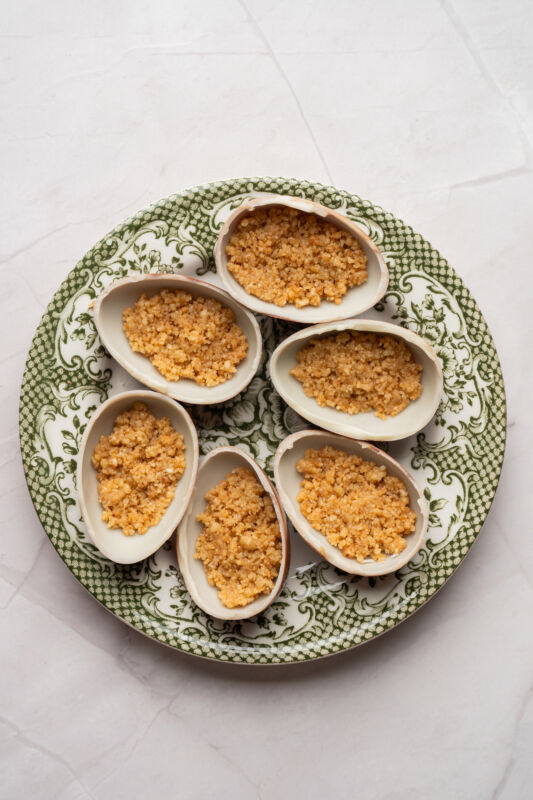
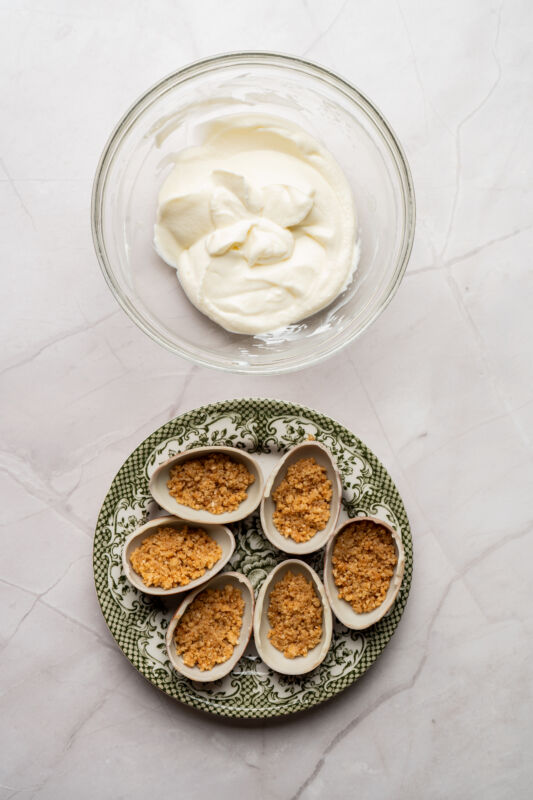
Step 2: In a small bowl, mix the cookie crumbs with the melted butter until the mixture resembles damp sand. Divide the mixture evenly among the chocolate egg halves, pressing gently to form a firm base.

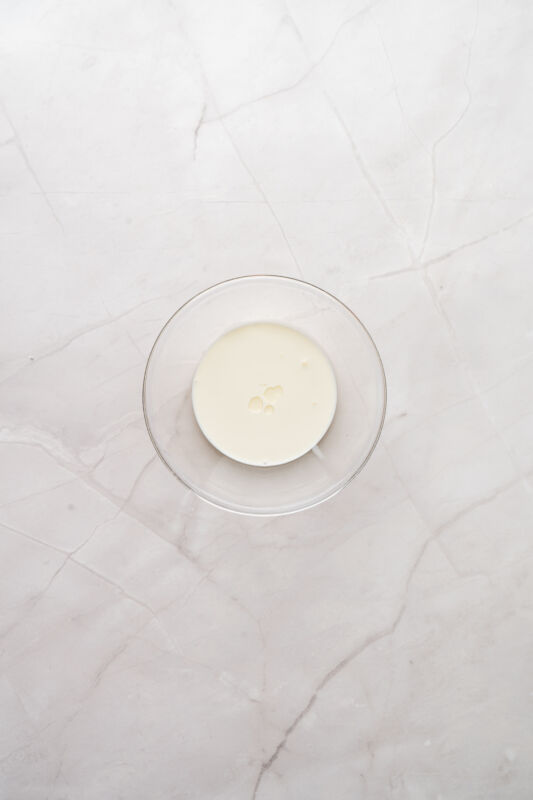
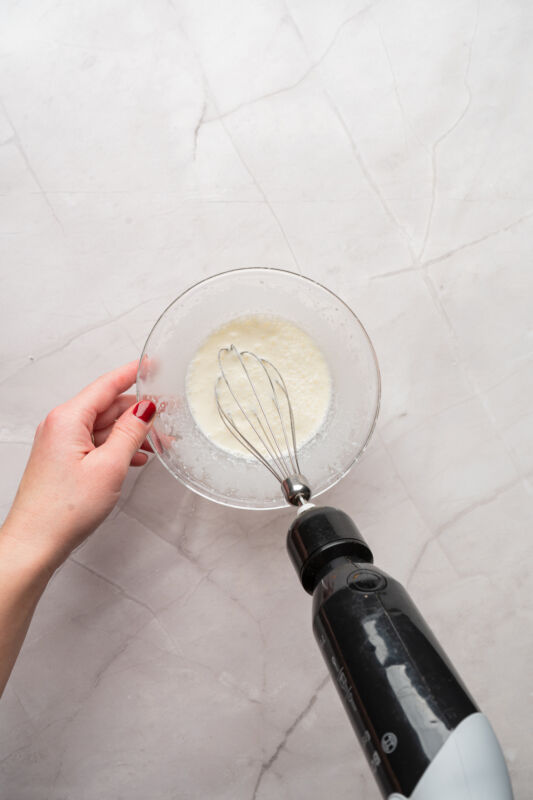
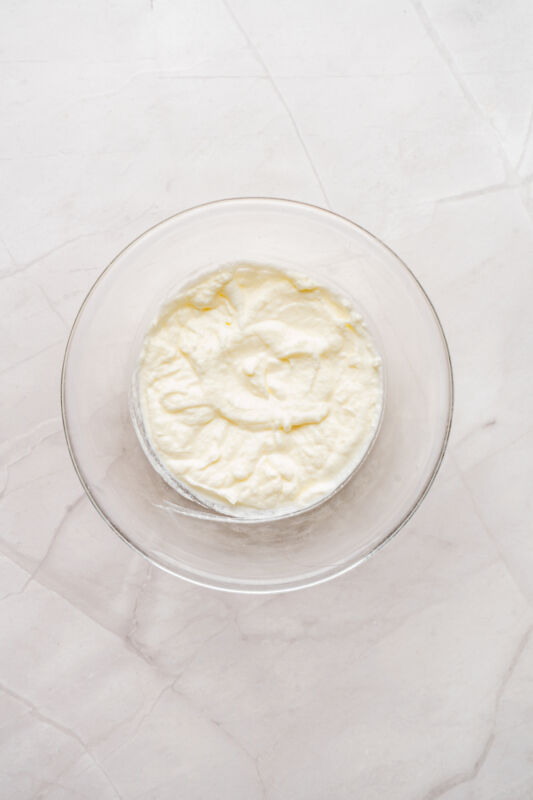
Step 3: In a mixing bowl, beat the cream cheese and powdered sugar until smooth and creamy. In a separate bowl, whip the cold heavy cream with the vanilla extract until stiff peaks form, then gently fold the whipped cream into the cream cheese mixture until light and fully combined.


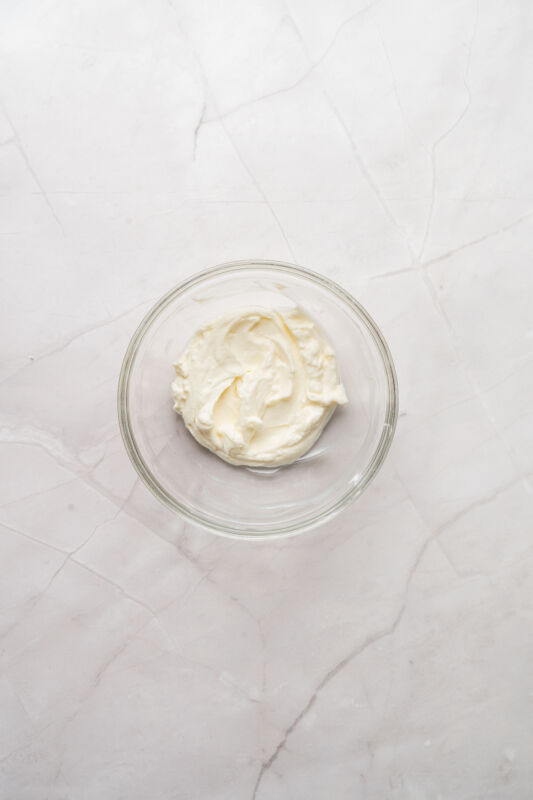
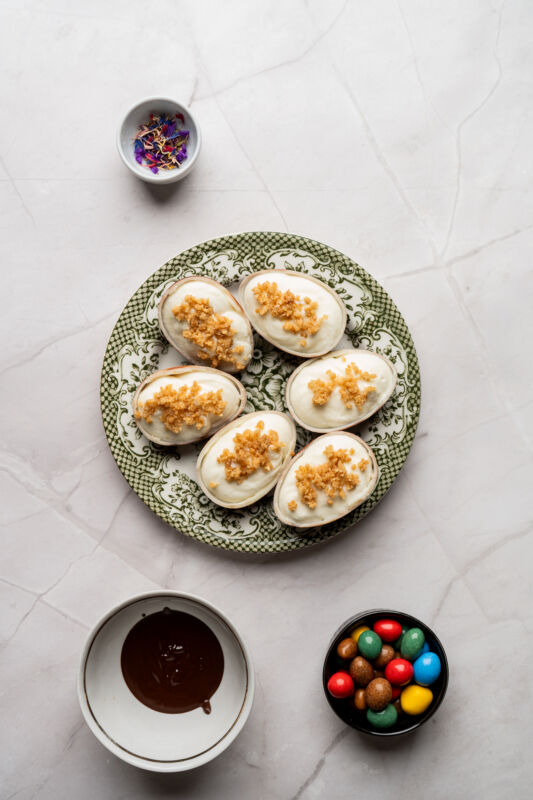
Step 4: Spoon or pipe the cheesecake filling over the cookie bases, filling each chocolate shell to the top and smoothing the surface if desired. Refrigerate for at least 4 hours, or until set.


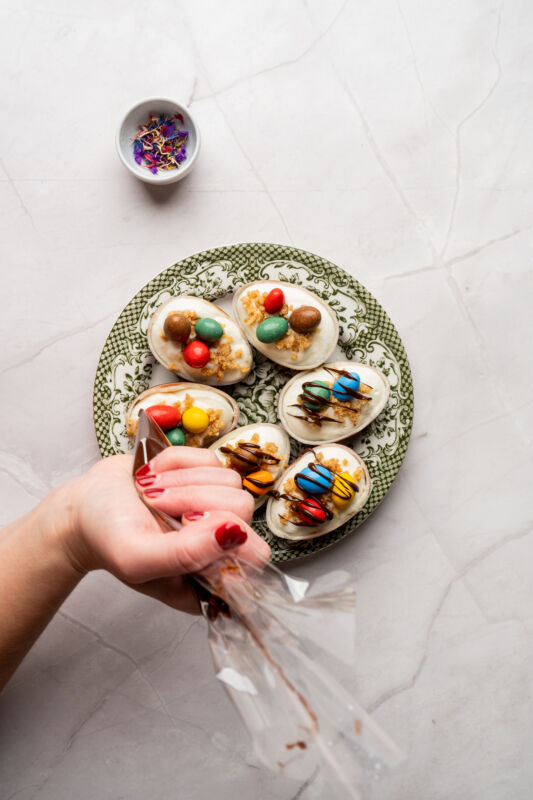
Step 5: Once set, sprinkle with the remaining cookie crust, drizzle with melted chocolate, and garnish with mini chocolate eggs or edible flowers if using. Serve chilled.



Serving & Storing
-
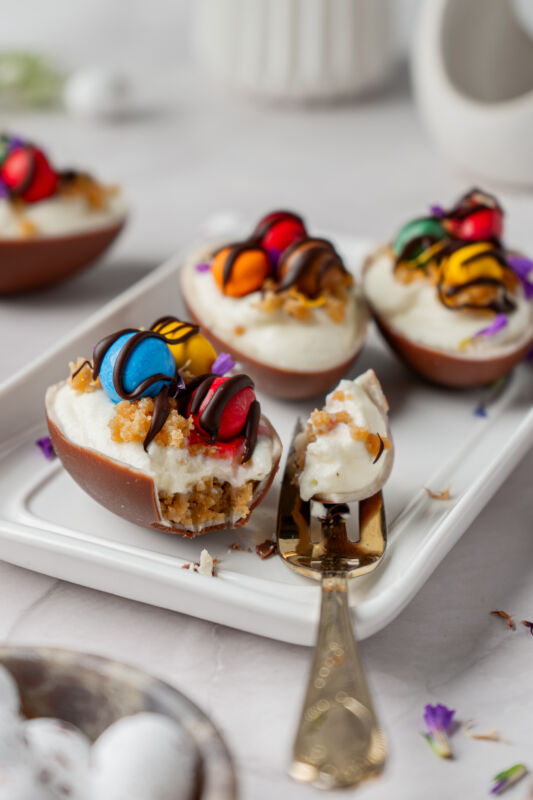
Serve them nice and chilled: These are best straight from the fridge, when the cheesecake is fully set and the chocolate shells hold their shape.
-
Add toppings right before serving: If you’re using mini eggs, chocolate drizzle, or flowers, pop them on just before serving so everything looks fresh and pretty.
-
Great for individual servings: Since each one is already portioned, you can set them straight on a dessert table without any slicing or fuss.
-
Store in the fridge: Keep any leftovers in an airtight container in the refrigerator, where they’ll stay fresh for up to 2 days.
-
Handle gently when storing: The chocolate shells can be delicate, so give them a little space in the container to avoid cracks.
-
Not freezer-friendly: Freezing can cause the chocolate to bloom and the filling to lose its creamy texture, so these are best enjoyed fresh.
Variations & Substitutions
-
Switch up the cookie base: Graham crackers, digestive biscuits, chocolate cookies, or even crushed shortbread all work beautifully here.
-
Use different chocolate shells: Milk chocolate is classic, but dark chocolate makes them a little richer and white chocolate feels extra fun and festive.
-
Add a flavor twist to the filling: A touch of lemon zest, orange zest, or even a spoonful of melted chocolate folded into the filling changes things up without extra effort.
-
Make them extra chocolatey: Stir a handful of mini chocolate chips into the cheesecake filling for little pops of chocolate in every bite.
-
Lighten things up slightly: Swap part of the cream cheese for mascarpone for an even softer, creamier texture.
-
Kid-friendly swap: Skip the flowers and go all in on sprinkles, crushed mini eggs, or colorful candies for a more playful look.
-
No piping bag? No problem: A spoon works just fine and still gets the job done with zero stress.

Little Tricks That Make a Big Difference
-
Warm the knife when cutting the eggs: Dipping the blade in hot water and wiping it dry helps the chocolate split cleanly instead of cracking.
-
Let the cream cheese fully soften: This makes a huge difference in getting a smooth, lump-free filling without overmixing.
-
Whip the cream nice and cold: Cold cream whips faster and holds its shape better, which keeps the cheesecake light and fluffy.
-
Fold gently, don’t rush it: Taking your time when folding the whipped cream into the cream cheese keeps the filling airy instead of dense.
-
Press the crust firmly but gently: You want it packed enough to hold together, but not so hard that it turns into a solid brick.
-
Chill longer if you can: Four hours is great, but letting them sit overnight gives the filling the best texture.
-
Fill the shells right to the top: A full, slightly domed filling makes them look extra generous and bakery-worthy.
FAQs
Can I make these ahead of time?
Yes, and honestly that’s one of the best parts. You can make them up to a day in advance and keep them chilled in the fridge until you’re ready to serve.
Do I have to use Easter eggs, or can I use something else?
The chocolate eggs make them extra fun and festive, but you can absolutely use small dessert cups, ramekins, or even cupcake liners if that’s what you have.
Why does my chocolate egg crack when I cut it?
Chocolate can be a little temperamental. Warming your knife in hot water and taking your time along the seam helps a lot, and small cracks can usually be hidden with filling or toppings.
Can I use store-bought whipped cream instead of whipping my own?
Freshly whipped cream gives the best texture, but in a pinch, a good-quality whipped topping will still work.
How long do these need to chill before serving?
They need at least 4 hours in the fridge to fully set, but overnight is even better if you have the time.
Can I make these without a mixer?
You can. A whisk and a bit of elbow grease will get the job done, especially if your cream cheese is very soft.
Are these freezer-friendly?
Not really. Freezing can change the texture of both the chocolate and the filling, so they’re best enjoyed fresh from the fridge.

No-Bake Easter Egg Cheesecakes

These no-bake Easter egg cheesecakes are a fun, festive dessert made with creamy cheesecake filling tucked inside chocolate egg shells. With a buttery cookie base and zero oven time required, they’re perfect for Easter gatherings, spring celebrations, or anytime you want an impressive treat without the fuss.
Ingredients
- 3 hollow chocolate Easter eggs (about 0.7 oz / 20 g each)
- 1/2 cup graham cracker crumbs, digestive biscuits, or crushed cookies (50 g)
- 2 tablespoons (1/8 cup) unsalted butter, melted (30 g)
- 4 oz cream cheese, softened (113 g)
- 2 tablespoons (⅛ cup) powdered sugar (15 g)
- 1/4 cup cold heavy whipping cream (60 ml)
- 1/2 teaspoon vanilla extract
- Pinch of salt (optional)
Toppings (Optional):
- The rest of the cookie crust
- Mini chocolate eggs
- Melted chocolate, for drizzling
- Edible flowers (such as pansies or violas)
Instructions
- Unwrap the chocolate eggs. Dip a sharp knife into hot water, wipe it dry, and carefully score along the seam of each egg. Repeat as needed until the eggs separate cleanly into halves, then set aside.
- In a small bowl, mix the cookie crumbs with the melted butter until the mixture resembles damp sand. Divide the mixture evenly among the chocolate egg halves, pressing gently to form a firm base.
- In a mixing bowl, beat the cream cheese and powdered sugar until smooth and creamy. In a separate bowl, whip the cold heavy cream with the vanilla extract until stiff peaks form, then gently fold the whipped cream into the cream cheese mixture until light and fully combined.
- Spoon or pipe the cheesecake filling over the cookie bases, filling each chocolate shell to the top and smoothing the surface if desired. Refrigerate for at least 4 hours, or until set.
- Once set, sprinkle with the remaining cookie crust, drizzle with melted chocolate, and garnish with mini chocolate eggs or edible flowers if using. Serve chilled.
Notes
- Let the cream cheese fully soften before mixing so the filling stays smooth and lump-free.
- Use a warm knife and take your time when cutting the chocolate eggs to help them split cleanly.
- Chill the cheesecakes for at least 4 hours, but overnight gives the best texture.
- Add toppings just before serving so they stay fresh and don’t soften in the fridge.
- Handle the filled eggs gently, as the chocolate shells can be delicate.
- These are best enjoyed within 1 to 2 days and should be stored in the refrigerator.