Easy Viking Mead Recipes You Can Make At Home
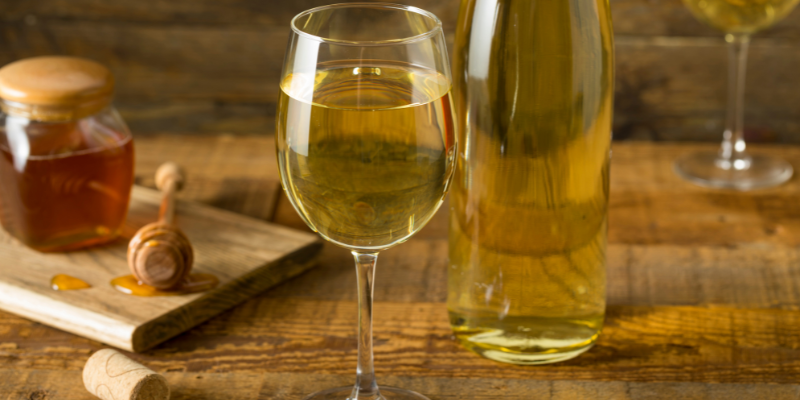
Mead is one of the best alcoholic beverages you can make at home. Not only is it easy, but you get to feel like a Viking with your own mead brewing in your closet. It’s perfect for those with a sweet tooth and little time on their hands.
Also known as honey wine, mead can be dated back as far as the pre-Neolithic period. The first written record of mead is from the sacred book Rigveda around 1700-1100 BCE.
Being one of the oldest alcoholic beverages, mead has played a role in many cultures and has also played a role in Norse mythology. It is traditionally made from water, honey, and natural yeasts. These natural yeasts came from a variety of berries, fruits, and botanicals.
Below we have included how to make mead the old-fashioned way. If you want a modern way that uses typical brewing equipment then you can follow this recipe for a 5 gallon batch of mead.
Ingredients
The general rule of thumb is to use 1 part honey to 4 parts water. For best results use unpasteurized honey and bottled spring water to avoid any bacteria interfering with the fermentation process.
While the Vikings used natural yeast producers, we have the benefit of being able to get yeast like Lalvin D-47 and EC-1118 which can be used to help make mead.
Equipment
- Open mouth vessel – Ideally a large glass jar that can fit all your mead.
- Stir stick – A long wooden stick works best.
- Cheesecloth – This is to cover the vessel.
It is important to make sure your equipment is properly sterilized beforehand. You don’t want any outside bacteria to interfere with your fermentation.
Method
- Mix all the water and honey in a jar until the honey is dissolved. You can do this in a separate pot and then funnel it in if that’s easier.
- Add the yeast to the jar. This can be natural yeast or from a mead fermentation kit.
- Cover the jar with the cheesecloth.
- Store the jar in a warm dark place. The temperature should be kept around 70 degrees Fahrenheit or 21 degrees Celcius.
- Leave it for about 5 days, stirring it 3 times a day. The fermentation process will make it fizzy and foamy.
Now that you have your mead starter, you can add your flavours. You can either create a simple syrup of honey and water and infuse your flavours into it. Or just add them straight into the mead starter.
Once you add your flavours you then leave your mead to finish fermenting. This takes at least a month but the longer the better. 6 months is ideal but it can be left to up to a year for a bolder flavour.
We recommend that your first mead batch just be a plain unflavored one, or at least make 2 batches, one flavoured and one not. While flavoured mead is brilliant, trying plain homemade mead is an experience like no other.
Flavourings
Traditionally, mead is flavoured with berries, fruits, and flowers. Modern variations of mead can be flavoured with pretty much anything since mead has a relatively neutral and sweet flavour. Some mead flavours to try are:
- Juniper
- Raspberry
- Hibiscus
- Orange
- Blueberry
- Yarrow
- Raisins
- Elderberry
- Vanilla
- Rosehip
- Blackberry
Specifically flavoured meads have their own names.
- Sack mead – This mead is made with more honey than usual to create denser and stronger alcohol.
-
- Blod mead – Hibiscus and mixed summer fruits, especially sour cherries.
- Bochet – Made with caramelized honey.
- Acerglyn – Made from maple syrup.
- Cyser – Swap the water for apple cider.
- Pyment – Swap the water for grape juice.
-
- Metheglin – Include cinnamon, nutmeg, or cloves.
- Capsicumel – Includes chillies.
Storage
Once your mead has finished fermenting then you can bottle it up. You can do so in wine bottles, beer bottles, or flip-top bottles. Once it has bottled then you can let your mead continue to age for up to a year.
Conclusion
Making mead at home is a fantastic way to feel like you’re a part of history. You get to experience what the Vikings did many years ago, and you have a delicious drink at the end of it.
We also recommend making your own drinking horn so you can really have the proper mead drinking experience.
Making mead may be easy, but it takes a long time. So once your batch is complete then why not share it with friends and family so they can experience the fruits of your labor.