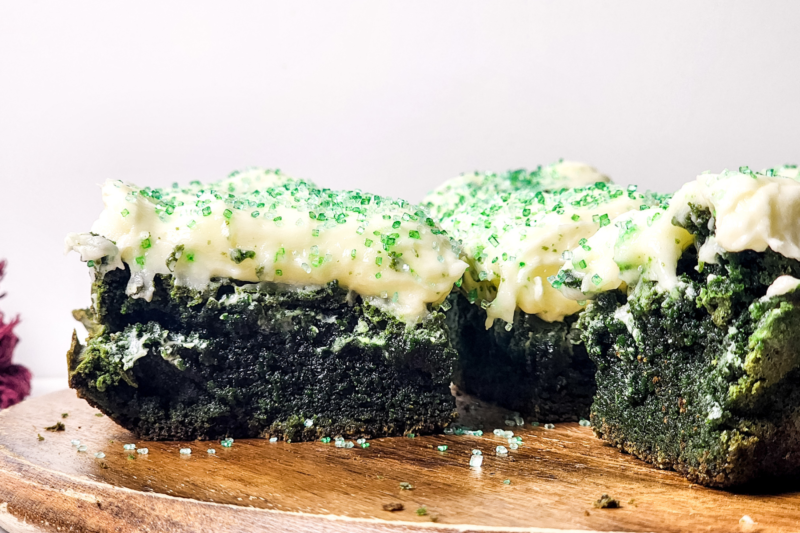
Fudgy Green Velvet Brownies with Cream Cheese Frosting
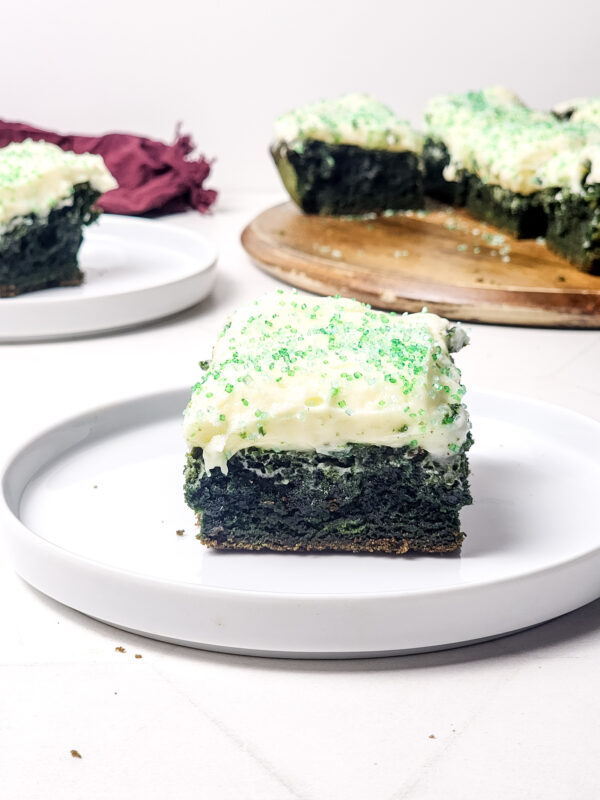
If you love a dessert that makes people do a double take before even taking a bite, these brownies are about to become a favorite. That rich chocolate base paired with that bold green color makes them feel playful, festive, and just a little extra in the best way. They’re the kind of treat that instantly brightens up a dessert table and makes everyone curious enough to grab one.
What really makes these special is the balance. You get soft, fudgy brownies that stay moist and rich, topped with a thick layer of creamy, slightly tangy frosting that keeps things from feeling too sweet. Every bite hits that perfect mix of chocolatey, creamy, and indulgent without being overwhelming. Plus, they’re easy enough to make that you don’t need a special occasion, even though they look like you planned ahead.
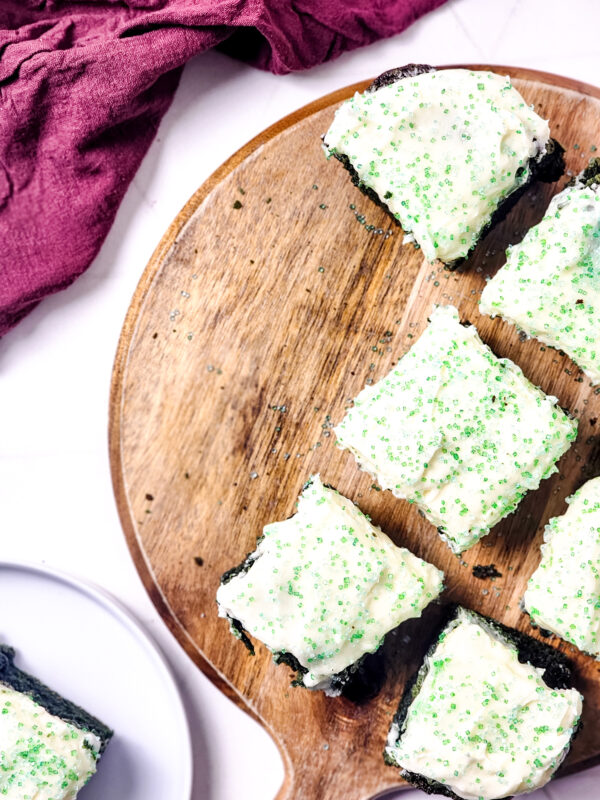
I love how versatile these brownies are too. They’re perfect for holidays, parties, bake sales, or just a cozy baking day at home when you want something fun and a little different. Add the sprinkles, cut them into neat squares, and suddenly you’ve got a dessert that looks bakery-worthy but still feels homemade and comforting.
You should also take a look at some of my other St. Patrick’s Day recipes:
- St. Patrick’s Day Pot of Gold at the End of the Rainbow Cupcakes
- St. Patrick’s Day Green Jello Dessert Cups
- St. Patrick’s Day Mocktails
- St. Patrick’s Day Cocktails
Why We Love This Recipe
- That color gets everyone talking. The fun green hue makes these brownies feel extra special, and they’re always a conversation starter the second you set them out.
- They’re rich without being heavy. You get that deep, chocolatey brownie flavor, but the cream cheese frosting keeps everything balanced and not too intense.
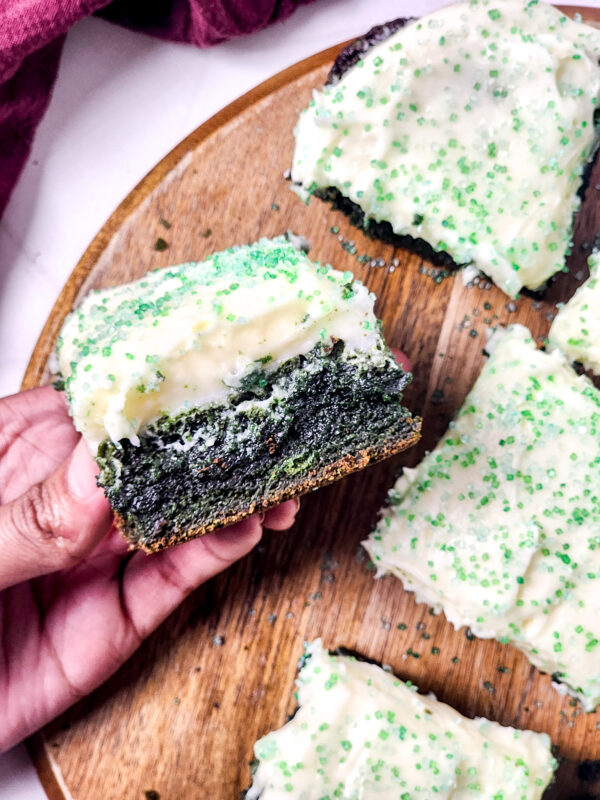
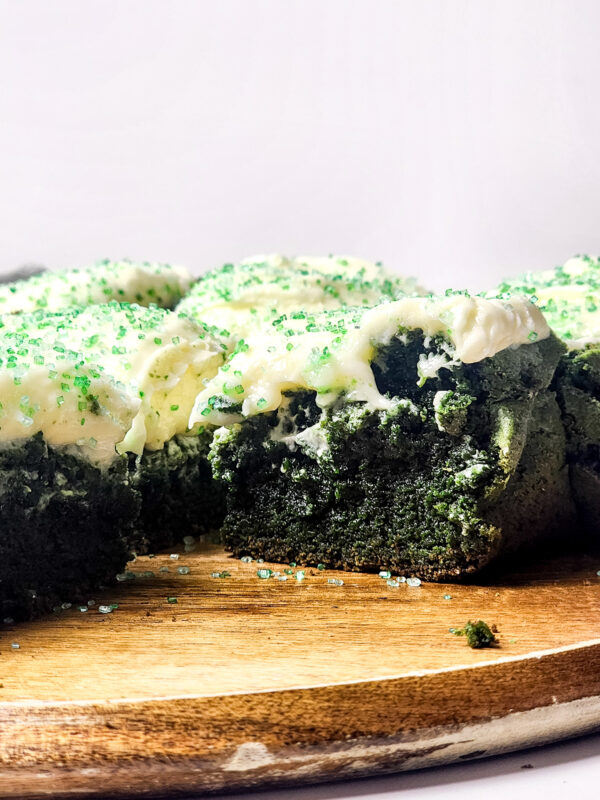
- The texture is just right. Soft, fudgy centers with clean edges make every bite feel bakery-worthy.
- They’re perfect for celebrating anything. Holidays, parties, school events, or just because the craving hit, these fit right in.
- Simple ingredients, big payoff. Nothing fancy or hard to find, but the end result looks like you spent way more time than you actually did.
- That frosting seals the deal. Creamy, smooth, and just sweet enough, it takes these brownies from good to absolutely irresistible.
- They slice beautifully. Clean cuts mean they look great on a platter and are easy to share… or not, no judgment here.
Equipment
-
Mixing bowls: You’ll want a couple of these, one for the brownie batter and one for that creamy frosting, so everything stays smooth and easy to manage.
-
Microwave-safe bowl: This makes melting the butter and chocolate quick and mess-free, which is always a win.
-
Whisk: Perfect for mixing the batter and getting everything nicely combined without overworking it.
-
Electric mixer: This is your best friend for whipping up a light, fluffy cream cheese frosting with no lumps.
-
Spatula: Great for scraping down the sides of the bowl and spreading the batter and frosting evenly.
-
8×8-inch baking pan: The ideal size for thick, fudgy brownies that bake evenly.
-
Parchment paper or nonstick spray: Makes lifting and slicing the brownies so much easier once they’re cooled.
-
Measuring cups and spoons: Keeping everything measured properly helps the brownies turn out just right every time.
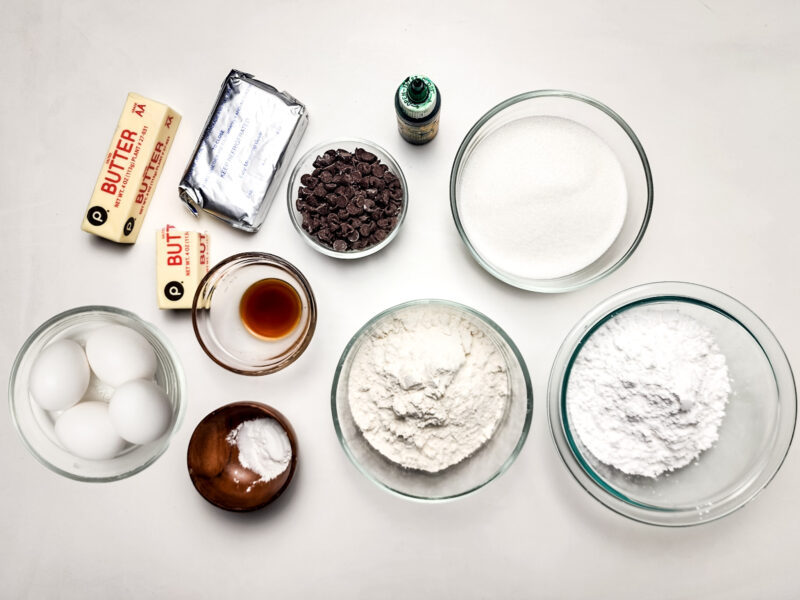
Ingredients
For the Brownie Batter
-
¾ cup semi sweet chocolate chips: These melt into the butter and give the brownies that rich, chocolatey base we all love.
-
¾ cup unsalted butter, melted: Melted butter keeps the brownies extra fudgy and helps everything mix together smoothly.
-
2 cups white granulated sugar: This adds sweetness and helps create that soft, chewy texture.
-
4 eggs: The eggs give structure while keeping the brownies moist and rich.
-
1 ½ cups all purpose flour: Just enough flour to hold everything together without losing that fudgy bite.
-
Green food dye: This is where the fun happens, turning classic brownies into something festive and eye-catching.
-
1 ½ teaspoons baking powder: Helps give the brownies a little lift so they’re not too dense.
-
½ teaspoon vanilla extract: Adds warmth and rounds out all the chocolate flavors.
-
¼ teaspoon salt: A small amount that makes all the sweet flavors pop.
For the Frosting
-
1 8-ounce package of cream cheese, softened: The base of that smooth, creamy frosting with just the right hint of tang.
-
4 tablespoons unsalted butter, softened: Makes the frosting rich, fluffy, and easy to spread.
-
1 ½ cups powdered sugar: Sweetens the frosting while keeping it silky and smooth.
-
¼ teaspoon salt: Balances the sweetness so the frosting doesn’t taste overly sugary.
-
1 teaspoon vanilla extract: Adds a little extra flavor and ties everything together.
For the Topping
-
Green sprinkles: A fun finishing touch that makes the brownies look festive and party-ready.
Recipe Instructions
You can find a printable recipe card at the bottom of this post.
Step 1: Preheat the oven to 350°F (175°C) and grease an 8×8-inch baking pan or line it with parchment paper.
Step 2: Melt the butter in a microwave-safe bowl.
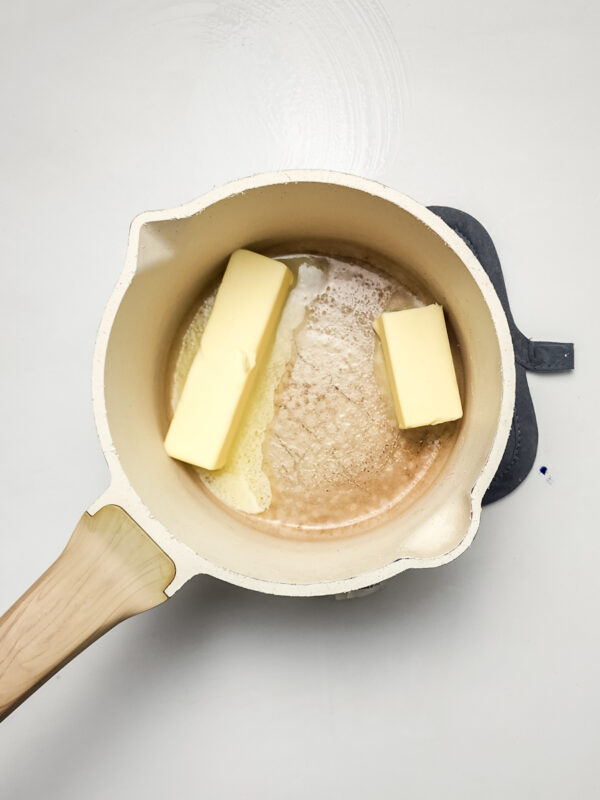
Step 3: Transfer the melted butter to a large mixing bowl, add the chocolate chips, and stir until the chocolate is fully melted and the mixture is smooth.
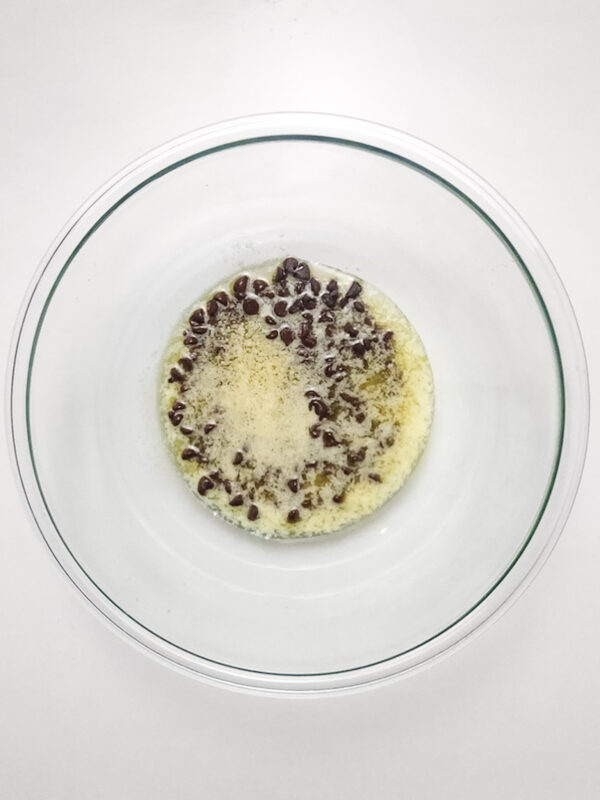
Step 4: Whisk in the sugar, eggs, green food dye and vanilla extract until evenly incorporated.
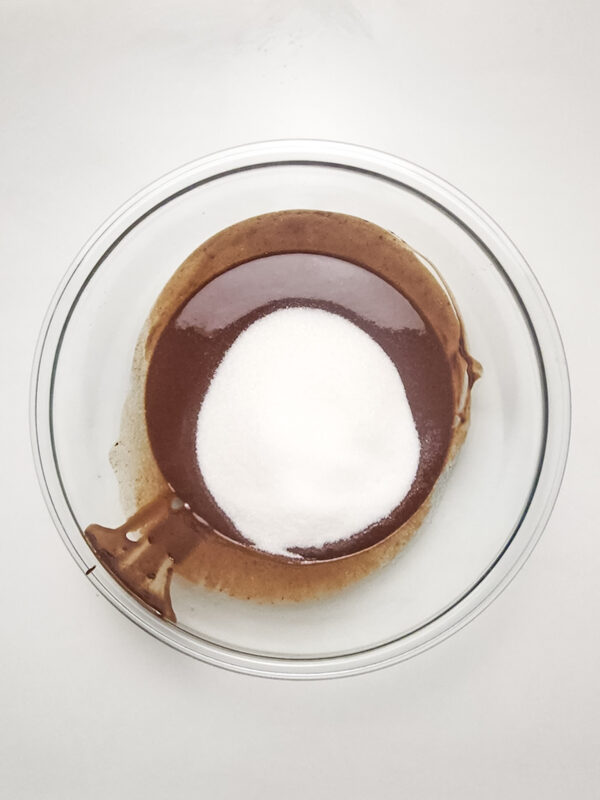
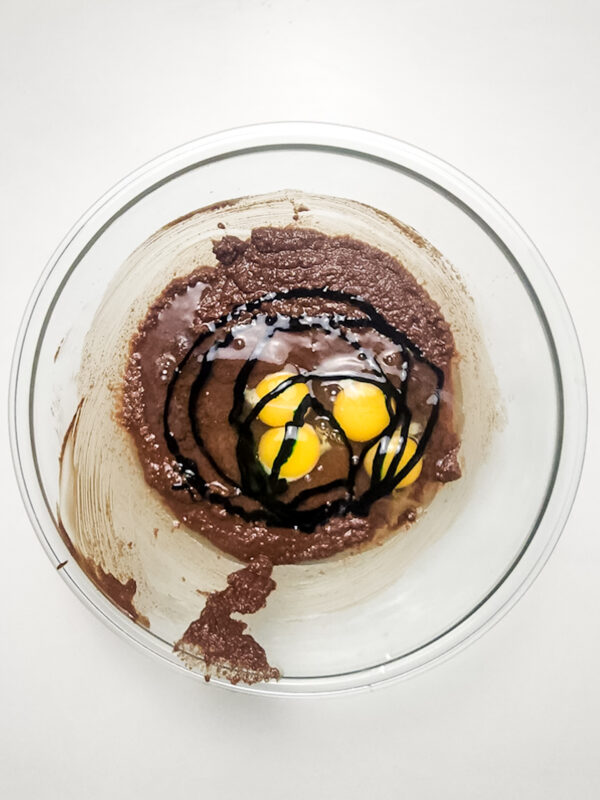
Step 5: Add the flour, baking powder, and salt, mixing just until combined.
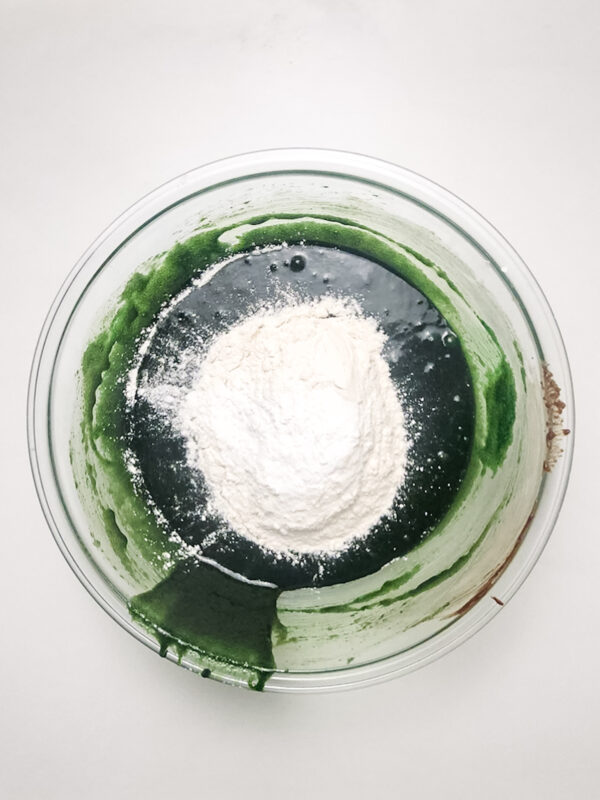

Step 6: Pour the batter into the prepared pan and spread it evenly.
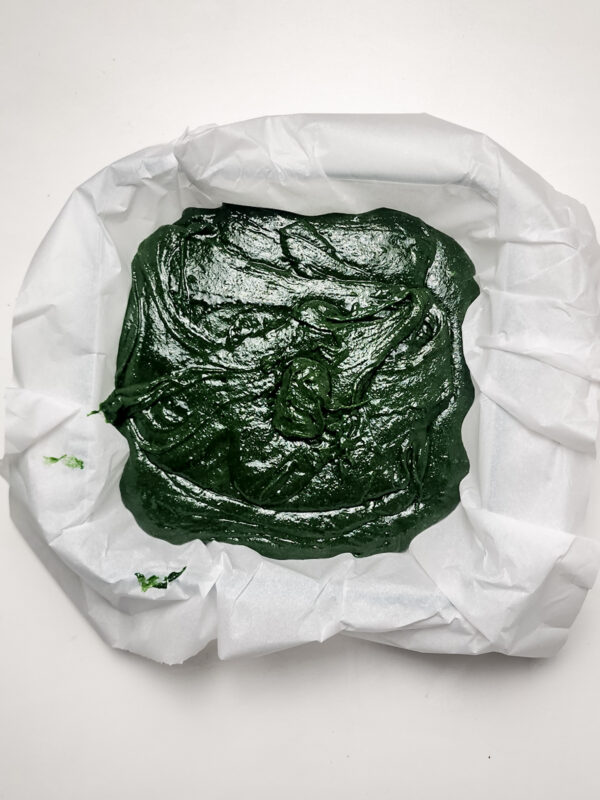
Step 7: Bake for 45 to 50 minutes, or until a toothpick inserted into the centre comes out with a few moist crumbs. Allow the brownies to cool completely before frosting.
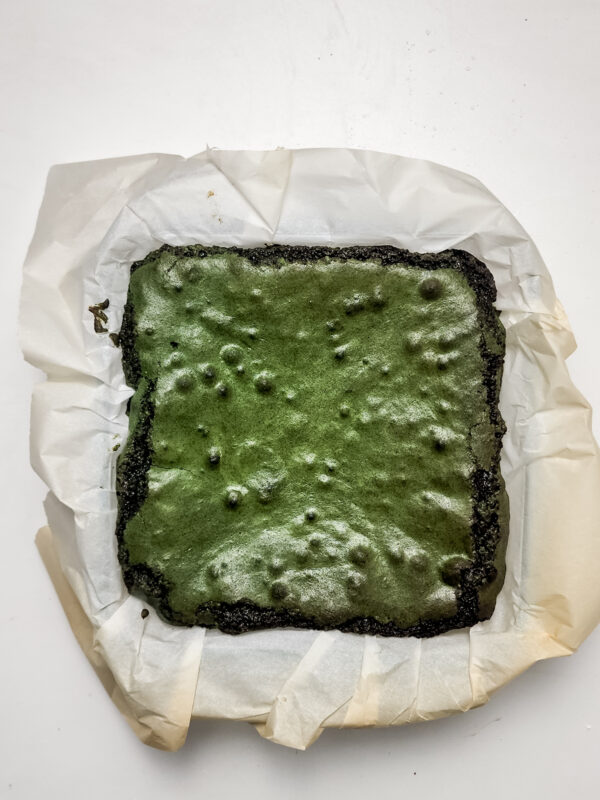
Step 8: In a mixing bowl, beat the softened cream cheese and butter until smooth and creamy.
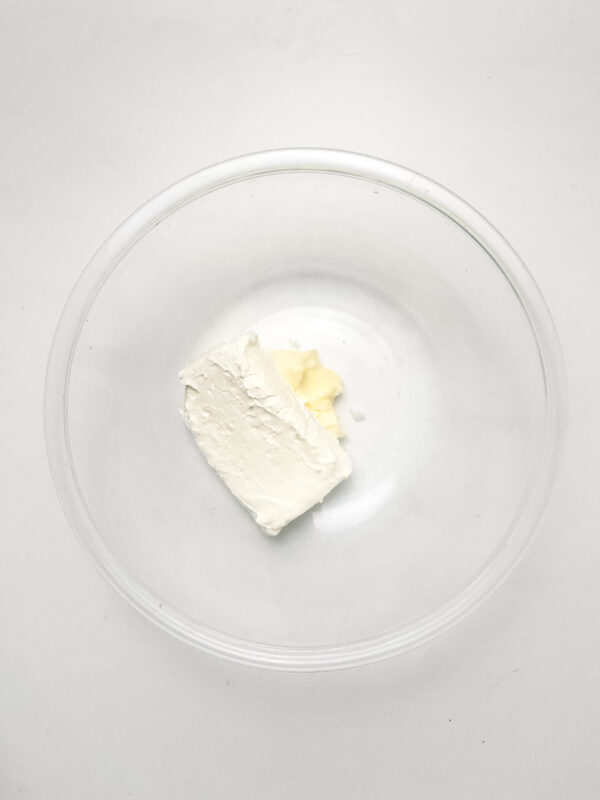
Step 9: Add the powdered sugar, salt, and vanilla extract, and continue mixing until light and fluffy.
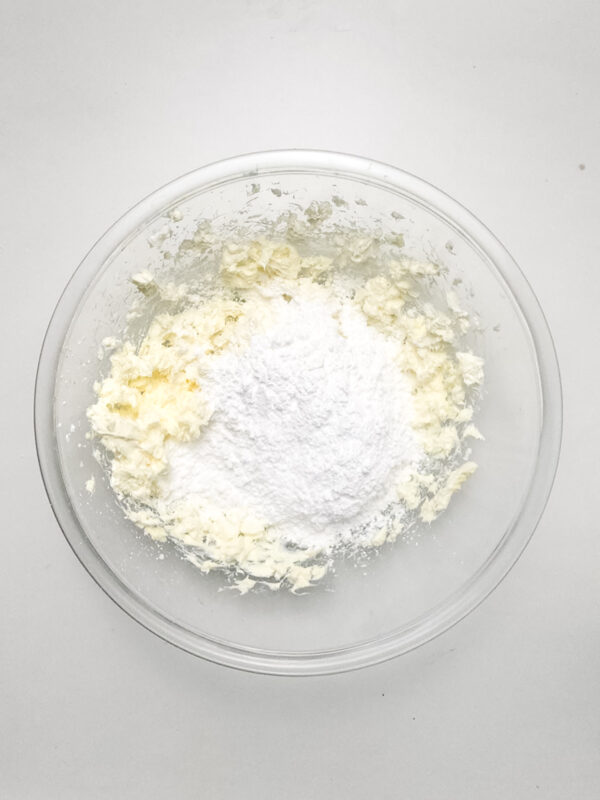
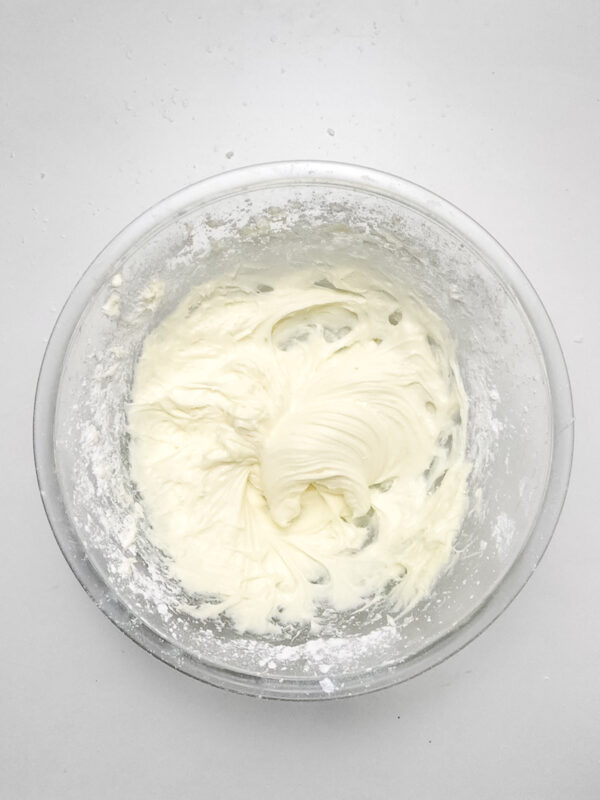
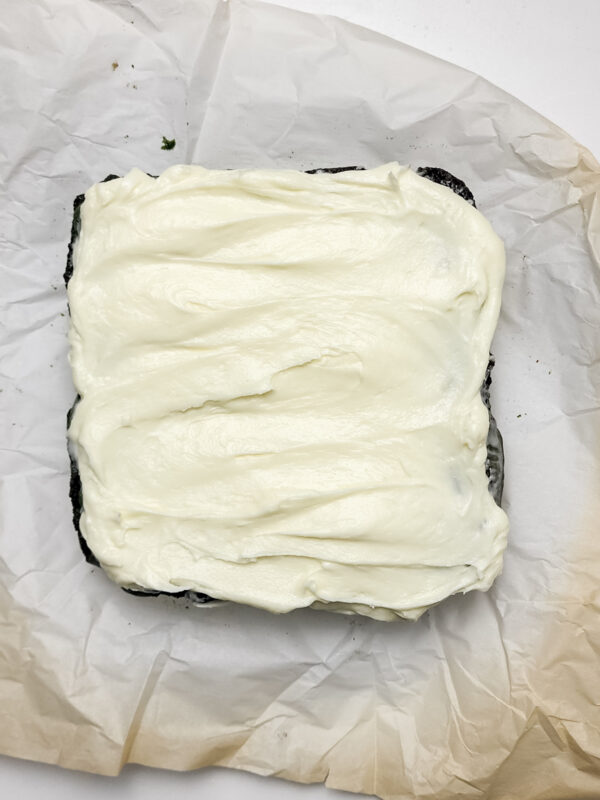
Step 10: Spread the frosting evenly over the cooled brownies.
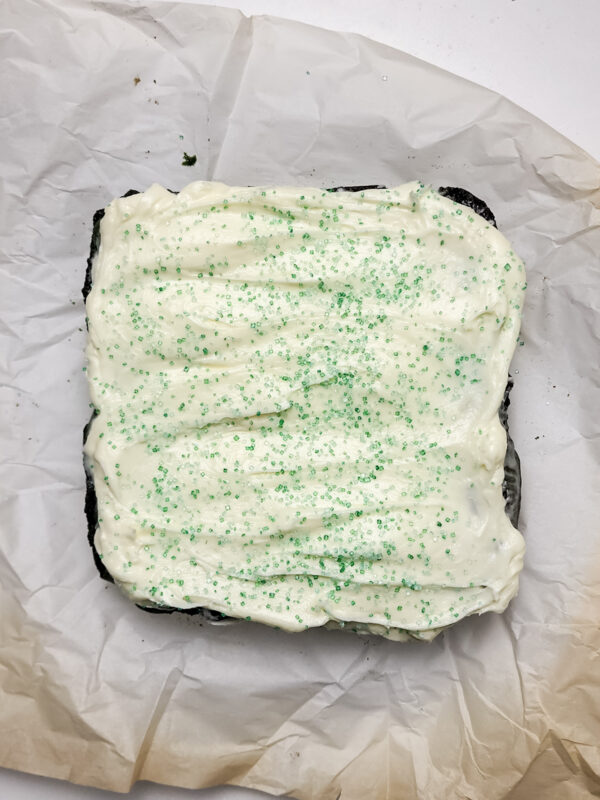
Step 11: Finish with green sprinkles for a festive touch.
Step 12: Slice into squares and enjoy.
 Serving & Storing
-
Let them cool completely before slicing. This helps the brownies set properly and gives you those clean, bakery-style squares.
-
Serve at room temperature for the best texture. The brownies stay soft and fudgy, and the frosting is perfectly creamy.
-
Great for make-ahead desserts. You can bake and frost them a day in advance, which makes party prep so much easier.
-
Store leftovers in an airtight container. Keep them in the fridge to protect the cream cheese frosting and keep everything fresh.
-
They’ll keep well for several days. Stored properly, they stay delicious for up to 4 to 5 days.
-
Bring to room temperature before serving again. Letting them sit out for a bit makes the brownies extra soft and the frosting more flavorful.

Variations & Substitutions
-
Switch up the color. Swap the green food dye for red, pink, or blue to match holidays, parties, or themed events.
-
Go natural with the color. Use a little matcha powder or spinach-based food coloring if you prefer a more natural option.
-
Make them extra chocolatey. Stir a handful of chocolate chips into the batter for little pockets of melty goodness.
-
Try a different frosting. A simple vanilla buttercream or even chocolate frosting works beautifully if cream cheese isn’t your thing.
-
Add a flavor twist. A few drops of peppermint or almond extract can give these brownies a fun, unexpected vibe.
-
Cut back on sweetness. Reduce the powdered sugar in the frosting slightly if you like things less sweet.
-
Make them gluten-free. Swap the all-purpose flour for a 1:1 gluten-free baking blend and they’ll still turn out great.
Little Tricks That Make a Big Difference
-
Melt the butter while it’s hot enough to melt the chocolate. This saves time and gives you a super smooth, glossy base.
-
Add the food coloring a little at a time. It’s much easier to deepen the color than to fix it if it gets too dark.
-
Mix just until combined once the flour goes in. This keeps the brownies soft and fudgy instead of dense.
-
Line the pan with parchment paper. You’ll thank yourself later when the brownies lift out easily for clean slicing.
-
Chill the brownies briefly before cutting. A short rest in the fridge helps the frosting set and makes neater squares.
-
Use a warm knife to slice. Wipe it clean between cuts for those smooth, bakery-style edges.
-
Sprinkle while the frosting is fresh. The sprinkles stick better and don’t slide off once everything sets.
FAQs
Can I make these ahead of time?
Yes, and they’re actually great for that. You can bake and frost them a day in advance and keep them stored in the fridge until you’re ready to serve.
Do I have to use green food coloring?
Not at all. You can skip it completely or swap in another color to match a holiday or party theme.
How do I know when they’re done baking?
Look for set edges and a toothpick inserted in the center that comes out with a few moist crumbs, not wet batter.
Can I freeze these brownies?
You can freeze the brownies without the frosting. Wrap them tightly, freeze for up to 2 months, then thaw and frost when ready.
Why are my brownies too soft or gooey?
They may need a little more cooling time. These brownies firm up as they cool, so letting them rest makes a big difference.
Can I double the recipe?
Yes. Just use a larger pan and keep an eye on the baking time, as it may need a little extra time in the oven.
Can I use salted butter instead of unsalted?
You can, just reduce or skip the added salt so the brownies don’t turn out too salty.
Fudgy Green Velvet Brownies
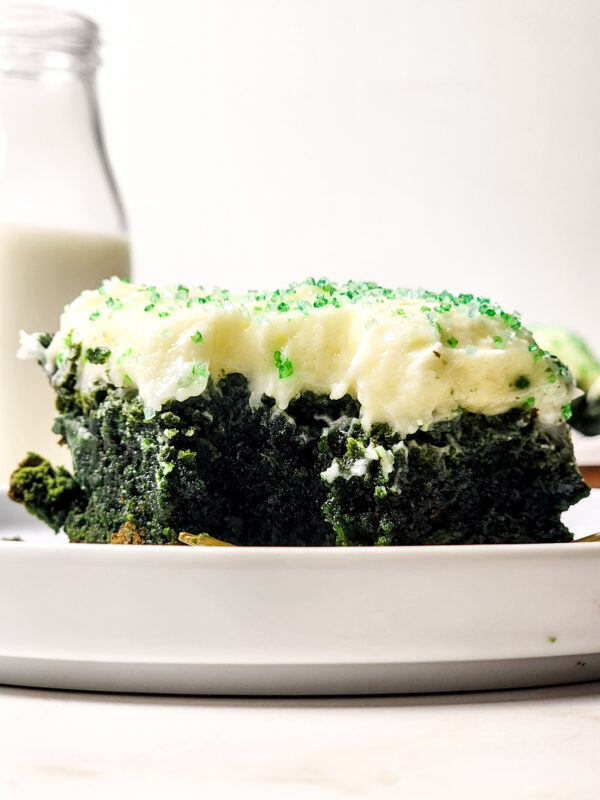
Rich, fudgy brownies with a fun green twist, topped with a thick layer of smooth cream cheese frosting and finished with festive sprinkles. These brownies are easy to make, perfectly soft in the center, and always a hit for holidays, parties, or anytime you want a dessert that’s both playful and indulgent.
Ingredients
For the Brownie Batter:
- ¾ cup semi sweet chocolate chips
- ¾ cup unsalted butter, melted
- 2 cups white granulated sugar
- 4 eggs
- 1 ½ cups all purpose flour
- Green Food Dye
- 1 ½ teaspoons baking powder
- ½ teaspoon vanilla extract
- ¼ teaspoon salt
For the Frosting:
- 1 8-ounce package of cream cheese, softened
- 4 tablespoons unsalted butter, softened
- 1 ½ cups powdered sugar
- ¼ teaspoon salt
- 1 teaspoon vanilla extract
For the Topping:
- Green Sprinkles
Instructions
- Preheat the oven to 350°F (175°C) and grease an 8×8-inch baking pan or line it with parchment paper.
- Melt the butter in a microwave-safe bowl.
- Transfer the melted butter to a large mixing bowl, add the chocolate chips, and stir until the chocolate is fully melted and the mixture is smooth.
- Whisk in the sugar, eggs, green food dye and vanilla extract until well combined.
- Add the flour, baking powder, and salt, mixing just until combined.
- Pour the batter into the prepared pan and spread it evenly.
- Bake for 45 to 50 minutes, or until a toothpick inserted into the centre comes out with a few moist crumbs. Allow the brownies to cool completely before frosting.
- In a mixing bowl, beat the softened cream cheese and butter until smooth and creamy.
- Add the powdered sugar, salt, and vanilla extract, and continue mixing until light and fluffy.
- Spread the frosting evenly over the cooled brownies.
- Finish with green sprinkles for a festive touch.
- Slice into squares and enjoy.
Notes
- Let the brownies cool completely before adding the frosting so it spreads smoothly and doesn’t melt.
- Add the green food coloring gradually until you reach the shade you like. A little goes a long way.
- For cleaner slices, chill the brownies briefly after frosting, then cut with a sharp knife wiped clean between cuts.
- If the frosting feels too soft, pop it in the fridge for a few minutes to help it firm up before spreading.
- Baking times can vary slightly depending on your oven, so start checking near the lower end of the time range.
- These brownies taste even better the next day once the flavors have had time to settle.
Nutrition Information:
Yield:
9Serving Size:
1Amount Per Serving: Calories: 660Total Fat: 31gSaturated Fat: 19gUnsaturated Fat: 13gCholesterol: 144mgSodium: 224mgCarbohydrates: 94gFiber: 2gSugar: 80gProtein: 6g