
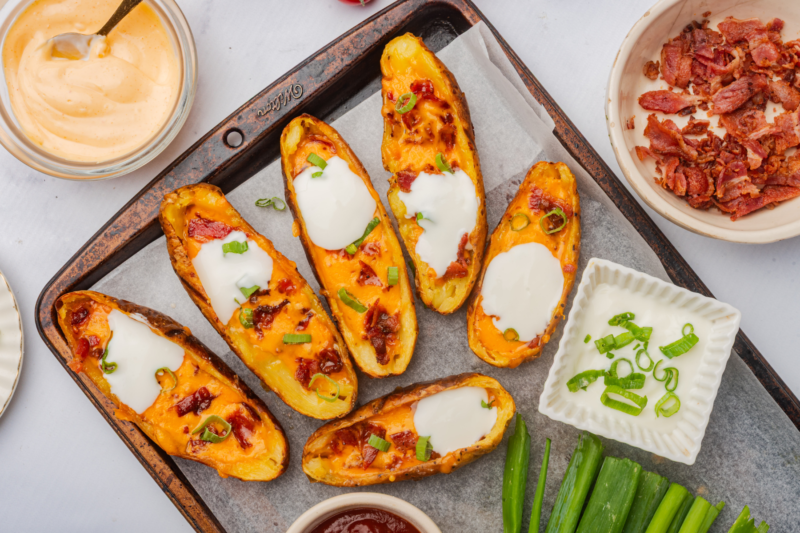
Loaded Potato Skins Recipe with Cheese, Bacon, and Sour Cream
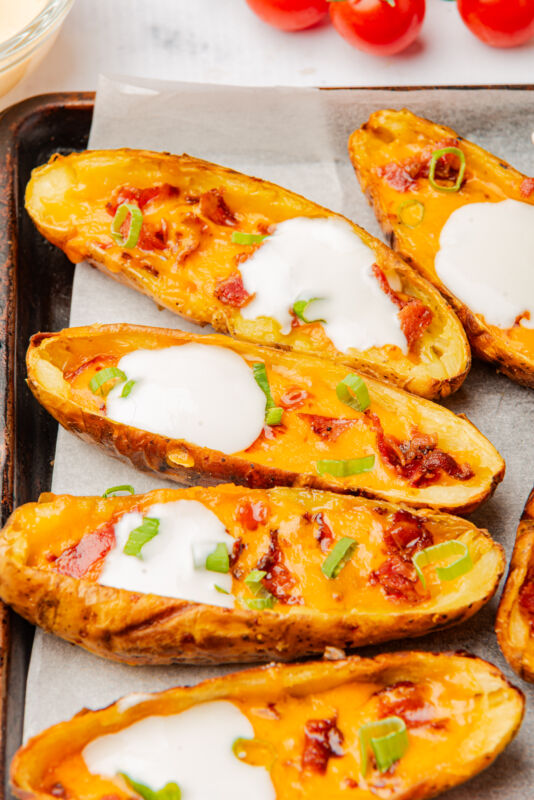
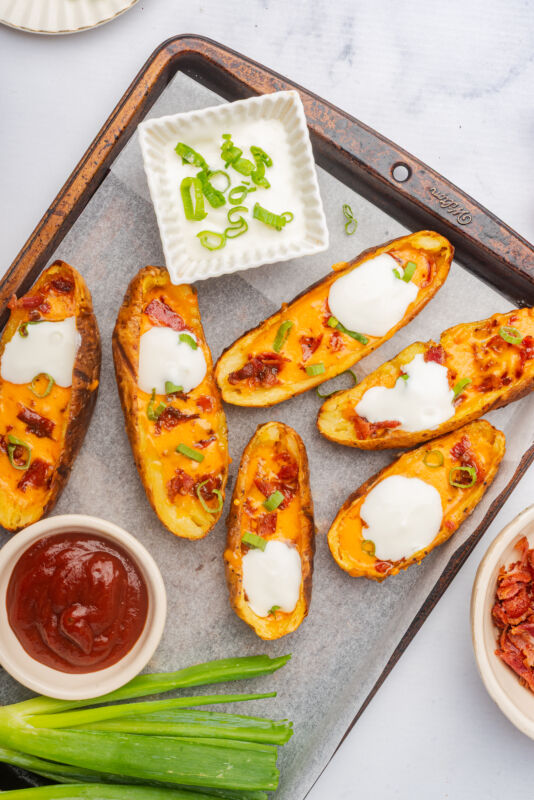
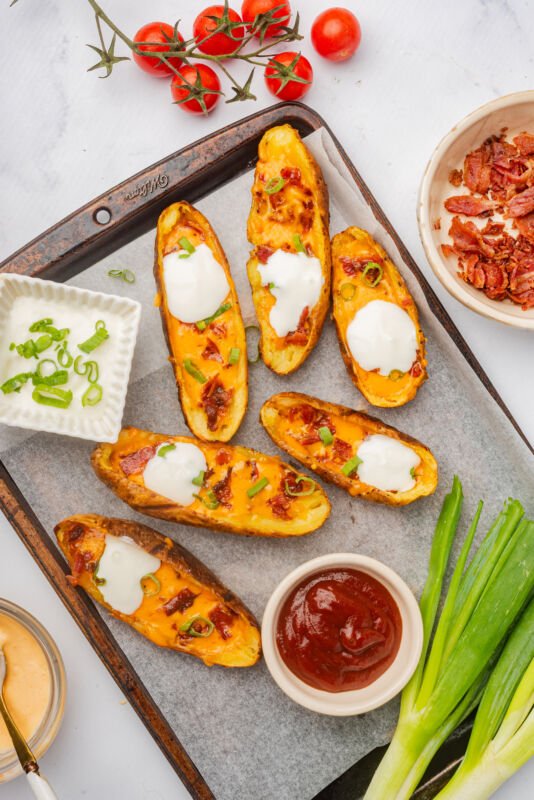
There’s just something about crispy potato skins that feels like the ultimate comfort food snack. When they come out of the oven golden and crunchy with melty cheese bubbling inside, it’s almost impossible not to grab one right away. Add a dollop of sour cream, a sprinkle of green onions, and maybe a few extra toppings, and suddenly you’ve got a tray of something everyone keeps coming back for.
These are surprisingly simple to make at home too. It starts with baked potatoes that get scooped out, crisped up in the oven, and then filled with all those delicious toppings. The result is that classic pub-style appetizer everyone loves, but made fresh in your own kitchen without anything complicated.
They’re also easy to customize depending on what you have on hand. Keep them classic with cheese and bacon, make them vegetarian, or pile on toppings like jalapeños, chives, or a drizzle of hot sauce for a little kick. However they’re topped, they tend to disappear quickly, so it’s always a good idea to make a full tray.
Why We Love This Recipe
- Crispy on the outside, cheesy on the inside. That golden, crunchy potato skin paired with gooey melted cheese is the kind of combination that’s hard to beat.
- It feels like a restaurant treat at home. These have that classic pub-style appetizer vibe, but they’re surprisingly easy to make in your own kitchen.
- Perfect for sharing. Whether it’s game night, movie night, or friends dropping by, these always seem to disappear quickly from the plate.
- You can customize them however you like. Add bacon, keep them vegetarian, pile on jalapeños, drizzle hot sauce, or sprinkle fresh herbs. Everyone can make theirs just the way they like it.
- Great way to use up extra baked potatoes. If you’ve got leftover potatoes sitting in the fridge, this is a fun way to turn them into something everyone gets excited about.
- They work as a snack, appetizer, or casual dinner. Sometimes we serve them as party food, and other times they end up being dinner with a salad on the side. No one complains either way.
Equipment
- Baking sheet: This is where the potato skins crisp up in the oven, so a sturdy baking sheet works best to hold everything while they bake.
- Small spoon: A spoon makes it easy to scoop out the potato flesh while leaving just enough behind to keep the skins sturdy.
- Pastry brush (or spoon): This helps spread the olive oil evenly over the potato skins so they get nice and crispy in the oven.
- Sharp knife: You’ll need a good knife to cut the baked potatoes cleanly in half before turning them into skins.
- Cutting board: A simple cutting board gives you a safe spot to slice the potatoes and chop toppings like green onions.
- Mixing bowl (optional): Handy if you want to toss your toppings together or prep everything before assembling the skins.
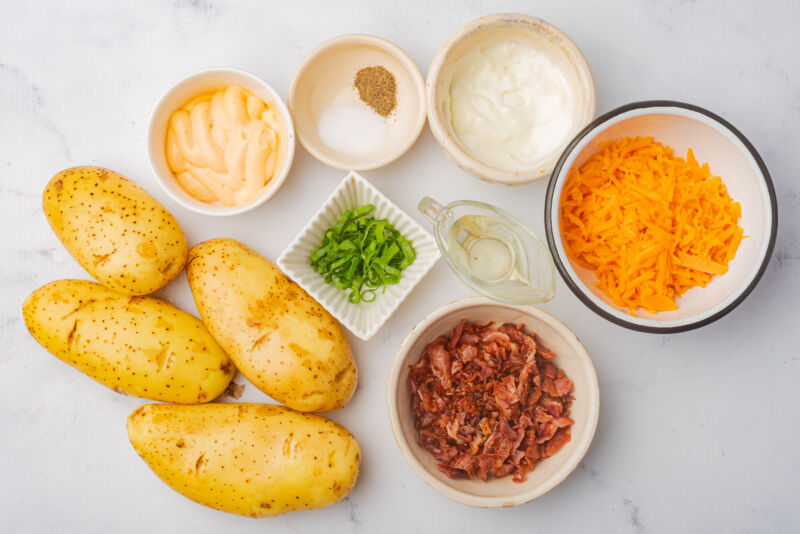
Ingredients
For the Potato Skins
-
4 medium russet potatoes (or any starchy potato): Russet potatoes work perfectly here because the skins crisp up beautifully in the oven while the inside stays fluffy.
-
1 tbsp olive oil: A little olive oil helps the potato skins turn golden and crispy while baking.
-
Salt and pepper to taste: Just a simple sprinkle of salt and pepper brings out the natural flavor of the potatoes.
For the Filling
-
1 cup shredded cheddar cheese: This melts into that gooey, bubbly layer that makes every bite extra comforting and cheesy.
-
½ cup cooked bacon, chopped (optional): Crispy bacon adds a savory, smoky flavor that pairs perfectly with the cheese and potatoes.
-
2 green onions, thinly sliced: These add a little fresh crunch and a mild onion flavor that brightens everything up.
-
½ cup sour cream (for serving): A dollop of cool, creamy sour cream is the perfect finishing touch for these warm, crispy skins.
Optional Toppings
-
Jalapeño slices (fresh or pickled): If you like a little heat, jalapeños add a spicy kick that works really well with the cheese.
-
Chopped fresh chives or parsley: A sprinkle of fresh herbs adds a pop of color and a light fresh flavor.
-
Hot sauce or salsa: Drizzle a little on top if you want to add some extra bold flavor and a bit of spice.
Recipe Instructions
You can find a printable recipe card at the bottom of this post.
Step 1: Preheat the oven to 400°F (200°C).
Step 2: Scrub the potatoes clean, pat them dry, and poke each one several times with a fork to allow steam to escape.
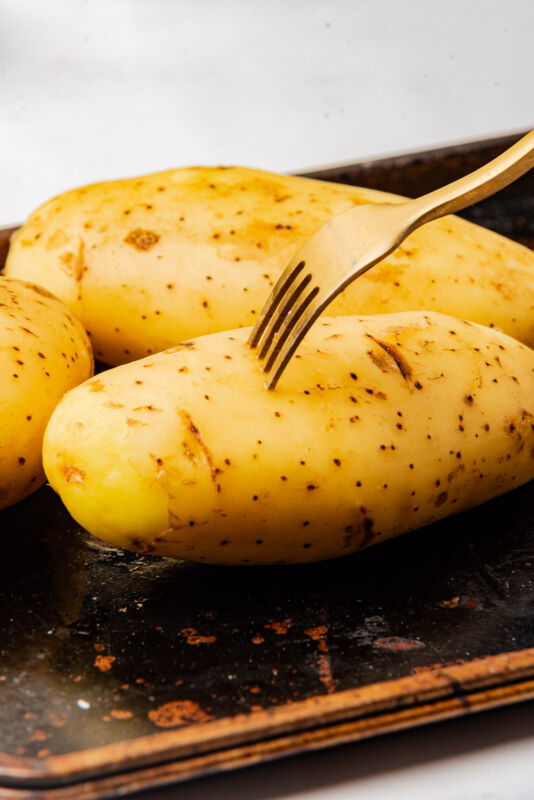
Step 3: Rub the potatoes with olive oil and sprinkle with salt.
Step 4: Place the potatoes directly on the oven rack and bake for 45 to 60 minutes, or until tender when pierced with a fork.
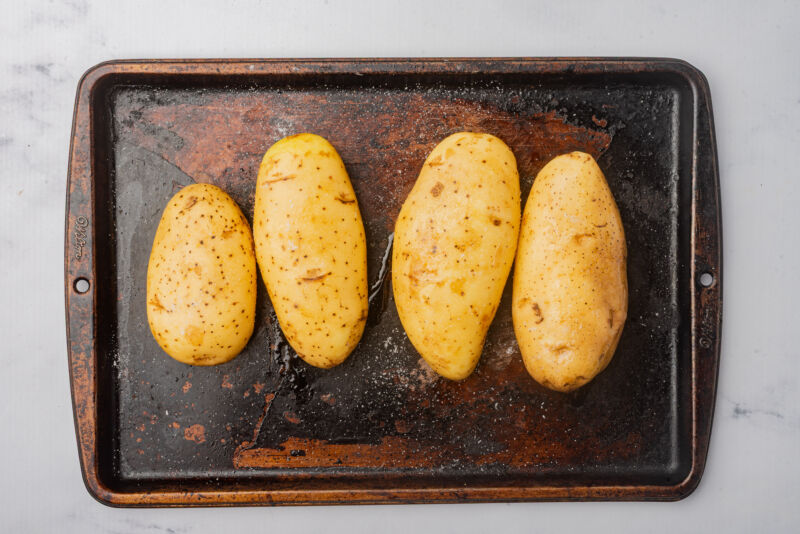
Step 5: Remove the potatoes from the oven and let them cool slightly.
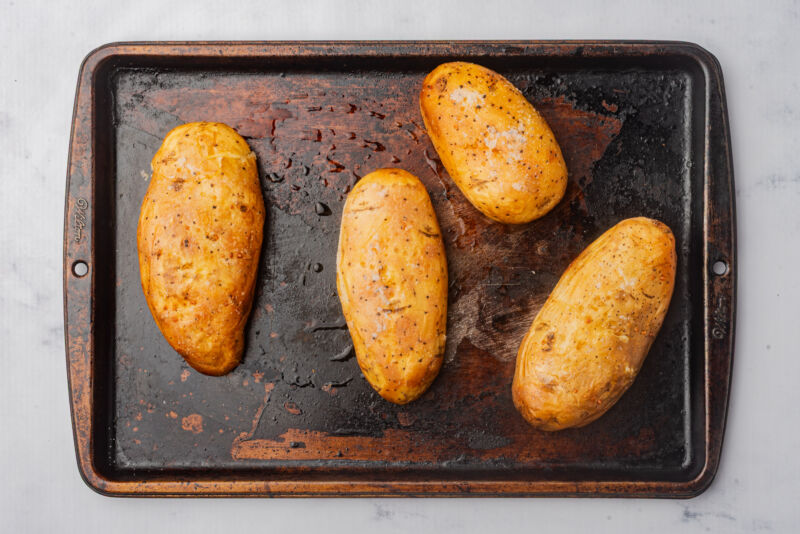
Step 6: Cut each potato in half lengthwise.
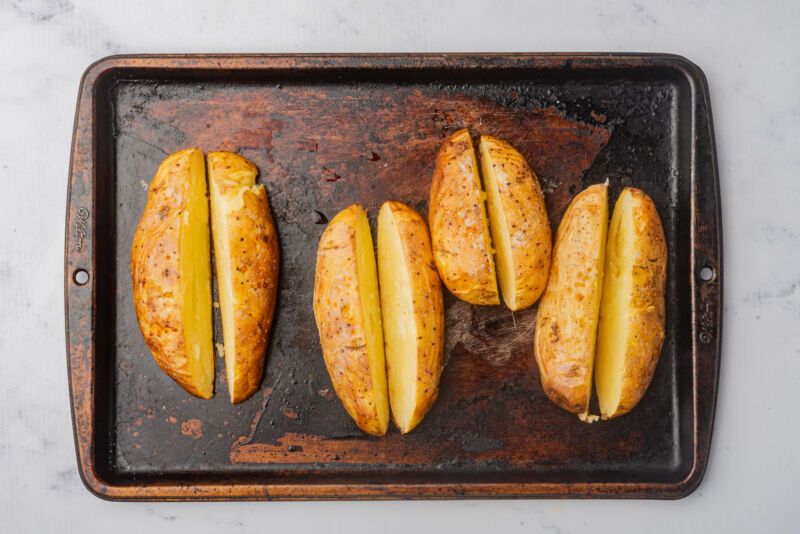
Step 7: Scoop out most of the flesh, leaving about ¼ inch of potato attached to the skin. Reserve the scooped potato for another use if desired.
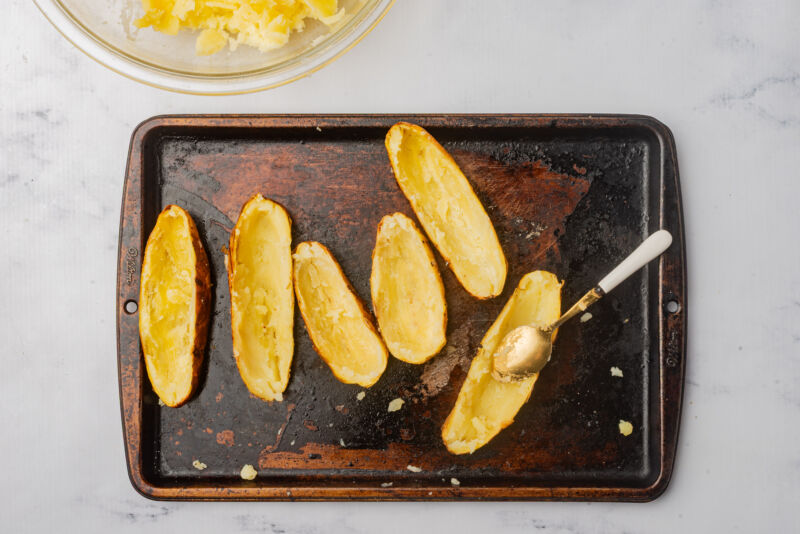
Step 8: Brush the inside and outside of the potato skins with olive oil and season with salt and pepper.
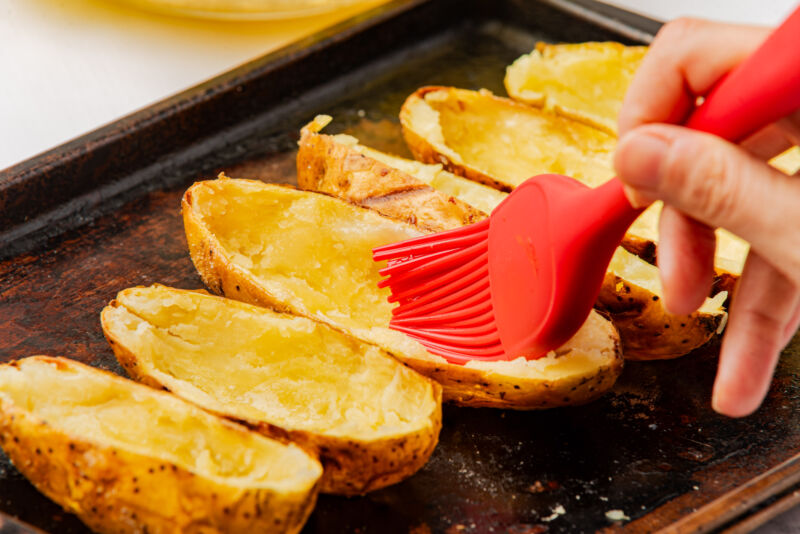
Step 9: Place the skins cut-side down on a baking sheet and bake at 400°F (200°C) for 10 minutes.
Step 10: Flip the skins over and bake for another 10 minutes, or until crispy.
Step 11: Sprinkle shredded cheddar cheese and bacon, if using, evenly inside each skin.
Step 12: Return the baking sheet to the oven and bake for 5 to 7 minutes, until the cheese is melted and bubbly.
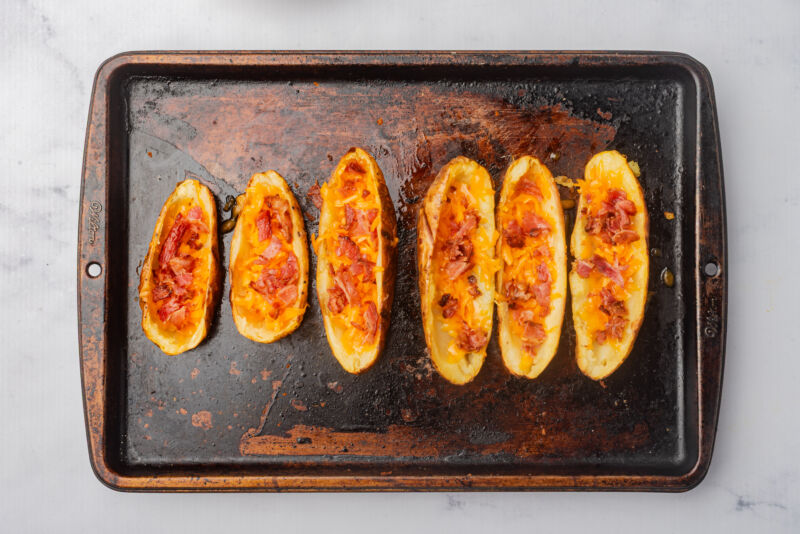
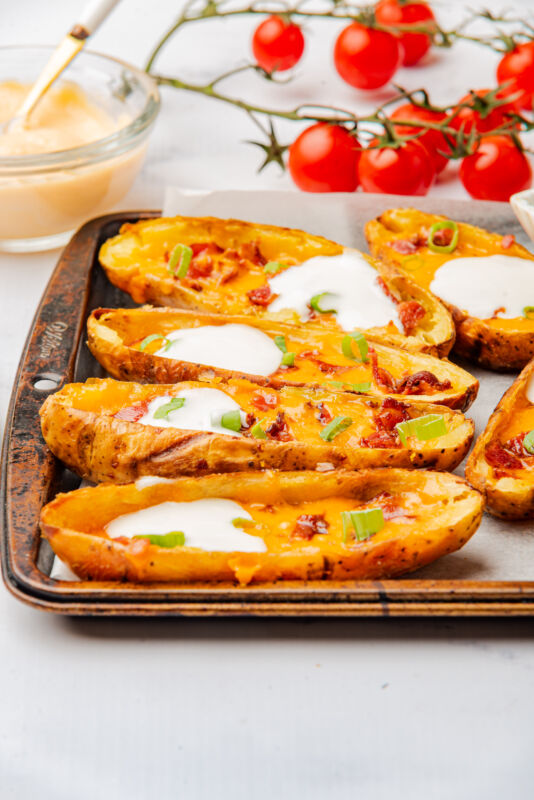
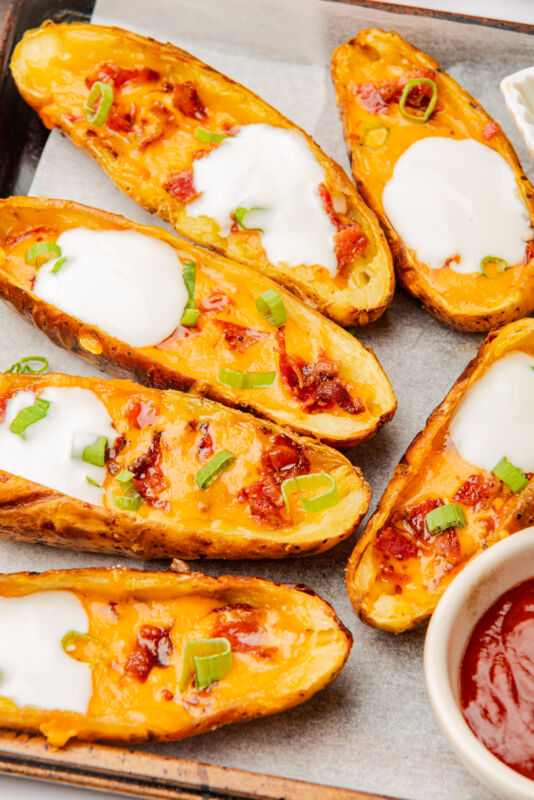
Step 13: Remove from the oven and top with sliced green onions, sour cream, and any additional toppings you like, such as jalapeños, chives, or hot sauce.

Serving & Storing
-
Serve them while they’re hot and crispy. Potato skins really shine straight out of the oven when the cheese is melted and the edges are perfectly crunchy.
-
Add the toppings right before serving. A dollop of sour cream, a sprinkle of green onions, or a few jalapeños taste best when they’re added just before bringing the tray to the table.
-
Turn them into a full snack spread. These are great alongside things like salsa, guacamole, ranch dip, or even a small side salad if you want to round things out a bit.
-
Store leftovers in the fridge. If you happen to have any left, place them in an airtight container and keep them in the refrigerator for up to 3 days.
-
Reheat in the oven for the best texture. Pop them back into a hot oven for a few minutes to bring back that crispy edge. The microwave works too, but the skins won’t stay quite as crunchy.
-
Avoid freezing if possible. Potato skins tend to lose their texture once frozen and reheated, so they’re definitely best enjoyed fresh.
Variations & Substitutions
-
Make them vegetarian. Simply skip the bacon and load them up with extra cheese, green onions, and maybe a few sautéed veggies like mushrooms or bell peppers.
-
Try a different cheese. Cheddar is classic, but Monterey Jack, mozzarella, or a Mexican blend all melt beautifully and give the skins a slightly different flavor.
-
Add a little spice. If you like a bit of heat, sprinkle on some sliced jalapeños, red pepper flakes, or drizzle a little hot sauce over the top.
-
Turn them into taco-style skins. Add seasoned ground beef, a little salsa, and maybe some avocado for a fun twist that feels like taco night.
-
Swap the sour cream. Greek yogurt works really well if you want something a little lighter but still creamy.
-
Use whatever potatoes you have. Russets are ideal for crispiness, but Yukon Gold or other starchy potatoes can work just fine if that’s what you’ve got in the kitchen.
Little Tricks That Make a Big Difference
-
Don’t skip poking the potatoes. A few fork holes let the steam escape while they bake so the potatoes cook evenly and the skins don’t split.
-
Bake the potatoes directly on the oven rack. This helps the heat circulate all around them so the skins start getting nice and firm right from the start.
-
Leave a little potato inside the skins. About a quarter inch of potato helps keep the skins sturdy so they hold all those toppings without collapsing.
-
Brush both sides with oil. A light coating of oil inside and out helps the skins crisp up beautifully in the oven.
-
Bake them twice for extra crispiness. First bake them cut-side down, then flip them over and bake again. That double bake makes a big difference in texture.
-
Add the cheese at the end. Let the skins crisp up first, then add the cheese and toppings so everything melts perfectly without making the skins soggy.
What to Serve with Loaded Potato Skins
-
A few dipping sauces on the side. Ranch, extra sour cream, salsa, or even a little guacamole are all great for dipping and letting everyone add a little extra flavor.
-
A fresh green salad. Something light and crisp balances out the richness of the cheesy potato skins really nicely.
-
Wings or sliders. If you’re putting together a game day spread, these pair perfectly with chicken wings, mini burgers, or sliders.
-
A bowl of chili. Potato skins and chili are such a cozy combination, especially on cooler days.
-
A veggie platter. Carrots, celery, cucumbers, and a simple dip add something fresh to the table alongside the warm, cheesy skins.
-
Other easy appetizers. Think mozzarella sticks, onion rings, or nachos if you’re building a fun snack table for a party or movie night.
FAQs
How do you make potato skins crispy?
The secret to crispy potato skins is baking them twice. First, bake the whole potatoes until tender. After scooping out the centers, brush the skins with oil and bake them again until they’re golden and crisp before adding the cheese and toppings.
What type of potatoes work best for potato skins?
Russet potatoes are usually the best choice because they have thicker skins that hold their shape and crisp up nicely in the oven. Other starchy potatoes can work too, but russets give you that classic texture.
Can you make loaded potato skins ahead of time?
Yes, you can bake the potatoes and scoop out the skins ahead of time. Store the prepared skins in the refrigerator, then crisp them in the oven and add the toppings just before serving.
How do you reheat potato skins?
The best way to reheat potato skins is in the oven at around 375°F until they’re hot and crispy again. The microwave works if you’re in a hurry, but the skins won’t stay as crunchy.
Can loaded potato skins be made vegetarian?
Absolutely. Simply leave out the bacon and stick with cheese, green onions, and any other toppings you like such as jalapeños, chives, or salsa.
What can you do with the scooped out potato filling?
The leftover potato can be used for mashed potatoes, added to soups, mixed into casseroles, or turned into potato pancakes. It’s a great way to avoid wasting any of the potato.
Can you freeze loaded potato skins?
It’s possible to freeze them, but the texture is usually best when they’re fresh. If you do freeze them, reheat them in the oven so the skins crisp up again.
Loaded Potato Skins

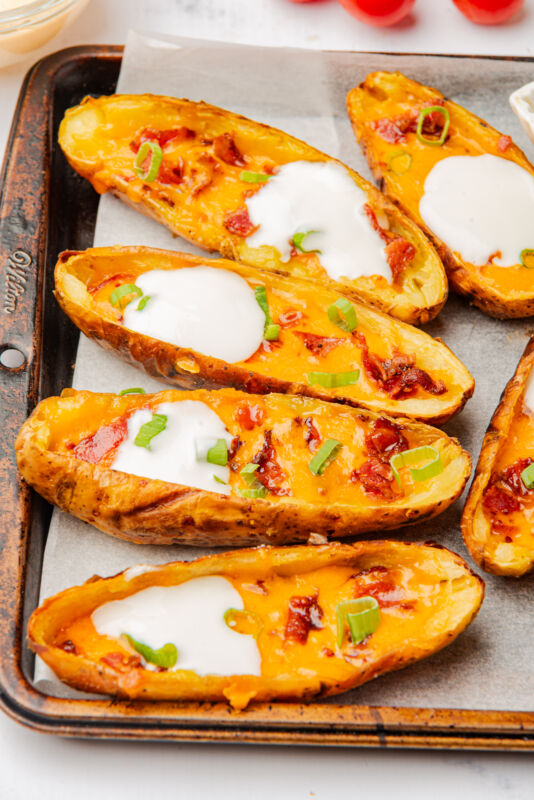
Crispy baked potato skins loaded with melted cheddar cheese, savory bacon, and fresh green onions, then finished with a dollop of sour cream. These easy loaded potato skins make a delicious appetizer, party snack, or game day favorite that everyone will reach for first.
Ingredients
For the potato skins:
- 4 medium russet potatoes (or any starchy potato)
- 1 tbsp olive oil
- Salt and pepper to taste
For the filling:
- 1 cup (100 g) shredded cheddar cheese
- ½ cup (60 g) cooked bacon, chopped (optional, for non-vegetarian version)
- 2 green onions, thinly sliced
- ½ cup (120 g) sour cream (for serving)
Optional toppings:
- Jalapeño slices (fresh or pickled)
- Chopped fresh chives or parsley
- Hot sauce or salsa
Instructions
- Preheat the oven to 400°F (200°C).
- Scrub the potatoes clean, pat them dry, and poke each one several times with a fork to allow steam to escape.
- Rub the potatoes with olive oil and sprinkle with salt.
- Place the potatoes directly on the oven rack and bake for 45 to 60 minutes, or until tender when pierced with a fork.
- Remove the potatoes from the oven and let them cool slightly.
- Cut each potato in half lengthwise.
- Scoop out most of the flesh, leaving about ¼ inch of potato attached to the skin. Reserve the scooped potato for another use if desired.
- Brush the inside and outside of the potato skins with olive oil and season with salt and pepper.
- Place the skins cut-side down on a baking sheet and bake at 400°F (200°C) for 10 minutes.
- Flip the skins over and bake for another 10 minutes, or until crispy.
- Sprinkle shredded cheddar cheese and bacon, if using, evenly inside each skin.
- Return the baking sheet to the oven and bake for 5 to 7 minutes, until the cheese is melted and bubbly.
- Remove from the oven and top with sliced green onions, sour cream, and any additional toppings you like, such as jalapeños, chives, or hot sauce.
Notes
- Use russet potatoes for the best texture. Their thicker skins hold up well and crisp beautifully in the oven.
- Don’t scoop out too much of the potato. Leaving about ¼ inch of potato inside the skin helps keep them sturdy and prevents them from collapsing when you add the toppings.
- Brush the skins well with oil. This helps them turn golden and crispy instead of drying out while baking.
- Bake the skins twice. The second bake is what gives them that classic crispy texture that makes potato skins so good.
- Add toppings after the skins are crisp. This keeps the skins crunchy while allowing the cheese to melt perfectly.
- Use the leftover potato filling. The scooped-out potato can be saved for mashed potatoes, soups, casseroles, or potato pancakes.
- Customize the toppings. Feel free to add jalapeños, extra cheese, chopped herbs, or a drizzle of hot sauce to suit your taste.
Nutrition Information:
Yield:
4Serving Size:
1Amount Per Serving: Calories: 668Total Fat: 42gSaturated Fat: 19gUnsaturated Fat: 23gCholesterol: 112mgSodium: 969mgCarbohydrates: 42gFiber: 4gSugar: 3gProtein: 30g


