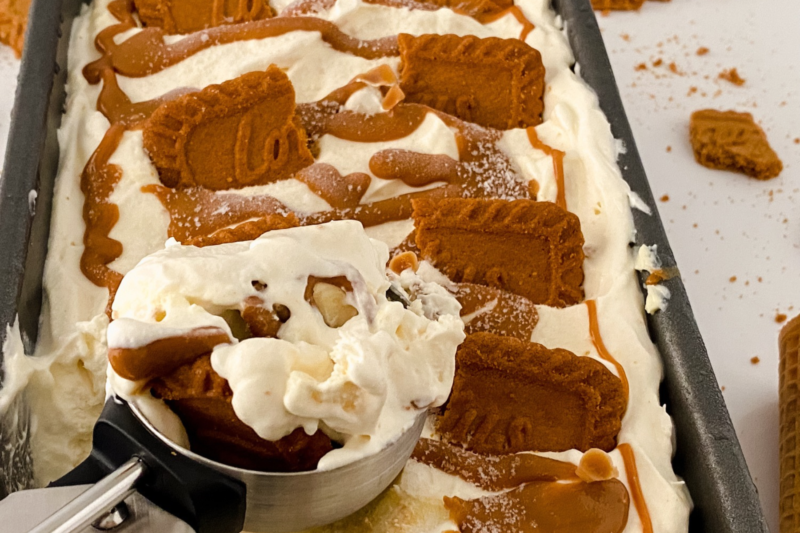
No-Churn Biscoff Cheesecake Ice Cream
If you love Biscoff cookies as much as I do, you need to try this Biscoff Cheesecake Ice Cream! It’s thick, creamy, packed with that delicious Biscoff flavor, and has little chunks of cheesecake running all the way through. It’s honestly such a good combination, especially with the crushed cookies and layers of cookie butter.
I love making homemade ice cream, especially when it’s as easy as this one. You don’t need an ice cream maker or any fancy equipment, and there are only six ingredients. It’s just a case of whipping everything together, layering it all up, and popping it in the freezer. The hardest part is waiting long enough to tuck in!
This is one of those desserts that’s perfect for keeping in the freezer when you fancy something sweet after dinner. The cheesecake makes it extra creamy, the cookies add a little crunch, and you get that lovely Biscoff cookie butter in every scoop. It’s a real treat, and I can never resist going back for a little bit more!
Why We Love This Recipe
- No ice cream maker needed! I love how easy this is to make without any special equipment. Just mix, layer, and freeze!
- So creamy! The whipped cream, condensed milk, and cheesecake make this ice cream lovely and rich.
- Packed with Biscoff flavor. There’s crushed Biscoff cookies throughout and plenty of delicious cookie butter too.
- Chunks of cheesecake. I love the little dollops of cheesecake hidden throughout. They make every scoop extra delicious!
- Just a few ingredients. You only need six ingredients to make this, and there’s hardly any prep involved.
- Perfect for Biscoff lovers. If you love Biscoff cookies and cheesecake, you’re going to love this combination!
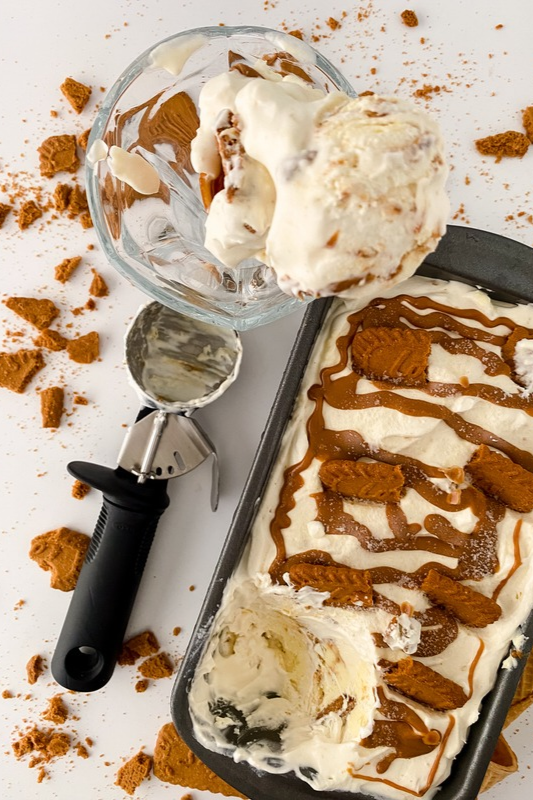
Equipment
-
Electric hand mixer or stand mixer – For whipping the cream until it’s lovely and thick.
-
Large mixing bowl – To mix everything together.
-
Loaf pan or freezer-safe container – For layering the ice cream, Biscoff cookie butter, and cheesecake.
-
Spatula – For folding everything together and spreading out the layers.
-
Plastic wrap – To cover the ice cream while it freezes.
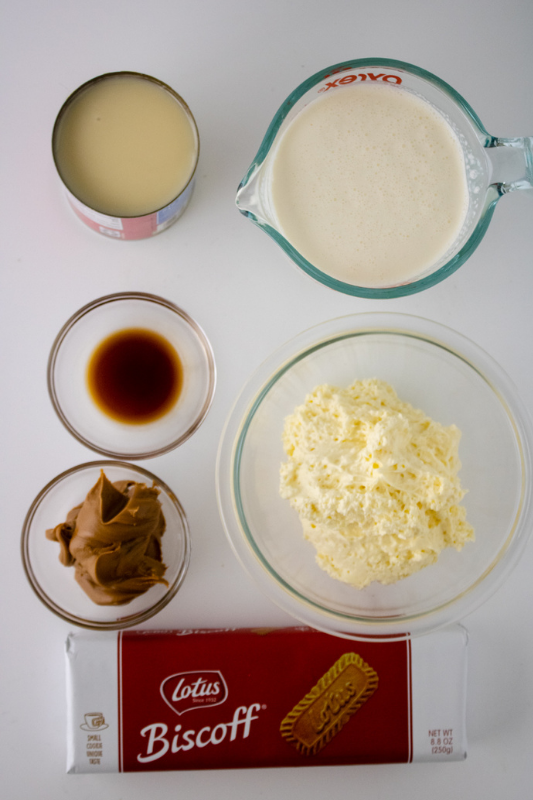
Ingredients
-
2 cups heavy whipping cream – This is what gives the ice cream that lovely light and creamy texture. Make sure it’s nice and cold before you start whipping it.
-
1 (14 oz) can sweetened condensed milk – Adds sweetness and helps keep the ice cream smooth and creamy without needing an ice cream maker.
-
1 ½ cups no-bake cheesecake – I love adding little chunks of cheesecake throughout the ice cream. It makes every scoop that bit more special!
-
5–7 Biscoff cookies – Crush these up and mix them through the ice cream for a little crunch and plenty of that delicious Biscoff flavor.
-
¼ cup Biscoff cookie butter – This is drizzled between the layers so you get plenty of that lovely spiced cookie flavor in every scoop.
-
1 tablespoon vanilla extract – Just a little vanilla brings all those lovely flavors together.
Recipe Instructions
Full measurements and cooking times can be found in the recipe card at the bottom of this post.
Step 1: Add the heavy cream to a mixing bowl and whip for 2 to 3 minutes, until it becomes light and frothy.
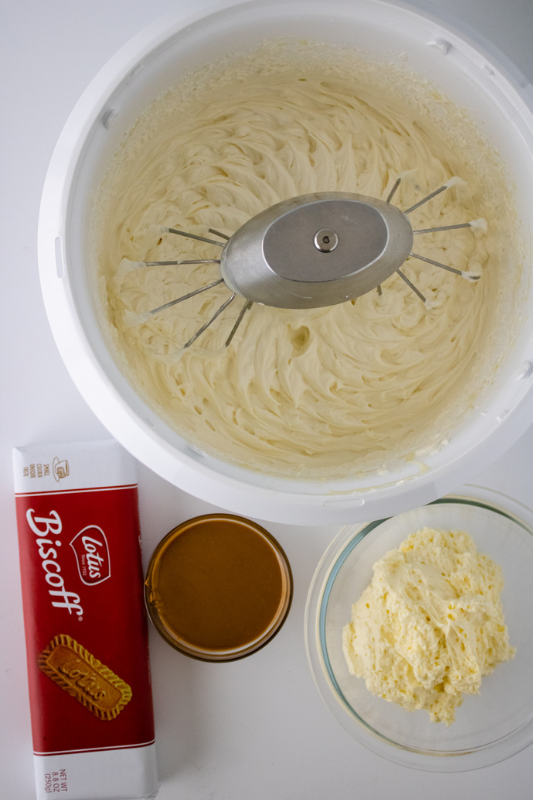
Step 2: Pour in the vanilla and sweetened condensed milk, then continue mixing on high until soft peaks form.
Step 3: Gently stir in the crushed Biscoff cookies until evenly combined.
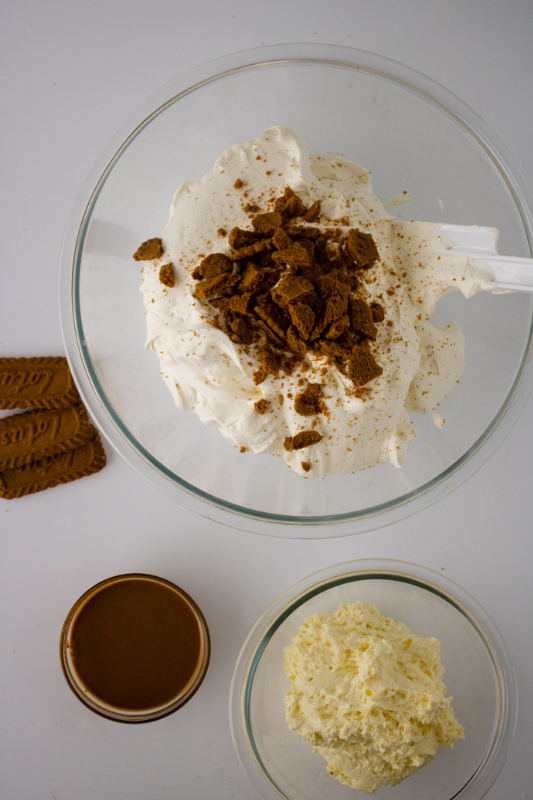
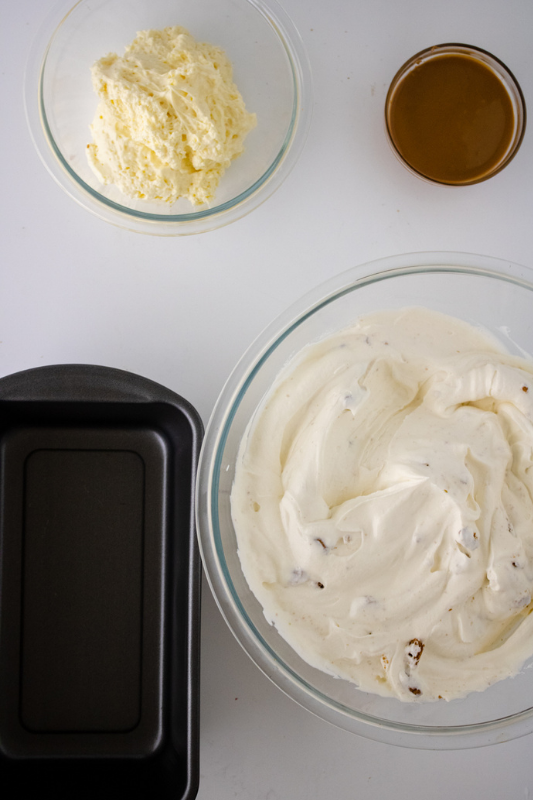
Step 4: Spoon about one-third of the whipped cream mixture into your pan and spread it into an even layer.
Step 5: Drizzle over some melted Biscoff cookie butter and add a few dollops of no-bake cheesecake.
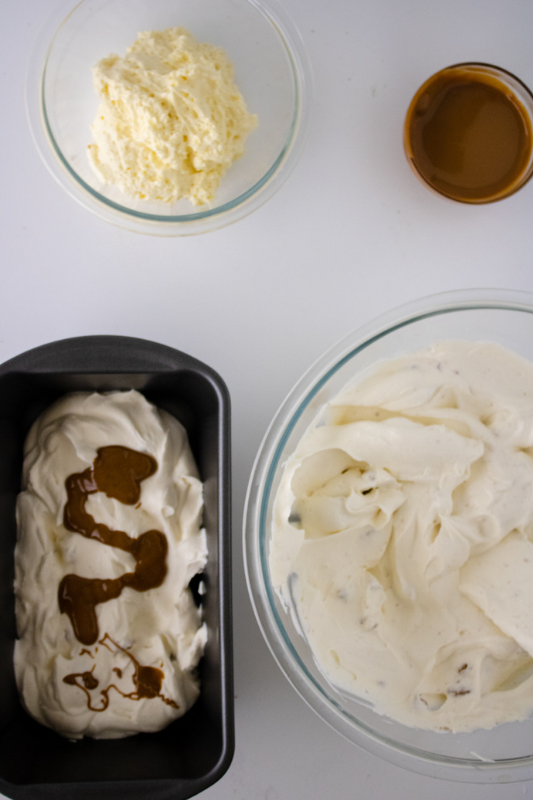
Step 6: Add another layer of the whipped cream mixture and smooth it out.
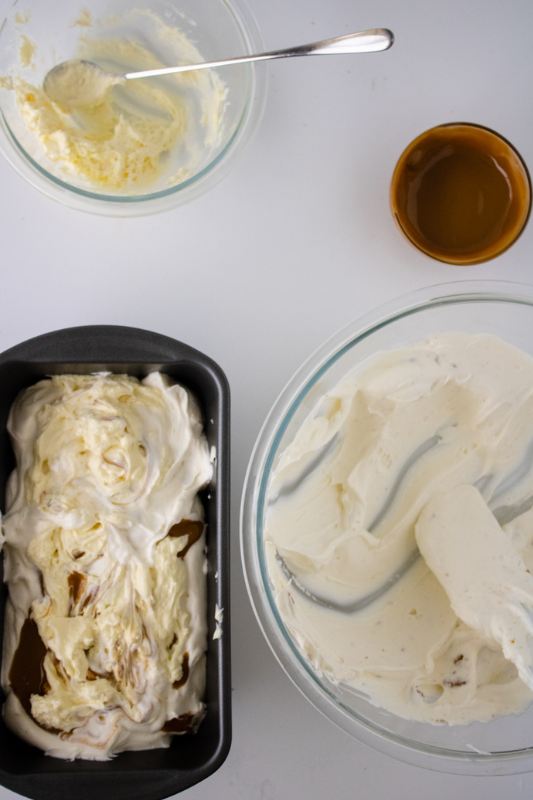
Step 7: Top with more cookie butter and additional dollops of no-bake cheesecake.
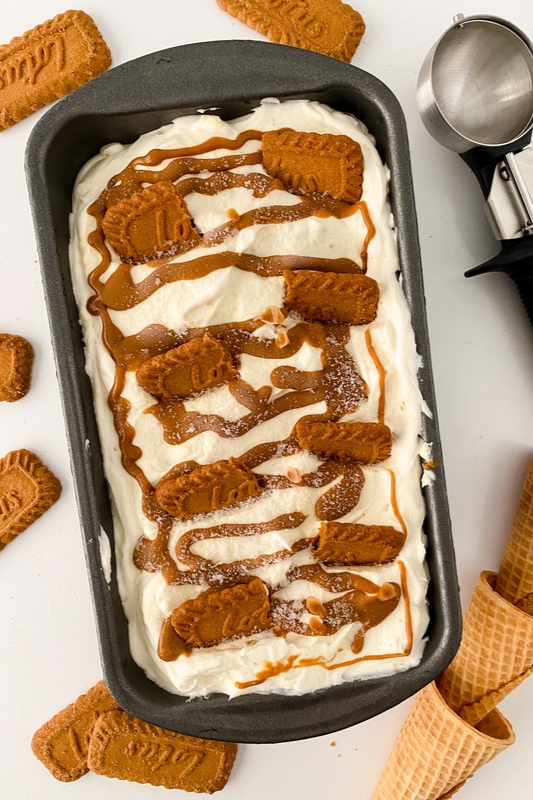
Step 8: Finish with the remaining whipped cream mixture, then drizzle with more cookie butter and add the last of the no-bake cheesecake.
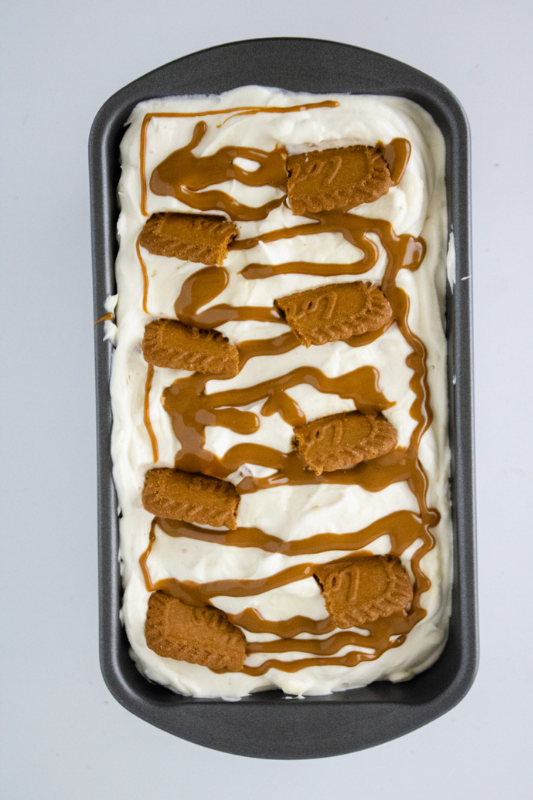
Step 9: Cover tightly with plastic wrap and freeze for at least 6 hours for a softer set, or 8 hours or longer until fully set and ready to serve.
What to Serve with Biscoff Cheesecake Ice Cream
This Biscoff Cheesecake Ice Cream is absolutely delicious on its own, but there are plenty of ways to make it even more of a treat! I love serving it in a bowl with a few extra toppings, but it’s also really good alongside a warm dessert. Here are a few of my favorite ideas.
-
Warm brownies – A scoop of this creamy ice cream on top of a warm, fudgy chocolate brownie is so good!
-
Chocolate chip cookies – Serve a scoop between two cookies for a really delicious homemade ice cream sandwich.
-
Apple pie or apple crumble – The cinnamon and caramel flavors in Biscoff go so well with warm apples.
-
Extra Biscoff cookies – Crush a couple over the top for some extra crunch, or pop a whole cookie into each scoop.
-
Warm cookie butter – Melt a little extra Biscoff cookie butter and drizzle it over the ice cream. Perfect if you can’t get enough Biscoff!
-
Fresh strawberries or raspberries – I love adding a few fresh berries to balance out the sweetness of the ice cream.
-
Waffles – Serve a big scoop on top of warm waffles with a little caramel sauce for a really indulgent dessert.
Storing
Once your Biscoff Cheesecake Ice Cream has completely frozen, you can keep it in the freezer for up to 2 weeks for the best flavor and texture. I like to store mine in a freezer-safe container with a tight-fitting lid, but you can also leave it in the loaf pan if you prefer. Just make sure it’s covered really well with plastic wrap to stop any ice crystals forming.
If you’re storing it in a container, you can also press a piece of plastic wrap directly onto the surface of the ice cream before putting the lid on. This helps keep it lovely and creamy and stops it picking up any other flavors from the freezer.
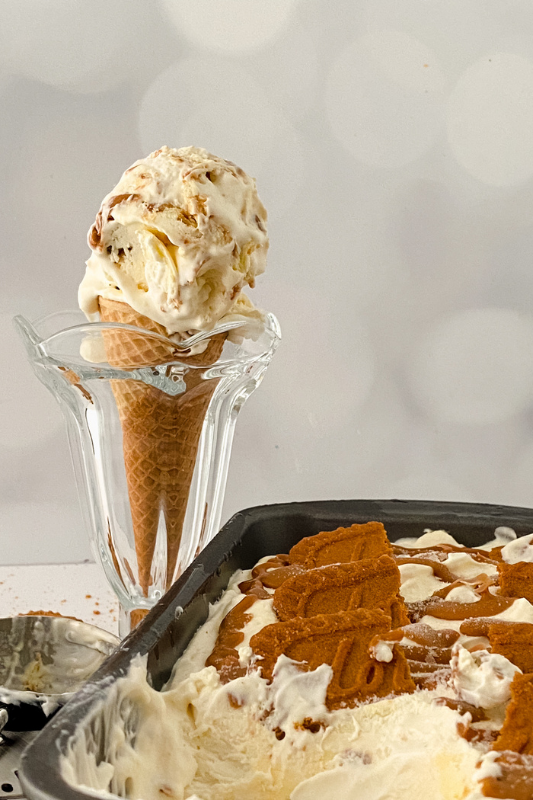
When you’re ready to tuck in, take the ice cream out of the freezer and leave it on the counter for around 5–10 minutes. This makes it much easier to scoop, especially if it’s been frozen overnight. You don’t want to leave it sitting out for too long though, as it’ll start to melt.
If you have any leftovers, pop them straight back into the freezer once you’ve finished serving. Try not to let the ice cream melt and then refreeze it, as this can affect the texture and make it icy.
Variations & Substitutions
One of the things I love about making homemade ice cream is how easy it is to change things up a little. This Biscoff Cheesecake Ice Cream is delicious just as it is, but you can easily add a few extras or swap some of the ingredients to make it your own. Here are a few ideas to try!
-
Add some chocolate chips – A handful of milk or white chocolate chips mixed through the ice cream adds a little extra sweetness and crunch.
-
Try different cookies – If you don’t have Biscoff cookies, you can use graham crackers, Golden Oreos, or even crushed ginger snap cookies instead.
-
Add a caramel drizzle – Drizzle a little caramel sauce between the layers along with the cookie butter. It goes really well with the Biscoff flavor!
-
Make it extra chocolatey – Add some chopped chocolate or little chunks of brownie for a really indulgent treat.
-
Swap the cheesecake – You can use plain or vanilla no-bake cheesecake, or try a chocolate cheesecake for something a little different.
-
Add some cinnamon – A small pinch of cinnamon mixed into the ice cream base brings out that lovely spiced cookie flavor.
-
Use crunchy cookie butter – Swap the smooth Biscoff spread for crunchy cookie butter if you love a bit of extra texture in your ice cream.
-
Try individual portions – Instead of making one big batch, divide the mixture between small freezer-safe containers so everyone can have their own little ice cream dessert.
FAQs
Can you make Biscoff Cheesecake Ice Cream without an ice cream maker?
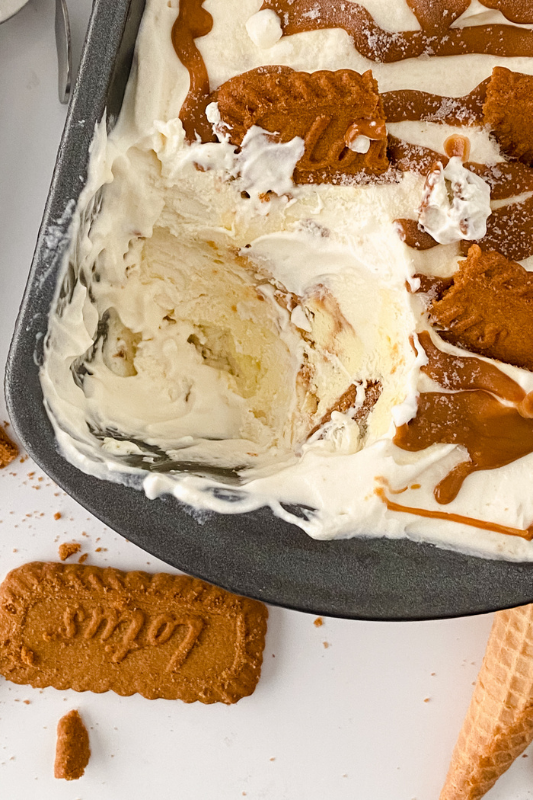
Yes! This is a no-churn Biscoff Cheesecake Ice Cream recipe, so you don't need an ice cream maker at all. The whipped cream and sweetened condensed milk give it that lovely creamy texture without any churning. Just mix everything together, layer it up, and pop it in the freezer.
How long does homemade Biscoff Cheesecake Ice Cream take to freeze?
You'll need to freeze the ice cream for at least 6 hours, although I prefer to leave it overnight if I can. After 6 hours, it'll have a softer texture, but 8 hours or longer will give you a firmer ice cream that's easier to scoop.
Can I use store-bought cheesecake for Biscoff Cheesecake Ice Cream?
Absolutely! You can use a store-bought no-bake cheesecake to make this recipe even easier. Just scoop out little dollops of the cheesecake and layer them through the ice cream mixture. A plain or vanilla cheesecake works really well.
Do I need to melt the Biscoff cookie butter first?
Yes, I recommend warming the Biscoff cookie butter slightly before adding it to the ice cream. This makes it much easier to drizzle between the layers. Just pop it in the microwave for a few seconds until it's runny, then let it cool slightly before using it.
Why is my no-churn Biscoff ice cream icy?
If your homemade ice cream has turned out icy, it could be because too much air was lost when mixing, or because it wasn't covered properly in the freezer. Make sure you whip the cream until soft peaks form and cover the ice cream tightly before freezing. Try to avoid letting it melt and refreezing it too.
Can I make Biscoff Cheesecake Ice Cream ahead of time?
Yes, and it's actually a great dessert to make ahead! I like to prepare it the day before I need it so there's plenty of time for it to freeze properly. Just keep it covered in the freezer until you're ready to serve.
Can I use cream cheese instead of no-bake cheesecake?
You can, but I wouldn't recommend using plain cream cheese on its own. It won't have the same sweetness or flavor as cheesecake. If you don't have a prepared no-bake cheesecake, you could mix softened cream cheese with a little powdered sugar and vanilla to make a simple cheesecake-style filling.
How do you make no-churn Biscoff ice cream softer and easier to scoop?
Homemade no-churn ice cream can be quite firm straight from the freezer. I usually leave mine on the counter for about 5–10 minutes before scooping. This gives it a chance to soften slightly without melting too much.
Can I use another brand of cookie butter instead of Lotus Biscoff?
Of course! Any smooth speculoos cookie butter should work well in this recipe. The flavor might be slightly different depending on the brand, but you'll still get that lovely sweet, spiced cookie taste.
How long does homemade Biscoff Cheesecake Ice Cream last in the freezer?
For the best flavor and texture, I recommend enjoying it within 2 weeks. Keep it in an airtight, freezer-safe container and make sure it's properly covered to help prevent ice crystals from forming.
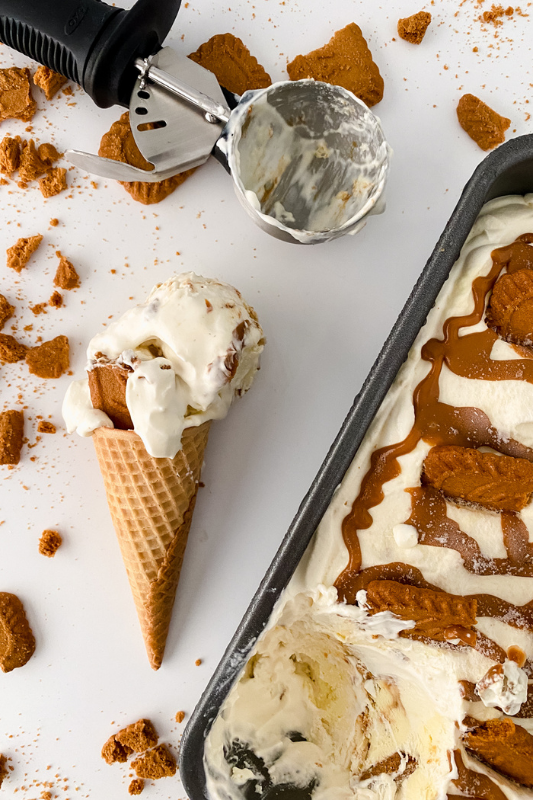
No-Churn Biscoff Cheesecake Ice Cream
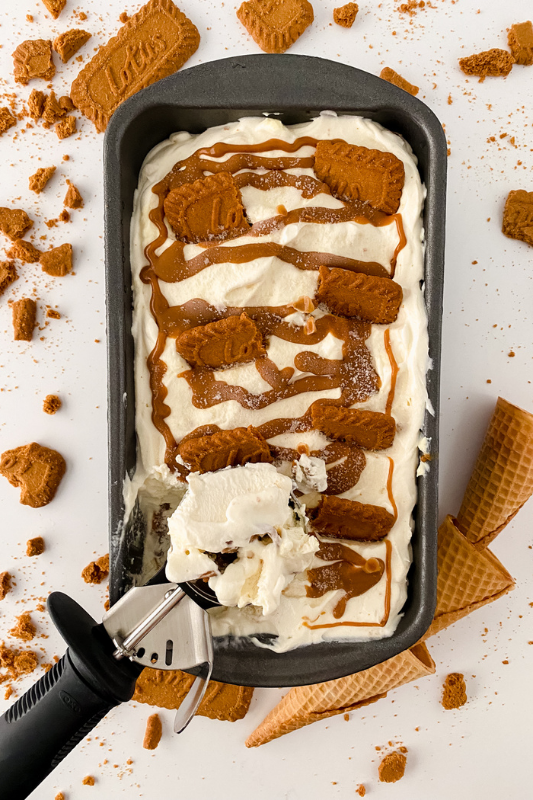
This Biscoff Cheesecake Ice Cream is rich, creamy, and packed with delicious Biscoff flavor! With crushed Biscoff cookies, layers of smooth cookie butter, and little chunks of cheesecake throughout, it's such a lovely treat. You only need six ingredients, and there's no ice cream maker needed!
Ingredients
- 2 Cups Heavy Whipping Cream
- 1 14 Ounce Can Sweetened Condensed Milk
- 1 1/2 cups no bake cheesecake
- 5-7 biscoff cookies
- 1/4 cup biscoff cookie butter
- 1 Tablespoons vanilla extract
Instructions
- Add the heavy cream to a mixing bowl and whip for 2 to 3 minutes, until it becomes light and frothy.
- Pour in the vanilla and sweetened condensed milk, then continue mixing on high until soft peaks form.
- Gently stir in the crushed Biscoff cookies until evenly combined.
- Spoon about one-third of the whipped cream mixture into your pan and spread it into an even layer.
- Drizzle over some melted Biscoff cookie butter and add a few dollops of no-bake cheesecake.
- Add another layer of the whipped cream mixture and smooth it out.
- Top with more cookie butter and additional dollops of no-bake cheesecake.
- Finish with the remaining whipped cream mixture, then drizzle with more cookie butter and add the last of the no-bake cheesecake.
- Cover tightly with plastic wrap and freeze for at least 6 hours for a softer set, or 8 hours or longer until fully set and ready to serve.
Notes
- Use cold cream – Make sure your heavy whipping cream is nice and cold before whipping for the best results.
- Don't overwhip – Stop mixing once soft peaks form to keep the ice cream lovely and creamy.
- Warm the cookie butter – Microwave it for a few seconds to make it easier to drizzle between the layers.
- Use store-bought cheesecake – A plain or vanilla no-bake cheesecake works perfectly and saves time.
- Freeze overnight – For the best results, freeze for at least 8 hours or overnight until completely set.
- Soften before serving – Leave the ice cream at room temperature for 5–10 minutes to make scooping easier.
- Storing – Keep covered in an airtight, freezer-safe container for up to 2 weeks for the best flavor and texture.