The Best Homemade Baked Mac and Cheese You’ll Ever Make
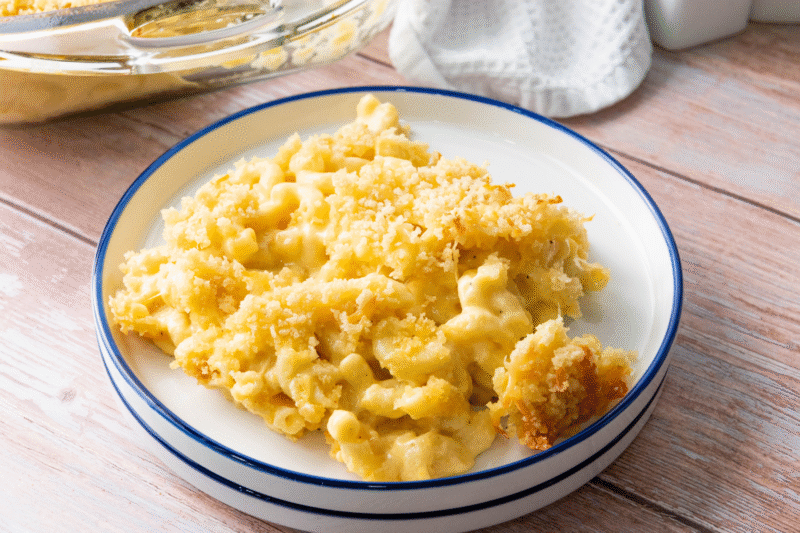
Whenever I think of comfort food, baked mac and cheese is always the first thing that comes to mind. There’s just something about those tender noodles smothered in creamy, cheesy sauce and topped with a buttery, golden crust that feels like a warm hug on a plate. I’ve tried so many versions over the years, from stovetop quick fixes to fancy restaurant takes, but nothing quite hits the spot like a big bubbling dish straight from the oven.
What I love most about this homemade baked mac and cheese is how simple it is to make, yet how special it feels when you set it on the table. The sauce is rich and velvety with sharp cheddar and Gruyère melted together, and the topping adds that perfect crunch thanks to a mix of buttery panko and Parmesan. It’s the kind of dish that always earns compliments, whether I’m making it for a weeknight dinner, a holiday spread, or just because we’re craving something cozy.
And let’s be honest, mac and cheese is one of those recipes that never goes out of style. Kids love it, grown-ups sneak seconds, and it pairs beautifully with just about anything. But truthfully, I think it deserves to shine all on its own. This recipe is the one I always come back to, and I’m so excited to share it with you because I truly believe it’s the best homemade baked mac and cheese you’ll ever make.

Ingredients
-
16 oz elbow macaroni – the perfect pasta shape to hold onto all that creamy cheese sauce.
-
3 cups sharp cheddar cheese, shredded – for that bold, classic mac and cheese flavor we all love.
-
2 cups Gruyère cheese, shredded – adds a rich, nutty, melt-in-your-mouth creaminess.
-
1 stick unsalted butter, divided – half for the sauce, half for that irresistible buttery topping.
-
1/4 cup all-purpose flour – helps thicken the cheese sauce to silky perfection.
-
3 cups whole milk – the base that makes the sauce smooth and rich.
-
1 cup whipping cream – because extra creaminess is always a good idea.
-
1/2 teaspoon smoked paprika – just a hint of smoky warmth to balance all the cheese.
-
Salt and pepper to taste – simple seasonings that make everything pop.
-
1 cup panko breadcrumbs – light, crispy, and perfect for that golden topping.
-
1/2 cup grated Parmesan cheese – adds a salty, cheesy kick to the crunchy crust.

Recipe Instructions
You can find a printable recipe card at the bottom of this post.
1. Preheat your oven to 350°F (175°C). Lightly grease a 9×13-inch baking dish.
2. Cook the macaroni according to the package instructions until al dente. Drain and set aside.
3. In a large saucepan, melt 1/2 stick (4 tablespoons) of butter over medium heat. Once melted, whisk in the flour and cook for 1-2 minutes until bubbly and lightly golden.
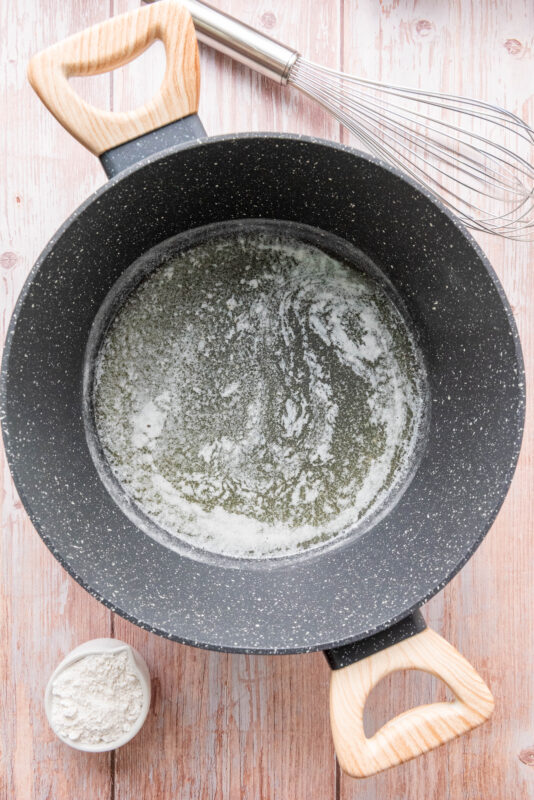

4. Gradually whisk in the milk and whipping cream, making sure there are no lumps. Continue to cook, stirring constantly, until the mixture thickens, about 5-7 minutes.

5. Stir in the smoked paprika, salt, and pepper.


6. Remove the saucepan from heat and stir in the shredded sharp cheddar and Gruyère cheeses until fully melted and smooth. Taste and adjust seasoning with salt and pepper as needed.

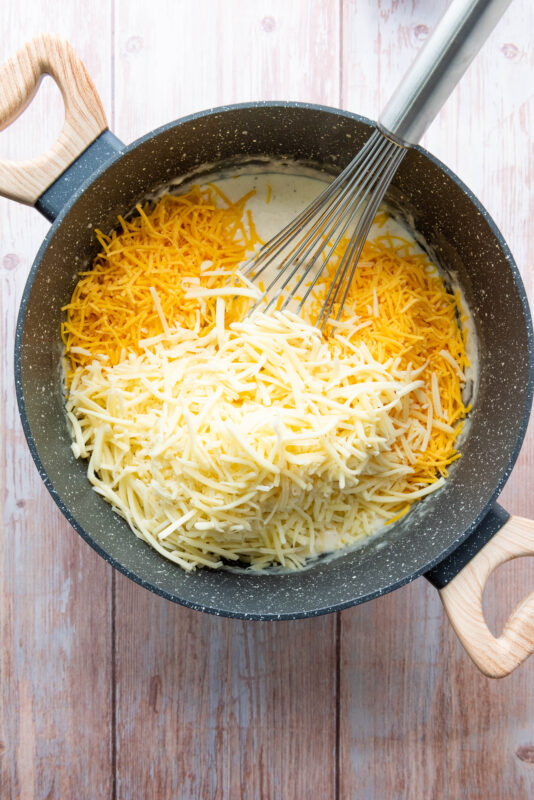
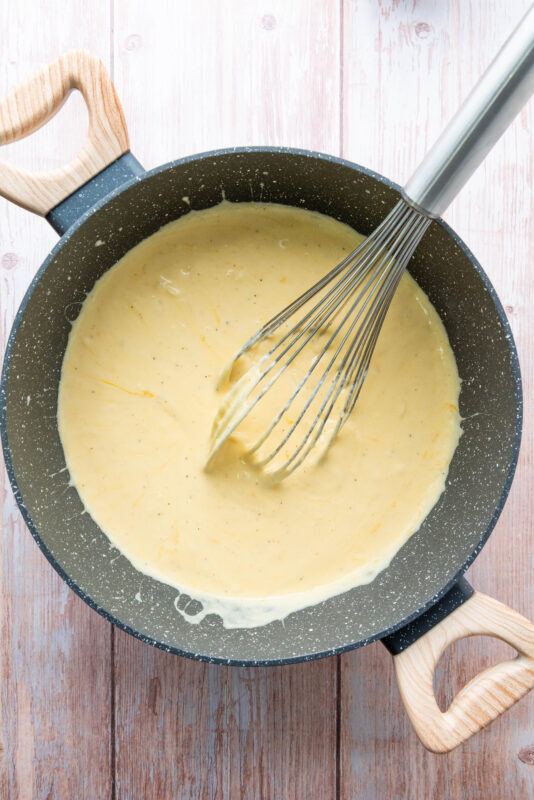
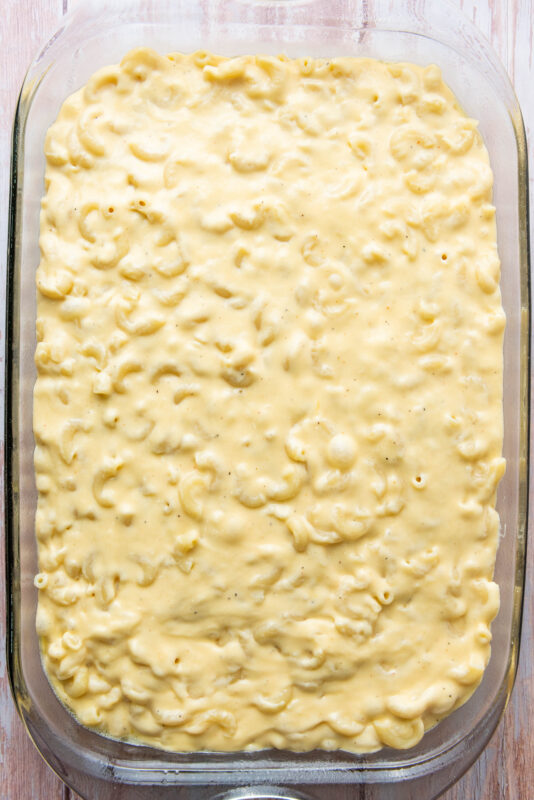
7. Add the cooked macaroni to the cheese sauce and stir until well combined. Pour the macaroni and cheese mixture into the prepared baking dish.

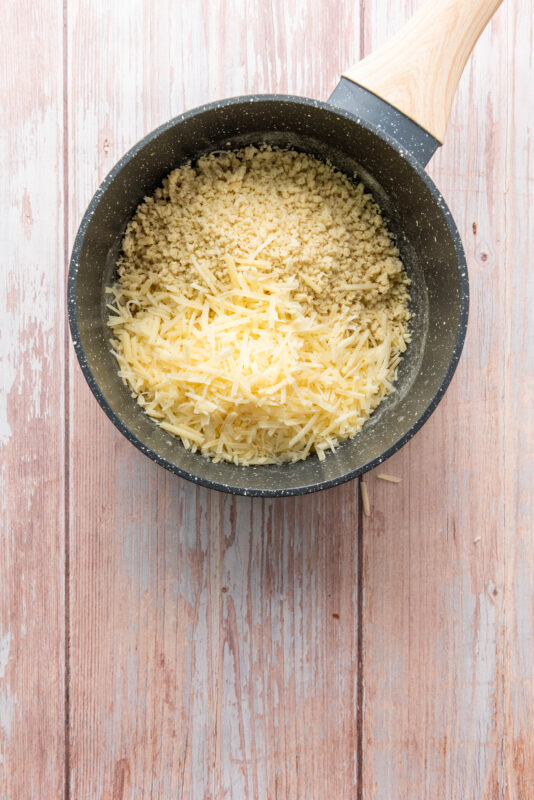
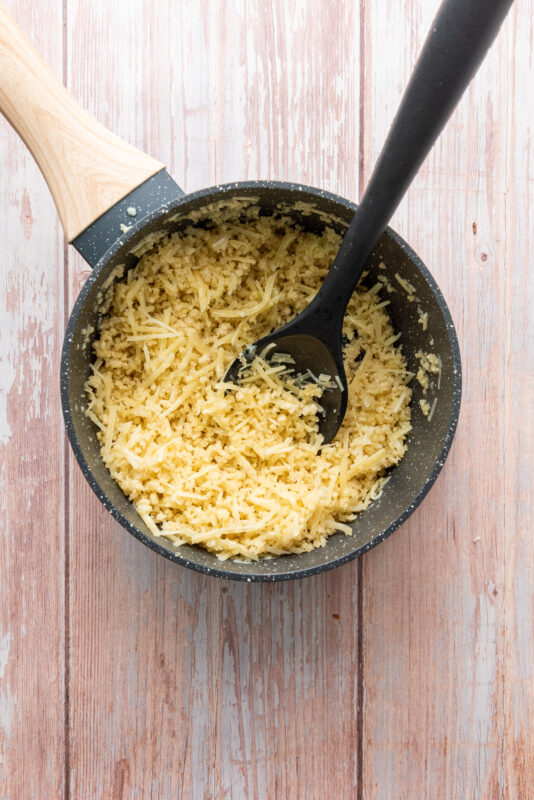
8. In a small saucepan, melt the remaining 1/2 stick (4 tablespoons) of butter. Once melted, mix in the panko breadcrumbs until well coated.
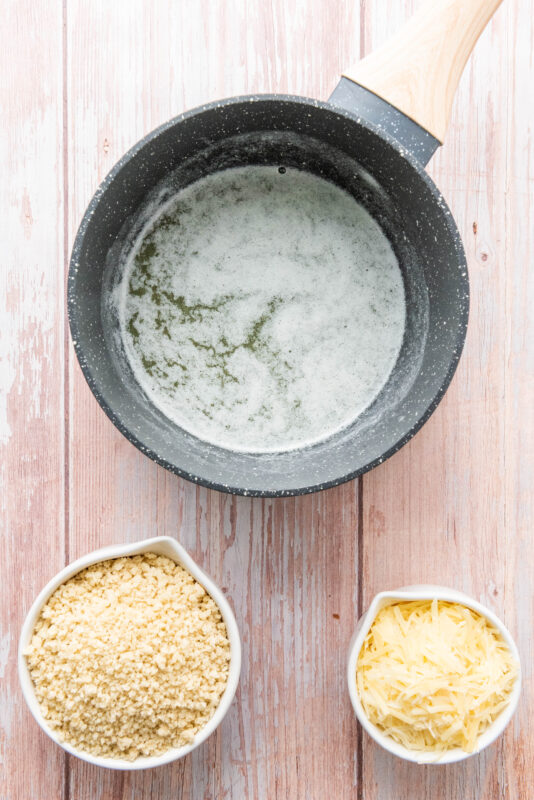
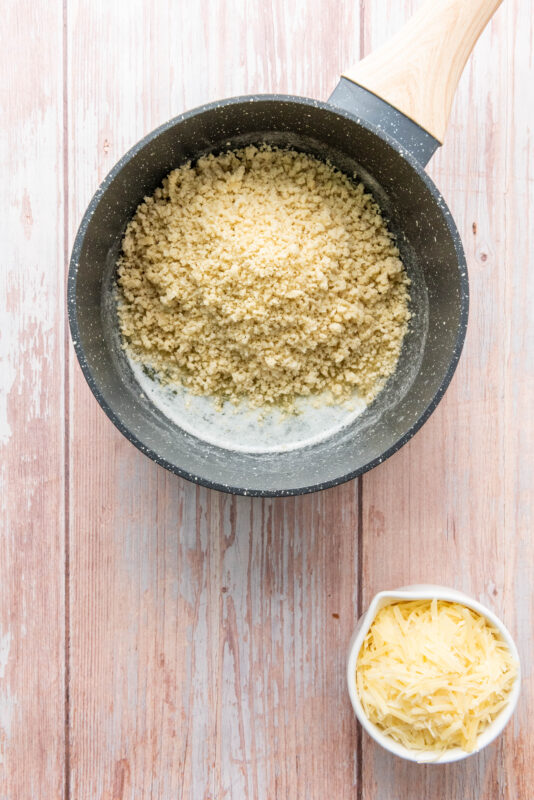
9. In a small bowl, combine the buttered panko breadcrumbs and grated Parmesan cheese. Sprinkle this mixture evenly over the macaroni and cheese.

10. Bake in the preheated oven for 20-25 minutes, or until the top is golden brown and the sauce is bubbling around the edges. For a crispier topping, broil the dish for an additional 2-3 minutes, watching closely to prevent burning.
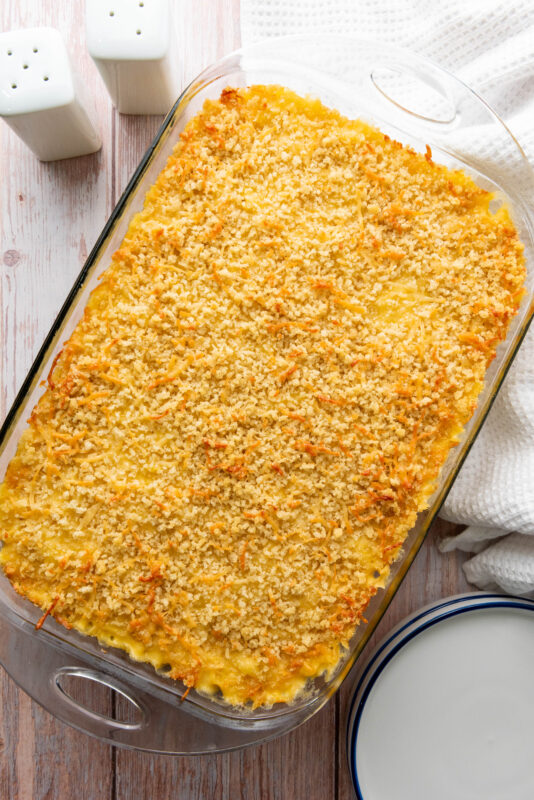
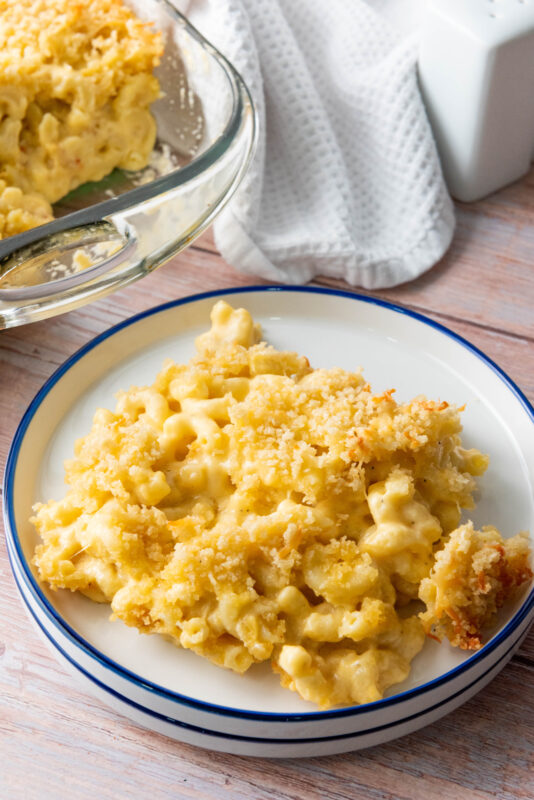
11. Remove from the oven and let it sit for a few minutes before serving.
My Favorite Ways to Enjoy Baked Mac and Cheese
-
I love serving it as the star of the show with a simple green salad on the side, it balances out all that cheesy richness.
-
It’s one of my go-to dishes for potlucks and holidays because everyone goes back for seconds (and sometimes thirds!).
-
On chilly nights, I’ll scoop a generous portion into a bowl and enjoy it all on its own. It’s pure comfort food bliss.
-
Leftovers make the best next-day lunch, and honestly, it tastes even better after the flavors have had time to settle.
-
Sometimes I pair it with BBQ chicken or ribs, and the creamy, cheesy pasta is the perfect sidekick to smoky, savory meat.
-
When I want to keep things cozy, I’ll add a warm slice of garlic bread on the side, because carbs on carbs is never a bad idea.
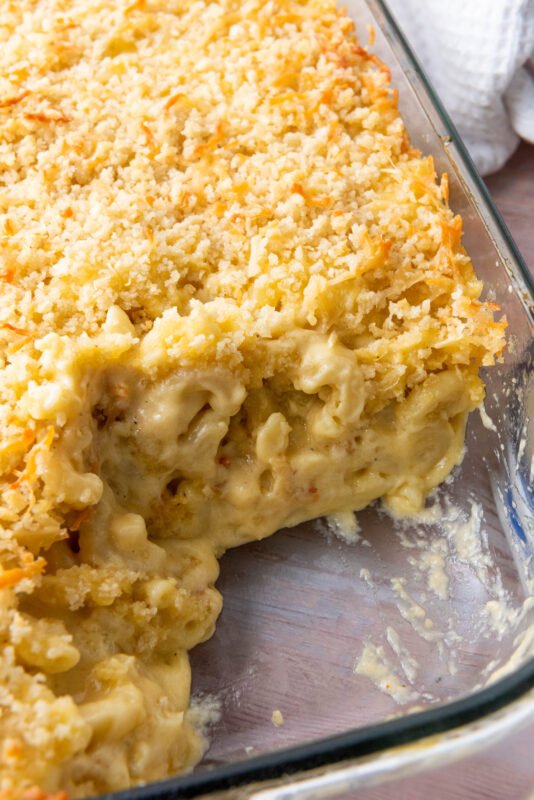
Serving & Storing
Serving
-
This mac and cheese comes out of the oven bubbling hot, so I like to let it sit for about 5 minutes before scooping, it helps everything set just right.
-
A big spoonful on its own is absolute heaven, but it also pairs beautifully with roasted veggies, grilled chicken, or even a simple side salad.
-
For a cozy family dinner, I like to serve it straight from the baking dish at the table, it feels rustic and inviting.
Storing
-
If you have leftovers (lucky you!), pop them into an airtight container and keep them in the fridge for up to 4 days.
-
To reheat, I usually add a splash of milk before warming it up in the microwave, it brings the creaminess back to life.
-
For larger portions, you can reheat in the oven at 350°F, covered with foil, until warmed through.
-
And yes, you can freeze it! Just wrap tightly, and it will keep for up to 2 months. I recommend thawing overnight in the fridge before reheating.

Variations
-
Swap the Gruyère for Monterey Jack or Fontina if you want an extra melty, mild twist.
-
Add a little kick with a pinch of cayenne or red pepper flakes, perfect for spice lovers.
-
Stir in some crispy bacon bits or diced ham for a smoky, savory boost.
-
Sneak in veggies like roasted broccoli, peas, or spinach, it’s a great way to balance the richness.
-
Try a different topping! Crushed Ritz crackers, crushed pretzels, or even potato chips give it a fun crunch.
-
For a grown-up version, add a swirl of truffle oil before baking. It’s so fancy, yet so easy.

Substitutions
-
Use different pasta shapes like shells, cavatappi, or penne if that’s what you have on hand, they all work beautifully.
-
Swap whole milk for 2% or even evaporated milk if you need to, just know the sauce will be slightly less rich.
-
If you don’t have whipping cream, you can use half-and-half or even just stick with milk.
-
Replace Gruyère with Swiss, mozzarella, or provolone for a milder flavor.
-
Don’t have panko breadcrumbs? Regular breadcrumbs or even crushed crackers will still give you that crispy topping.
-
If you’re low on butter, you can use olive oil for the breadcrumb topping, it’ll still toast up nice and golden.
-
For a lighter version, you can cut back on the cheese a bit and still get a deliciously creamy dish.

FAQs
Can I make this mac and cheese ahead of time?
Yes! You can assemble it up to a day in advance, cover it tightly, and pop it in the fridge. When you’re ready, bake it as directed, just add 5–10 extra minutes since it’s starting out cold.
Can I freeze baked mac and cheese?
Absolutely. Let it cool completely, then wrap it well and freeze for up to 2 months. Thaw overnight in the fridge before reheating in the oven.
How do I keep my cheese sauce from getting grainy?
The trick is to add the cheese off the heat and stir until it melts smoothly. Heating it too much can cause the sauce to separate.
Can I use pre-shredded cheese?
You can, but I recommend shredding it yourself if possible. Pre-shredded cheese is coated with anti-caking agents that can make the sauce less creamy.
What can I serve with baked mac and cheese?
It’s amazing on its own, but it also pairs so well with roasted veggies, BBQ meats, or even a fresh green salad.

Creamy Baked Mac and Cheese
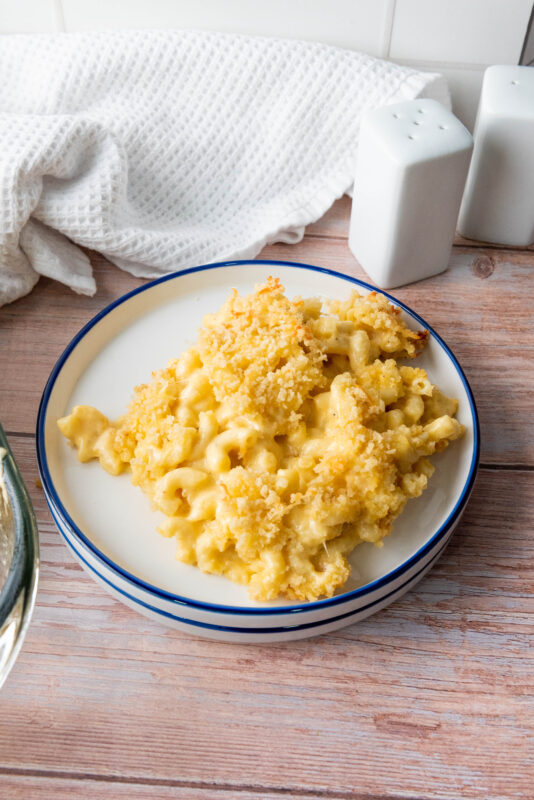
Creamy, cheesy, and topped with a golden buttery crunch, this homemade baked mac and cheese is the ultimate comfort food. With a rich blend of sharp cheddar and Gruyère, plus a crispy Parmesan-panko topping, it’s a dish everyone will love, perfect for family dinners, holidays, or anytime you’re craving something cozy.
Ingredients
- 16 oz elbow macaroni
- 3 cups sharp cheddar cheese, shredded
- 2 cups Gruyère cheese, shredded
- 1 stick unsalted butter, divided
- 1/4 cup all-purpose flour
- 3 cups whole milk
- 1 cup whipping cream
- 1/2 teaspoon smoked paprika
- Salt and pepper to taste
- 1 cup panko breadcrumbs
- 1/2 cup grated Parmesan cheese
Instructions
- Preheat your oven to 350°F (175°C). Lightly grease a 9×13-inch baking dish.
- Cook the macaroni according to the package instructions until al dente. Drain and set aside.
- In a large saucepan, melt 1/2 stick (4 tablespoons) of butter over medium heat. Once melted, whisk in the flour and cook for 1-2 minutes until bubbly and lightly golden.
- Gradually whisk in the milk and whipping cream, making sure there are no lumps. Continue to cook, stirring constantly, until the mixture thickens, about 5-7 minutes.
- Stir in the smoked paprika, salt, and pepper.
- Remove the saucepan from heat and stir in the shredded sharp cheddar and Gruyère cheeses until fully melted and smooth. Taste and adjust seasoning with salt and pepper as needed.
- Add the cooked macaroni to the cheese sauce and stir until well combined. Pour the macaroni and cheese mixture into the prepared baking dish.
- In a small saucepan, melt the remaining 1/2 stick (4 tablespoons) of butter. Once melted, mix in the panko breadcrumbs until well coated.
- In a small bowl, combine the buttered panko breadcrumbs and grated Parmesan cheese. Sprinkle this mixture evenly over the macaroni and cheese.
- Bake in the preheated oven for 20-25 minutes, or until the top is golden brown and the sauce is bubbling around the edges. For a crispier topping, broil the dish for an additional 2-3 minutes, watching closely to prevent burning.
- Remove from the oven and let it sit for a few minutes before serving.
Nutrition Information:
Yield:
8Serving Size:
Per ServingAmount Per Serving: Calories: 510Total Fat: 33gSaturated Fat: 20gCholesterol: 110mgSodium: 640mgCarbohydrates: 31gFiber: 1gSugar: 6gProtein: 20g