The Easiest Chocolate Syrup Perfect for Fresh Strawberries
There’s just something about fresh strawberries and warm chocolate syrup that feels a little extra special without being complicated. It’s one of those simple desserts that instantly feels like a treat, whether it’s for a quiet night at home or something sweet to share. This recipe keeps things easy and approachable, with a homemade chocolate syrup that comes together on the stovetop and tastes so much better than anything from the store.
What makes this chocolate syrup such a favorite is how smooth, rich, and deeply chocolatey it is, all without any fancy steps or hard-to-find ingredients. Everything gets whisked together in one saucepan, and in just a few minutes you’ve got a silky syrup that’s perfect for drizzling over juicy strawberries. It’s the kind of recipe that feels comforting and familiar, but still special enough to feel like a dessert you planned on purpose.
The best part is how versatile it is. Once you’ve made the syrup, you’ll find yourself wanting to pour it over just about everything, from ice cream to pancakes, or even tucked away in the fridge for later. But honestly, there’s nothing quite like dipping fresh strawberries straight into that glossy chocolate syrup and calling it dessert. It’s simple, satisfying, and one of those recipes you’ll come back to again and again.
Why We Love This Recipe
- It feels fancy but couldn’t be easier. Fresh strawberries and a homemade chocolate syrup look impressive, but the recipe itself is wonderfully simple.
- That rich, chocolatey syrup is the real star. It’s smooth, deep, and way better than anything from a bottle.
- Perfect for so many moments. It works just as well for a cozy night in as it does for entertaining or special occasions.
- Made with pantry staples. No last-minute store runs needed. Everything comes together with ingredients you probably already have.
- Totally customizable. Drizzle it lightly or go all in. You can even use the syrup on ice cream, pancakes, or waffles later.
- A little indulgent without being over the top. It’s sweet, chocolatey, and satisfying without feeling heavy.

Equipment
-
Medium saucepan: This is where the magic happens, giving everything enough room to whisk together smoothly without splashing.
-
Whisk: A must for keeping the cocoa powder fully blended so the syrup turns out silky instead of lumpy.
-
Measuring cups and spoons: Helpful for keeping the syrup perfectly balanced between rich chocolate flavor and just the right sweetness.
-
Wooden spoon or heat-safe spatula: Great for stirring as the syrup simmers and thickens on the stovetop.
-
Mason jar or airtight container: Perfect for storing the cooled syrup in the fridge so it’s ready whenever a strawberry craving hits.
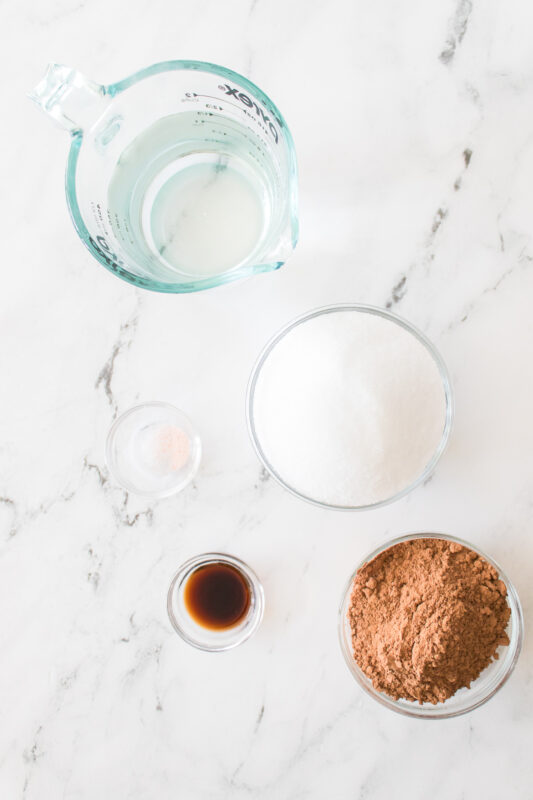
Ingredients
-
2 cups water: This helps dissolve everything smoothly and creates the perfect base for a pourable, drizzle-worthy syrup.
-
2 cups pure cane sugar: Adds just the right amount of sweetness to balance the rich cocoa and give the syrup that classic texture.
-
½ teaspoon salt: A small amount that makes a big difference by bringing out the chocolate flavor and keeping the syrup from tasting flat.
-
1 cup cocoa powder: This is where all that deep, chocolatey goodness comes from, so using a good-quality cocoa really pays off.
-
2 tablespoons pure vanilla extract: Stirred in at the end, it rounds out the syrup and adds that warm, bakery-style flavor everyone loves.
Recipe Instructions
You can find a printable recipe card at the bottom of this post.
Step 1: In a medium saucepan over medium heat, whisk together the water, sugar, salt, and cocoa powder until well blended.
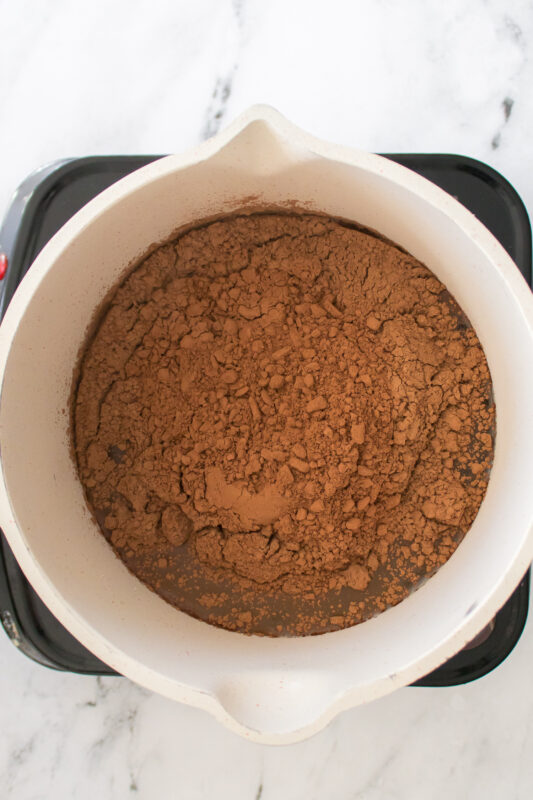


Step 2: Bring the mixture to a gentle simmer, stirring often to avoid scorching.

Step 3: Cook for 8–10 minutes, or until the syrup thickens slightly.
Step 4: Remove from the heat and stir in the vanilla extract.

Step 5: Allow the syrup to cool completely before transferring it to a mason jar or airtight container.
Step 6: Refrigerate and enjoy within 2 weeks.

Serving & Storing
-
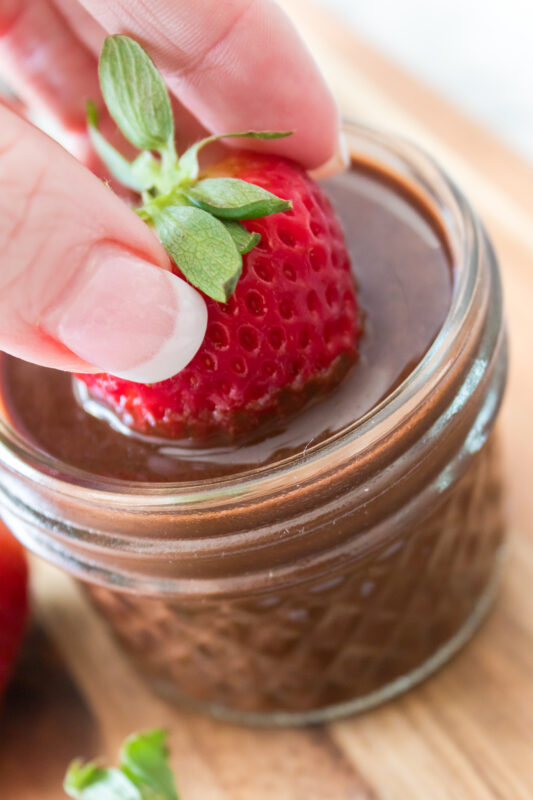
Serve it fresh or slightly warm. The syrup is extra dreamy when it’s just warm enough to drizzle easily over fresh strawberries.
-
Perfect for dipping or drizzling. Spoon it over strawberries or set it out as a dip and let everyone help themselves.
-
Don’t stop at strawberries. This syrup is also amazing on ice cream, pancakes, waffles, or even stirred into milk.
-
Let it cool before storing. Give the syrup time to cool completely so it thickens properly and stores well.
-
Store in the fridge. Keep it in a mason jar or airtight container in the refrigerator to keep it fresh.
-
Use within two weeks. It keeps beautifully for up to two weeks, making it easy to enjoy whenever a chocolate craving hits.

Variations & Substitutions
-
Make it extra rich. Swap in a darker cocoa powder for a deeper, more intense chocolate flavor.
-
Add a hint of espresso. A small pinch of instant espresso powder makes the chocolate taste even richer without tasting like coffee.
-
Try a touch of spice. A dash of cinnamon or a tiny pinch of chili powder adds a subtle twist that pairs surprisingly well with strawberries.
-
Sweeten it differently. You can replace part of the sugar with brown sugar for a slightly warmer, caramel-like flavor.
-
Boost the vanilla. Add an extra splash of vanilla if you love that cozy, bakery-style taste.
-
Use it beyond dessert. This syrup works just as well stirred into milk or drizzled over yogurt if you want something a little different.

Little Tricks That Make a Big Difference
-
Whisk before turning on the heat. Mixing everything together while it’s still cold helps the cocoa powder blend smoothly without clumps.
-
Keep the heat gentle. A low, steady simmer prevents scorching and keeps the syrup tasting rich instead of bitter.
-
Stir often and scrape the bottom. This helps the sugar dissolve fully and keeps anything from sticking to the pan.
-
Watch the thickness, not the clock. The syrup will thicken a bit more as it cools, so don’t overcook it on the stovetop.
-
Add the vanilla off the heat. Stirring it in at the end keeps the flavor bright and prevents it from cooking off.
-
Let it cool completely. Giving the syrup time to rest helps it reach that perfect, glossy, pourable texture.
FAQs
Can I use this syrup on things other than strawberries?
Absolutely. It’s delicious on ice cream, pancakes, waffles, brownies, or even stirred into a glass of milk for a quick chocolate drink.
Does the syrup thicken as it cools?
Yes, it does. It might look a little thin while it’s hot, but it thickens up nicely as it cools and even more once it’s chilled.
Can I use a different type of sugar?
You can. White granulated sugar works well, and swapping in some brown sugar adds a slightly deeper, caramel-like flavor.
What type of cocoa powder works best?
Unsweetened cocoa powder is the best choice. Using a good-quality cocoa makes a noticeable difference in flavor.
How long does homemade chocolate syrup last?
Stored in an airtight container in the fridge, it stays fresh for up to two weeks.
Can I reheat the syrup after it’s been chilled
Yes. A quick warm-up in the microwave or on the stovetop will loosen it back up so it’s easy to drizzle again.
Homemade Chocolate Syrup

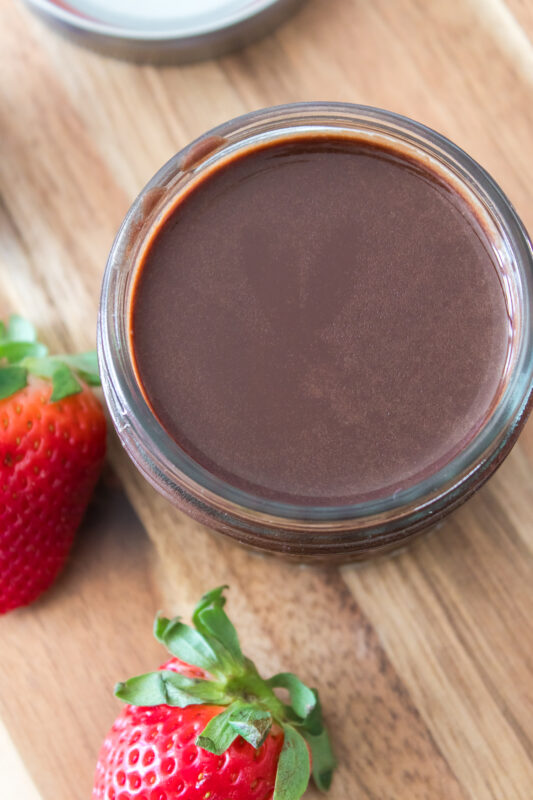
This easy homemade chocolate syrup comes together with simple pantry ingredients and is perfect for drizzling over fresh strawberries. Rich, smooth, and deeply chocolatey, it’s a quick stovetop recipe that tastes so much better than store-bought and is just right for simple desserts, dipping, or adding a little extra sweetness to your favorite treats.
Ingredients
- 2 cups water
- 2 cups pure cane sugar
- ½ teaspoon salt
- 1 cup cocoa powder
- 2 tablespoons pure vanilla extract
Instructions
- In a medium saucepan over medium heat, whisk together the water, sugar, salt, and cocoa powder until well blended.
- Bring the mixture to a gentle simmer, stirring often to avoid scorching.
- Cook for 8–10 minutes, or until the syrup thickens slightly.
- Remove from the heat and stir in the vanilla extract.
- Allow the syrup to cool completely before transferring it to a mason jar or airtight container.
- Refrigerate and enjoy within 2 weeks.
Notes
- The syrup will continue to thicken as it cools, so avoid overcooking it on the stovetop.
- Whisk well before heating to help prevent cocoa powder clumps.
- Stir frequently while simmering to keep the syrup smooth and prevent sticking or scorching.
- Add the vanilla extract after removing the pan from the heat for the best flavor.
- Store the cooled syrup in an airtight container in the refrigerator for up to two weeks.
- If the syrup thickens too much in the fridge, gently warm it to bring it back to a pourable consistency.