The Ultimate Brookies Recipe (Brownies + Cookies in One Pan!)
Some days just call for a proper chocolate treat, especially when everyone’s been in and out of the kitchen asking what’s for dessert. I don’t always have time to make two separate things, so I love recipes that give me a little bit of everything without doubling the work. That’s exactly where this one comes in.
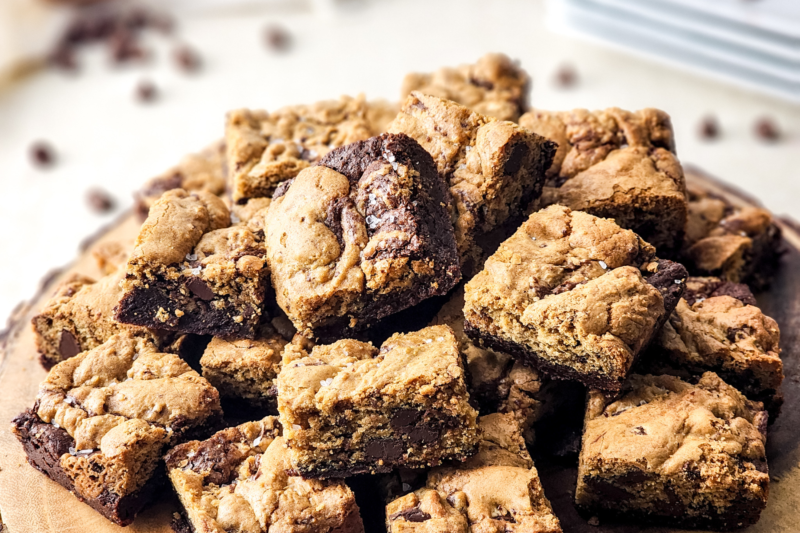
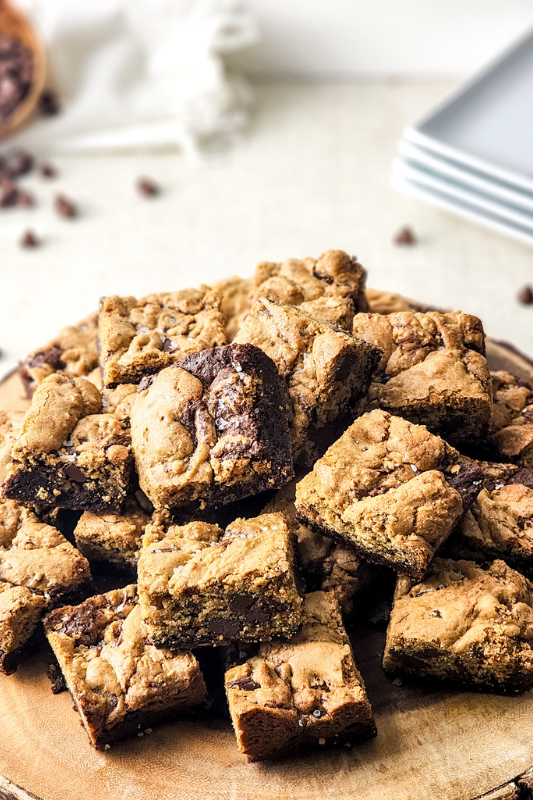
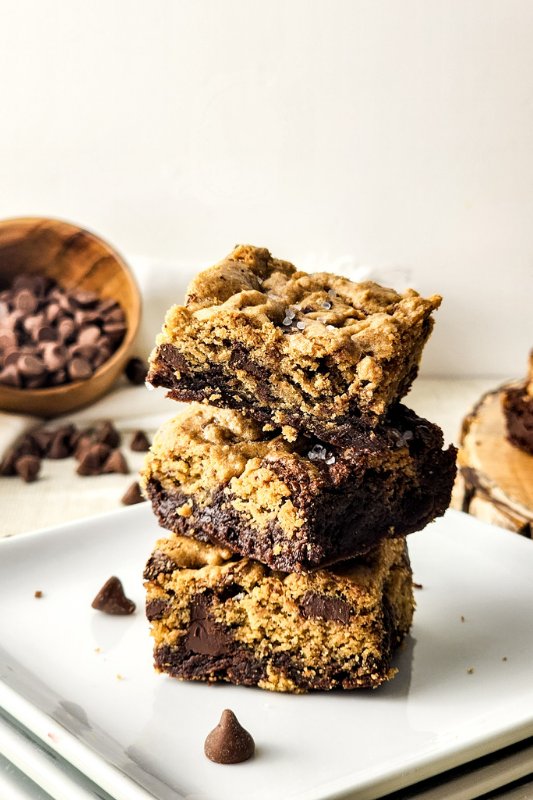
You’ve got that rich, fudgy brownie layer paired with a soft, chewy chocolate chip cookie on top, and it all bakes together in one pan. It’s made with simple ingredients I usually already have in the cupboard, which makes it easy on the budget and perfect for those last minute baking moments. It feels like something special, but it’s really straightforward to put together.
I tend to make a batch of these when we’ve got a busy week ahead or when the kids have friends popping over. They’re easy to slice, easy to serve, and honestly don’t last long in our house. If you’re after something homemade that feels a little indulgent but still practical, this one’s well worth keeping in your regular rotation.
Why We Love This Recipe
- Two treats in one pan: You get brownies and cookies together, which means less baking and fewer ingredients to buy. It’s a fun way to make dessert feel a little extra without extra effort.
- Uses simple pantry staples: Everything here is made with basic baking ingredients you probably already have on hand, so there’s no need for a special grocery run.
- Perfect for feeding a crowd: These slice up nicely into squares, making them ideal for family nights, bake sales, or when the kids have friends over.
- That homemade taste everyone loves: The mix of fudgy and chewy textures feels like something from a bakery, but it’s all made right in your own kitchen.
- Easy enough for busy days: The steps are straightforward and don’t take much time, so you can whip these up even on a hectic afternoon.
- A guaranteed hit with kids and adults: Every time I make these, they disappear fast. That’s always a good sign it’s worth making again.
Equipment
- Mixing bowls: You’ll want at least two so you can keep the brownie batter and cookie dough separate without any fuss.
- Saucepan: This is handy for melting the butter and chocolate, and for browning the butter for that extra bit of flavor.
- Wooden spoon or spatula: Perfect for mixing everything together without overworking the batter.
- Measuring cups and spoons: Helps keep things consistent so your brookies turn out just right every time.
- Baking dish (9×13-inch): A good-sized dish gives you that nice thick layer of brownie and cookie in every bite.
- Parchment paper: Makes lifting everything out so much easier and saves you from scrubbing the pan later.
- Knife or skewer: Great for gently swirling the layers together to get that marbled look.
- Cooling rack: Letting them cool properly helps them set so they slice neatly instead of falling apart.
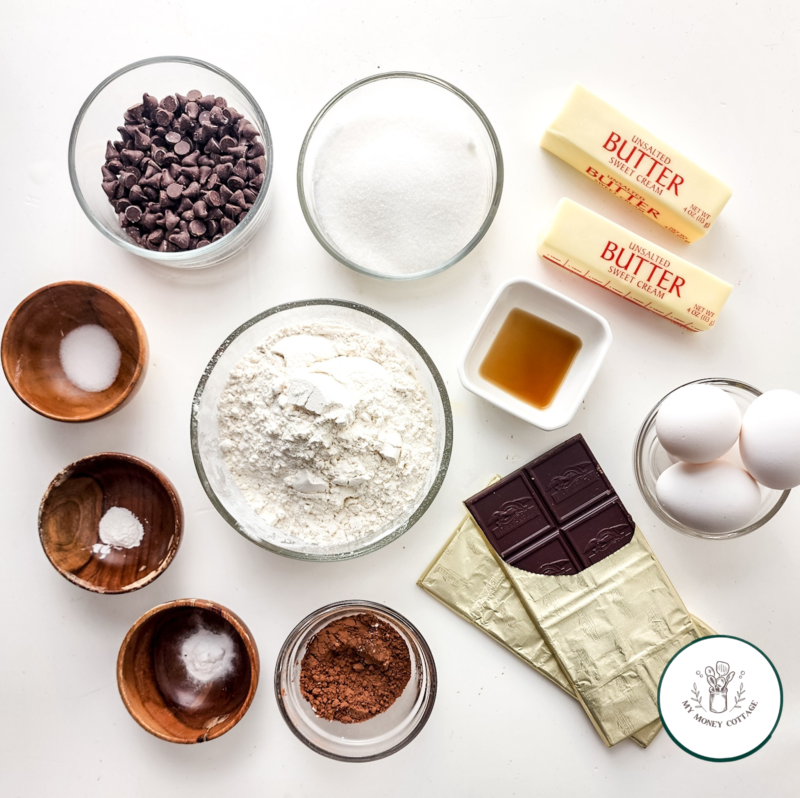
Ingredients
Brownie Batter
- 1 cup semisweet chocolate chips: These melt down into that rich, chocolatey base that makes the brownie layer so indulgent.
- 1 stick unsalted butter, melted: Melted butter keeps everything smooth and gives the brownies that soft, fudgy texture we all love.
- ¼ cup cocoa powder: This adds an extra boost of deep chocolate flavor without needing anything fancy.
- 1 cup white granulated sugar: Sweetens things up and helps create that slightly crackly top.
- 2 eggs: These hold everything together and give the brownies a nice, tender bite.
- 1 teaspoon vanilla extract: Just a little splash brings all the chocolate flavors together.
- ⅔ cup all purpose flour: Gives the batter structure while still keeping it soft and fudgy.
- ½ teaspoon salt: A small amount makes all the chocolate flavors pop a bit more.
Chocolate Chip Batter
- 1 stick unsalted butter, browned: Browning the butter adds that warm, nutty flavor that makes the cookie layer feel extra special.
- ½ cup dark brown sugar: Adds moisture and a deeper, caramel-like sweetness.
- ½ cup white granulated sugar: Balances things out and helps the cookie layer bake up just right.
- 2 eggs: These help create a soft, chewy texture that pairs perfectly with the brownies.
- ½ teaspoon vanilla extract: Adds a cozy, familiar flavor that works so well with the brown butter.
- 1 ⅓ cup all purpose flour: Gives the cookie dough enough structure to sit nicely on top of the brownie layer.
- ½ teaspoon baking soda: Helps the cookie layer rise just enough to stay soft and tender.
- ¼ teaspoon baking powder: Gives a little extra lift so the texture isn’t too dense.
- ½ teaspoon salt: Balances the sweetness and brings out all those rich flavors.
- ¾ cup semisweet chocolate chunks: These give you those lovely melty pockets of chocolate in every bite.
Topping
- Coarse salt: A light sprinkle at the end adds that sweet and salty finish that makes these really hard to resist.
Recipe Instructions
You can find a printable recipe card at the bottom of this post.
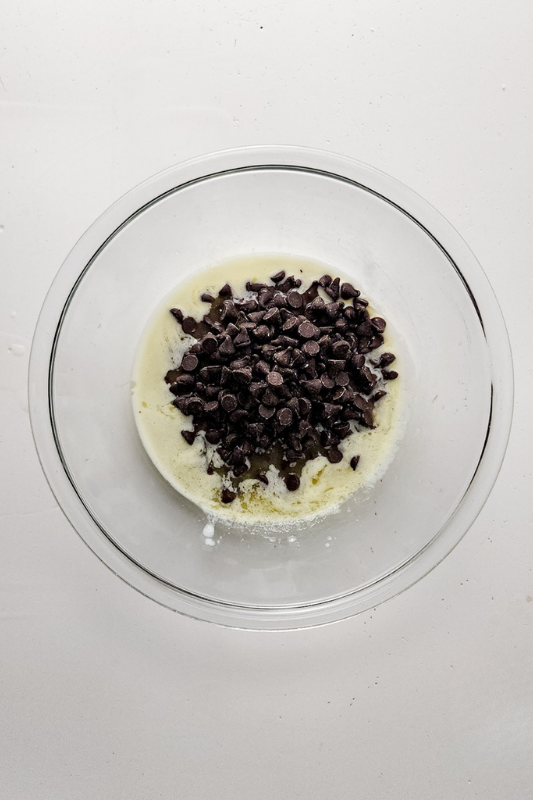
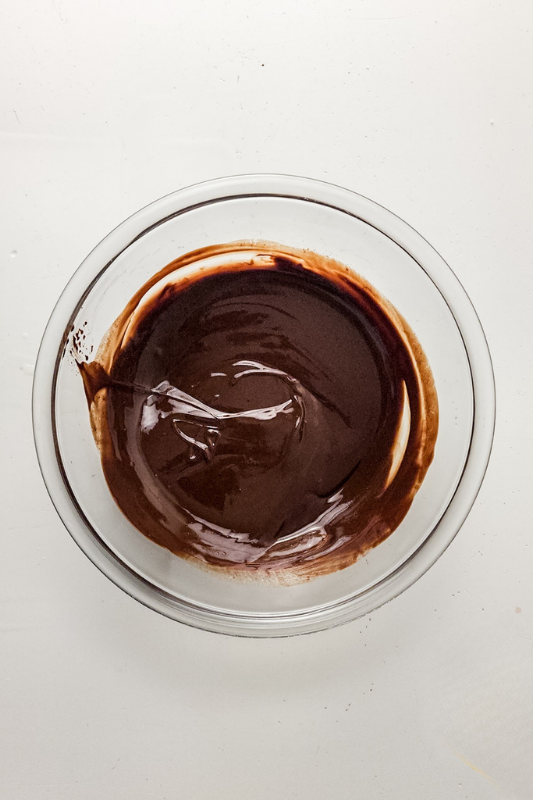
Step 1: Place the butter for the brownie batter in a saucepan and melt it. Add the chocolate chips to a mixing bowl, then pour the melted butter over them and stir until the chips are completely melted and smooth.
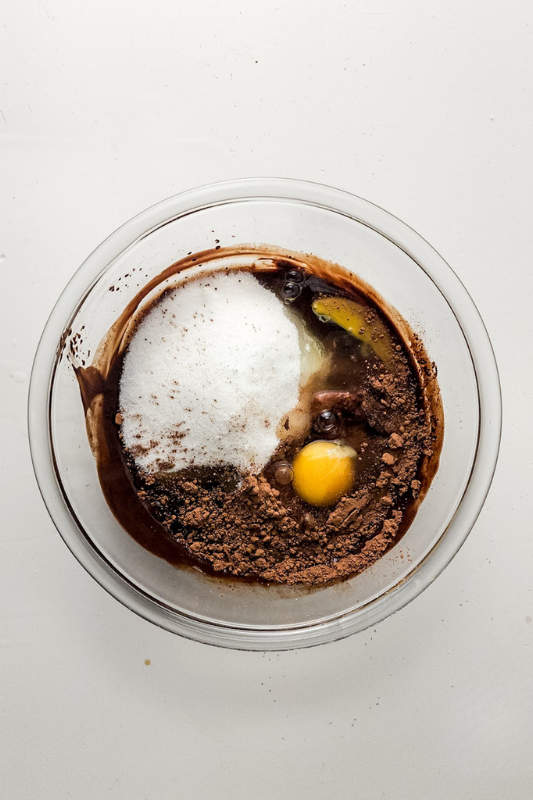
Step 2: Mix in the cocoa powder, sugar, eggs, and vanilla until the batter is thick and well combined.
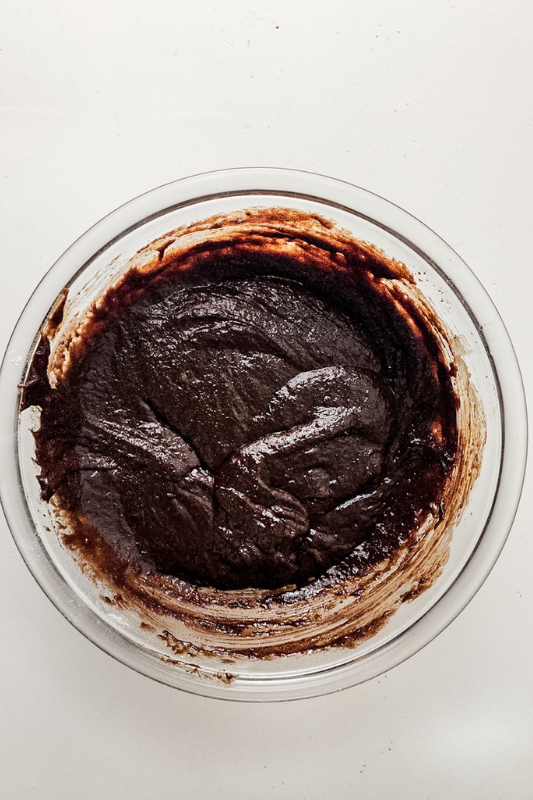
Step 3: Gently fold in the flour and salt until the brownie batter is smooth. Set aside.

Step 4: Preheat the oven to 350°F (175°C). Line a baking dish with parchment paper.
Step 5: In a separate saucepan, melt the butter for the cookie dough until it turns golden brown and nutty.
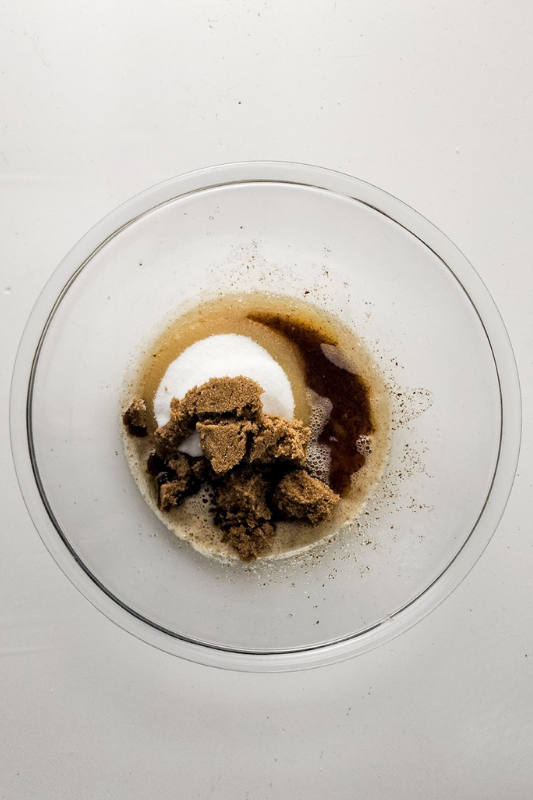
Step 6: Pour the browned butter into a mixing bowl and stir in the white sugar, brown sugar, and vanilla until combined.
Step 7: Add the eggs and mix until smooth and glossy.
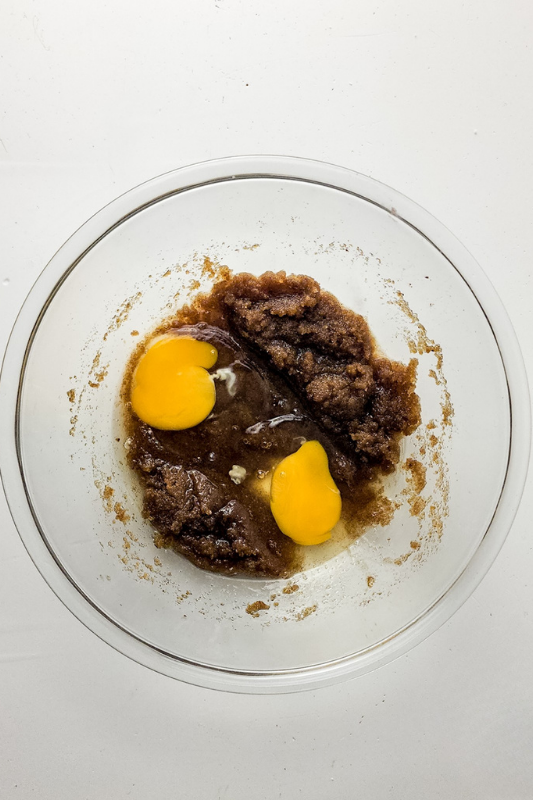
Step 8: Add the flour, baking soda, baking powder, and salt, folding until a thick dough forms.
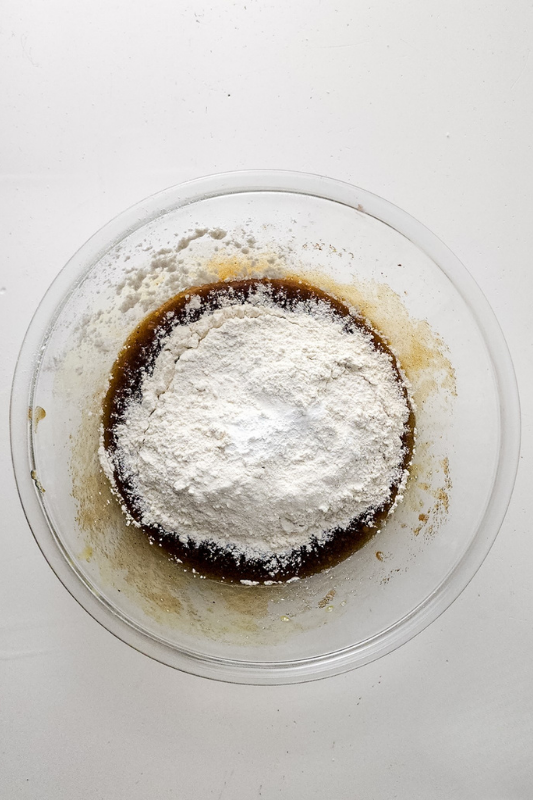
Step 9: Stir in the chopped chocolate chunks until evenly distributed.
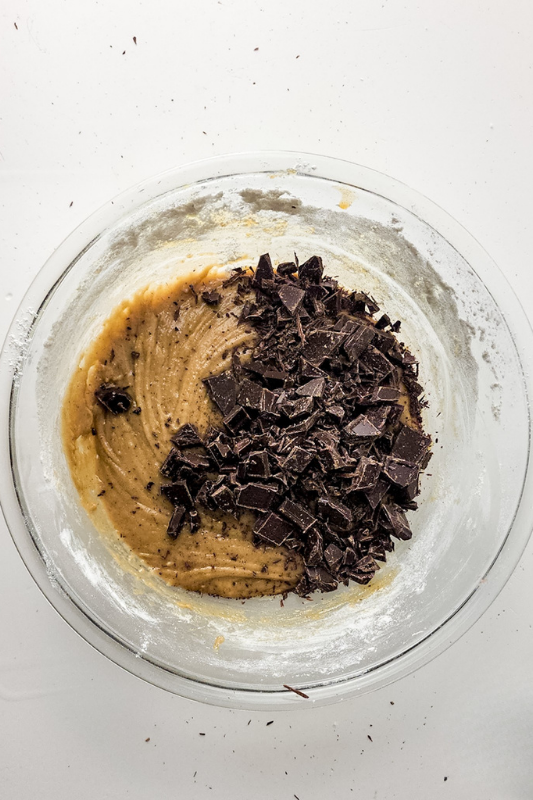
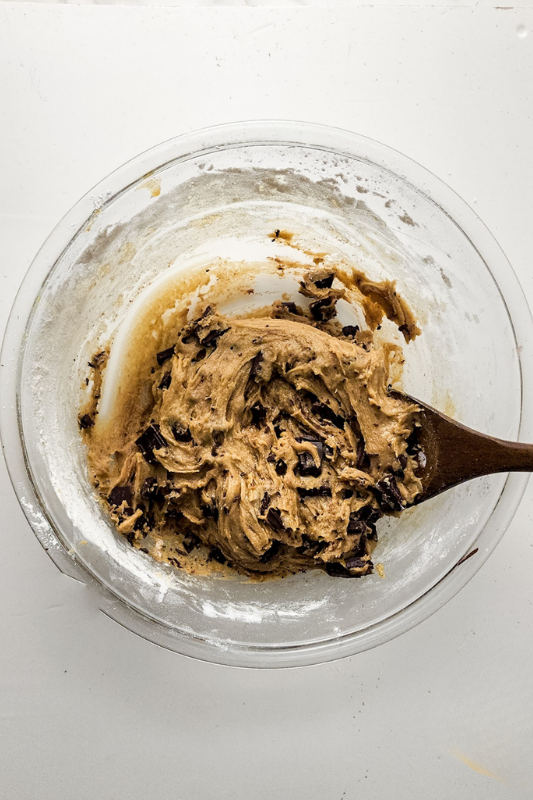
Step 10: Spread the brownie batter evenly into the prepared baking dish.
Step 11: Drop spoonfuls of cookie dough on top of the brownie layer.
Step 12: Use a knife to gently swirl the two batters together for a marbled effect.
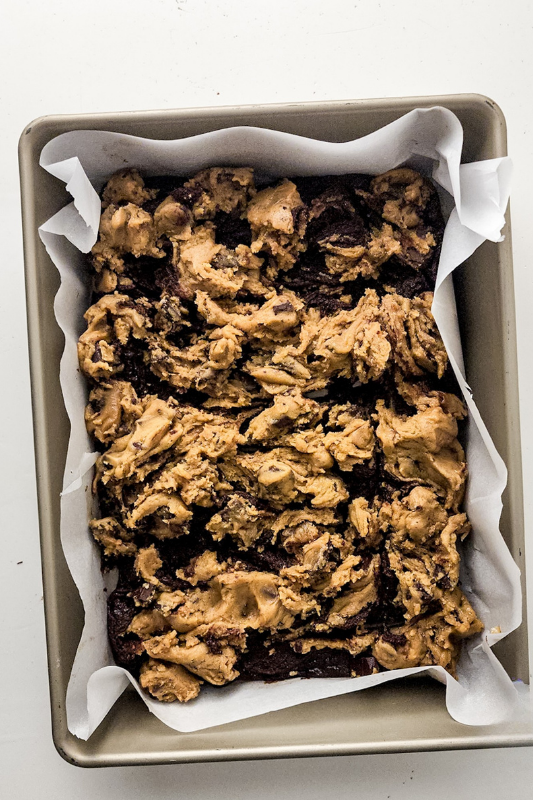
Step 13: Bake for 25–30 minutes, or until a toothpick inserted in the center comes out clean.
Step 14: Sprinkle sea salt on top as soon as they come out of the oven.
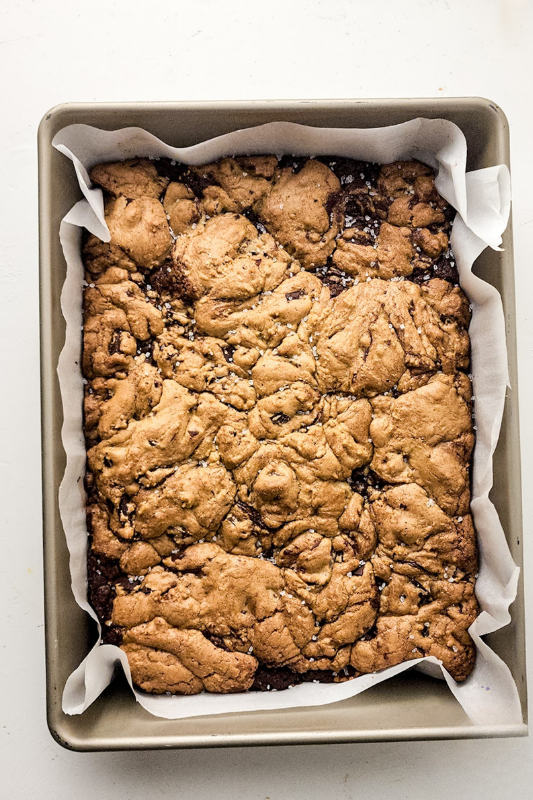
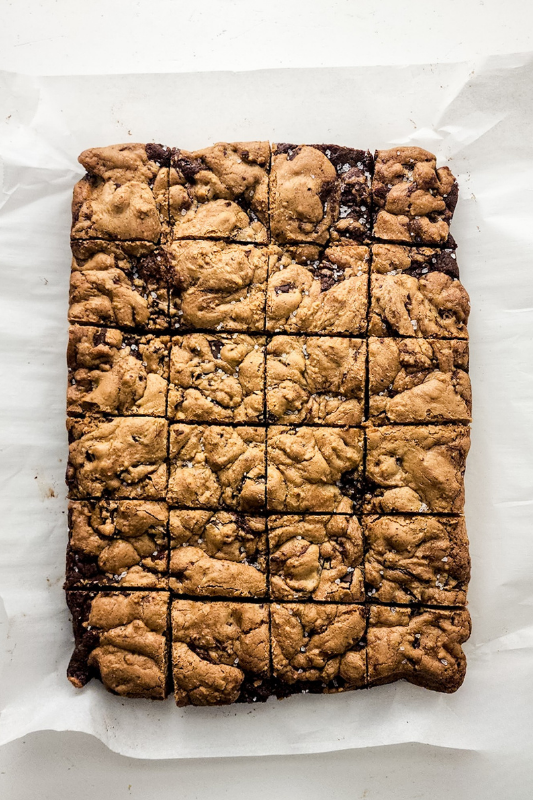
Step 15: Let cool completely, then cut into squares and serve.
Serving & Storing
- Let them cool before slicing: I know it’s tempting, but giving them time to set makes them much easier to cut into neat squares instead of a crumbly mess.
- Serve slightly warm for extra gooeyness: If you want that soft, melty texture, just pop a square in the microwave for a few seconds before serving.
- Keep them in an airtight container: They’ll stay fresh on the counter for up to 3 days, which is perfect for grabbing a quick treat after dinner.
- Great for packing up: These travel really well, so they’re ideal for lunchboxes, bake sales, or taking along when you’re visiting friends.
- You can freeze them too: Once cooled, wrap individual pieces and freeze for up to 3 months, then just thaw or warm up when you need a quick homemade treat.
- Add a little extra when serving: A scoop of ice cream or a drizzle of chocolate sauce turns these into a proper dessert without much extra effort.

Variations & Substitutions
- Swap the chocolate chips: Use milk chocolate or dark chocolate depending on what you’ve got in the cupboard or what your family prefers.
- Add nuts for a bit of crunch: A handful of chopped walnuts or pecans works really well if you like a little texture in your bakes.
- Use chocolate spread instead of chunks: If you’re out of chocolate chunks, a few spoonfuls of chocolate spread swirled into the cookie layer does the job nicely.
- Try a different extract: A splash of almond extract instead of vanilla gives a slightly different flavor that still feels cozy and homemade.
- Make it a little less sweet: You can reduce the sugar slightly in the cookie layer if you prefer things not quite as rich.
- Add peanut butter for a twist: Swirl a few spoonfuls through the batter before baking for a chocolate and peanut butter combo that always goes down well.
Little Tricks That Make a Big Difference
- Don’t overmix the batters: Once the flour goes in, just mix until everything comes together so they stay soft and tender instead of dense.
- Let the browned butter cool slightly: If it’s too hot, it can affect the texture of the dough, so giving it a few minutes makes a difference.
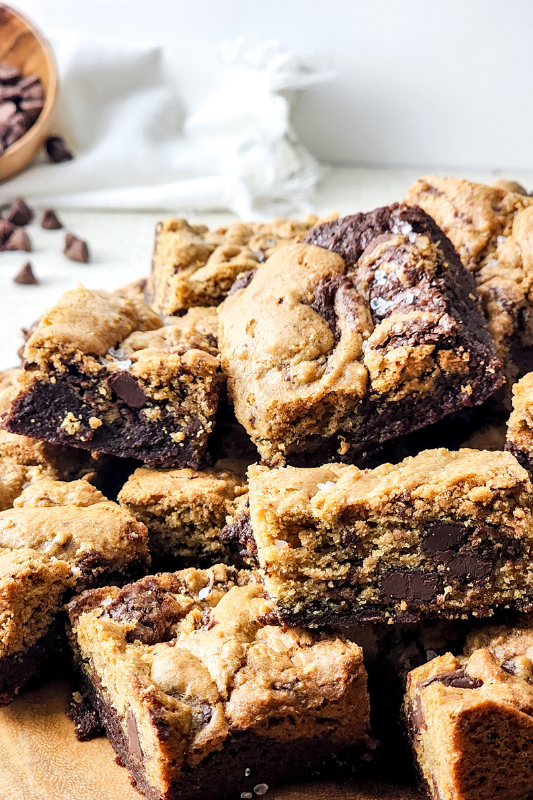
- Use a light hand when swirling: A few gentle swirls are all you need, otherwise the layers blend too much and you lose that nice marbled look.
- Line your pan properly: A bit of overhang with the parchment paper makes it so much easier to lift everything out cleanly.
- Check them a little early: Ovens can vary, so start checking around the 25 minute mark to avoid overbaking.
- Let them set before cutting: They firm up as they cool, which makes slicing much easier and keeps those layers looking neat.

What to Serve with Brookies
- A scoop of vanilla ice cream: That warm and cold combo is always a hit, and it turns a simple square into a proper dessert.
- A drizzle of chocolate or caramel sauce: Just a little on top makes them feel a bit more special without much extra effort.
- Fresh berries on the side: Strawberries or raspberries help balance the richness and add a nice pop of freshness.
- A glass of cold milk: You really can’t go wrong here, especially for the kids after dinner.
- A cup of coffee or tea: Perfect for those quieter moments when you finally get to sit down and enjoy one yourself.
- Whipped cream on top: Quick, simple, and it adds that extra bit of indulgence when you want to dress things up a little.

FAQs
What are brookies?
Brookies are a combination of brownies and chocolate chip cookies baked together in one pan. You get a fudgy brownie base with a soft, chewy cookie layer on top.
How do you know when brookies are done baking?
They’re ready when the top is set and a toothpick inserted into the center comes out with just a few moist crumbs. You don’t want it completely dry or they’ll be overbaked.
Can I make brookies ahead of time?
Yes, they’re great for making ahead. Once cooled, you can store them in an airtight container for a couple of days or freeze them for longer storage.
How do you keep brookies soft and chewy?
Store them in an airtight container and avoid overbaking. Warming them slightly before serving also helps bring back that soft, gooey texture.
Can I freeze brookies?
You can freeze them once they’ve cooled completely. Wrap individual pieces and store for up to 3 months, then thaw at room temperature or warm them up when you’re ready to eat.
Why did my brookies turn out dry?
This usually happens if they’ve been baked too long or if too much flour was added. Measuring carefully and checking them early makes a big difference.
Can I use boxed brownie mix for brookies?
Yes, if you’re short on time you can use a boxed brownie mix for the base and still make the cookie layer from scratch.
Do brookies need to be refrigerated?
No, they’re fine stored at room temperature in a sealed container. If your kitchen is very warm, you can keep them in the fridge, but let them come to room temperature before serving.

Brookies (Brownies + Cookies)
Rich, fudgy brownies topped with soft, chewy chocolate chip cookie dough, all baked together in one pan for an easy homemade treat. These brookies are simple to make with everyday ingredients and perfect for sharing with family or serving as a cozy dessert.
Ingredients
Brownie Batter:
- 1 cup semisweet chocolate chips
- 1 stick unsalted butter, melted
- ¼ cup cocoa powder
- 1 cup white granulated sugar
- 2 eggs
- 1 teaspoon vanilla extract
- ⅔ cup all purpose flour
- ½ teaspoon salt
Chocolate Chip Batter
- 1 stick, unsalted butter, browned
- ½ cup dark brown sugar
- ½ cup white granulated sugar
- 2 eggs
- ½ teaspoon vanilla extract
- 1 ⅓ cup all purpose flour
- ½ teaspoon baking soda
- ¼ teaspoon baking powder
- ½ teaspoon salt
- ¾ cup semisweet chocolate chunks
Topping:
- Coarse Salt
Instructions
- Place the butter for the brownie batter in a saucepan and melt it. Add the chocolate chips to a mixing bowl, then pour the melted butter over them and stir until the chips are completely melted and smooth.
- Mix in the cocoa powder, sugar, eggs, and vanilla until the batter is thick and well combined.
- Gently fold in the flour and salt until the brownie batter is smooth. Set aside.
- Preheat the oven to 350°F (175°C). Line a baking dish with parchment paper.
- In a separate saucepan, melt the butter for the cookie dough until it turns golden brown and nutty.
- Pour the browned butter into a mixing bowl and stir in the white sugar, brown sugar, and vanilla until combined.
- Add the eggs and mix until smooth and glossy.
- Add the flour, baking soda, baking powder, and salt, folding until a thick dough forms.
- Stir in the chopped chocolate chunks until evenly distributed.
- Spread the brownie batter evenly into the prepared baking dish.
- Drop spoonfuls of cookie dough on top of the brownie layer.
- Use a knife to gently swirl the two batters together for a marbled effect.
- Bake for 25–30 minutes, or until a toothpick inserted in the center comes out clean.
- Sprinkle sea salt on top as soon as they come out of the oven.
- Let cool completely, then cut into squares and serve.
Notes
- Let the brookies cool completely before slicing so they hold their shape and don’t fall apart.
- If you like them extra gooey, take them out on the earlier side of the baking time and let them finish setting as they cool.
- Browning the butter is worth the extra step, it adds a deeper, slightly nutty flavor to the cookie layer.
- Don’t over-swirl the batters or you’ll lose that nice layered look. A few gentle swirls is all you need.
- You can use chocolate chips instead of chunks if that’s what you have on hand.
- For neat slices, use a sharp knife and wipe it clean between cuts.
- These freeze well, so it’s worth making a full batch and saving some for later.
Nutrition Information:
Yield:
16Serving Size:
1Amount Per Serving: Calories: 339Total Fat: 11gSaturated Fat: 6gUnsaturated Fat: 5gCholesterol: 50mgSodium: 218mgCarbohydrates: 59gFiber: 3gSugar: 46gProtein: 5g