Independence Rice Krispie Treats: A Sweet and Festive Way to Celebrate!
As a mom of three, I’m always looking for fun and easy ways to get the kids involved in the kitchen, especially when we’re celebrating something special. With the Fourth of July around the corner, I knew I wanted to make something festive, but also something my kids would love to help with. That’s when I came up with these Independence Rice Krispie Treats – fun, colorful, and, of course, delicious. They’re the perfect treat to add a little extra joy to the holiday while keeping the kids entertained!
I love how versatile Rice Krispie treats are. You can customize them in so many different ways, and the process is simple enough that even the littlest hands can join in. With the bright red, white, and blue candy coating, these treats are not only eye-catching but also bring the spirit of the holiday to life. Whether you’re hosting a BBQ, a family picnic, or just a simple get-together, these treats are sure to be a hit with everyone!
One of the best parts of making these Independence Rice Krispie Treats is that they don’t take much time to prepare, and they can be made ahead of time, giving you more space to focus on other aspects of your celebration. Plus, they’re so fun to decorate with sprinkles – my kids love going wild with their favorite colors and adding their personal touch. I hope you enjoy making these treats as much as my family does!

Ingredients
-
5 cups Rice Krispies cereal: The Rice Krispies cereal gives the perfect crunch and holds everything together in this sweet and satisfying treat.
-
¼ cup butter: Butter adds a rich, smooth texture to the marshmallow mixture, making the treats extra chewy and delicious.
-
4 cups mini marshmallows (about 10 ounces): Mini marshmallows melt down beautifully to create the gooey, sticky base that holds the Rice Krispies together.
-
½ cup red meltable candies: Red meltable candies give the treats a pop of color and a sweet, smooth coating that’s perfect for the holiday.
-
½ cup white meltable candies: The white meltable candies offer a creamy and sweet contrast, adding a touch of elegance to the colorful treats.
-
½ cup blue meltable candies: Blue meltable candies complete the patriotic trio, adding a sweet and vibrant touch that’s as festive as it is delicious.
-
Sprinkles (as desired): Sprinkles are the fun final touch, adding a burst of color and a little crunch to make these treats extra special.

Recipe Instructions
You can find a printable recipe card at the bottom of this post.
1. Melt the butter in a large pot over low heat. Add the mini marshmallows, stirring until completely melted and the mixture is smooth.
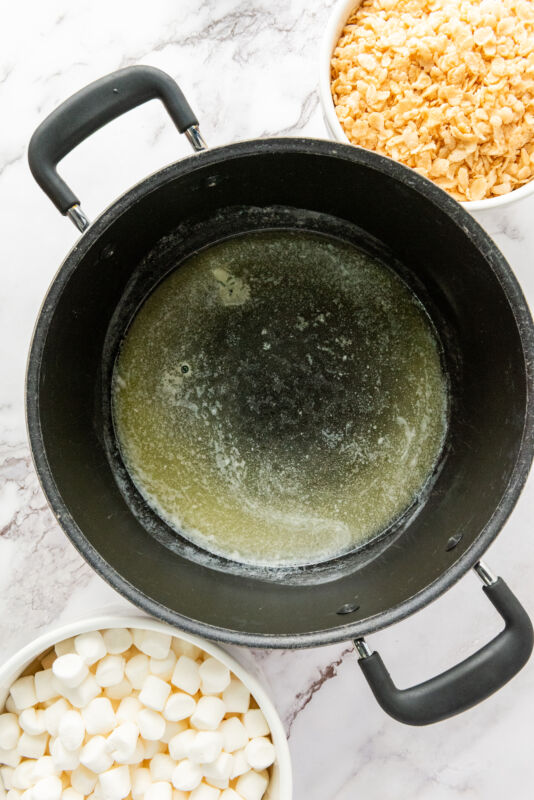


2. Remove the pot from heat and immediately mix in the Rice Krispies cereal until well coated.

3. Press the mixture firmly into a 9×13 inch baking pan lined with parchment paper or lightly greased. Flatten it evenly across the pan.

4. Let the Rice Krispie treat cool and set in the refrigerator for at least one hour.
5. Once set, lift the whole treat out of the pan using the edges of the parchment paper. Place it on a cutting board and cut into squares or rectangles to your preferred size.
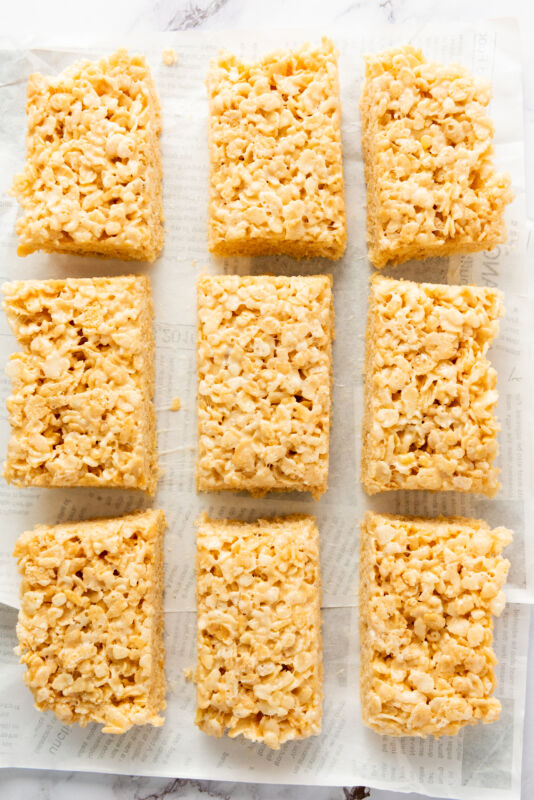
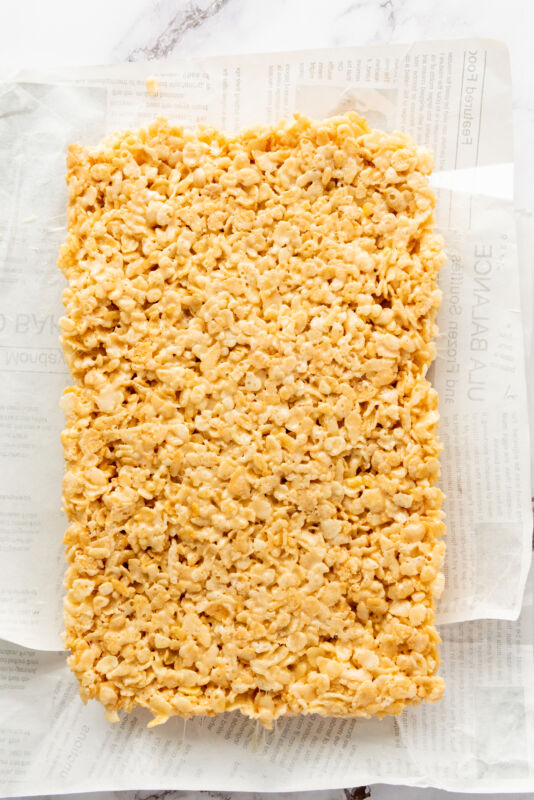

6. Separately melt the red, white, and blue meltable candies according to the package instructions. Use bowls deep enough for easy dipping.
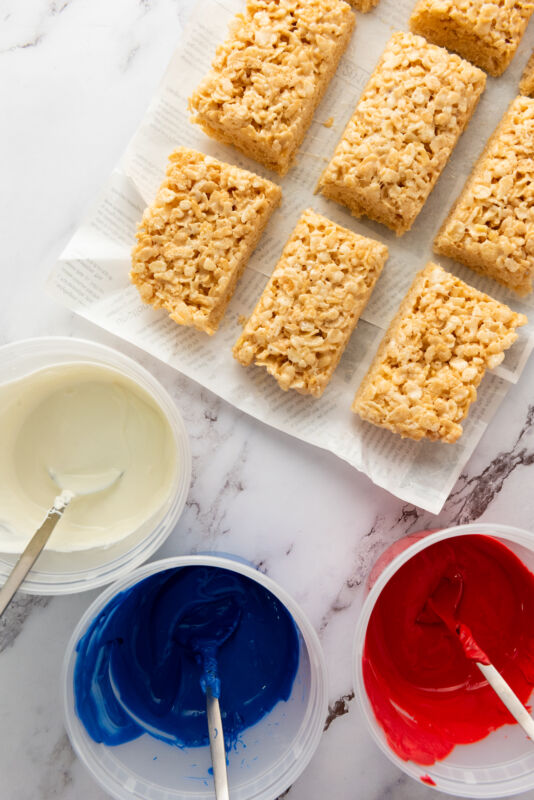
7. Drizzle each Rice Krispie square with each of the melted candy colors. You can do this with a spoon or a piping bag.

8. Place the treats onto a sheet of parchment paper. While the candy coating is still wet, sprinkle with your chosen sprinkles for a decorative touch.
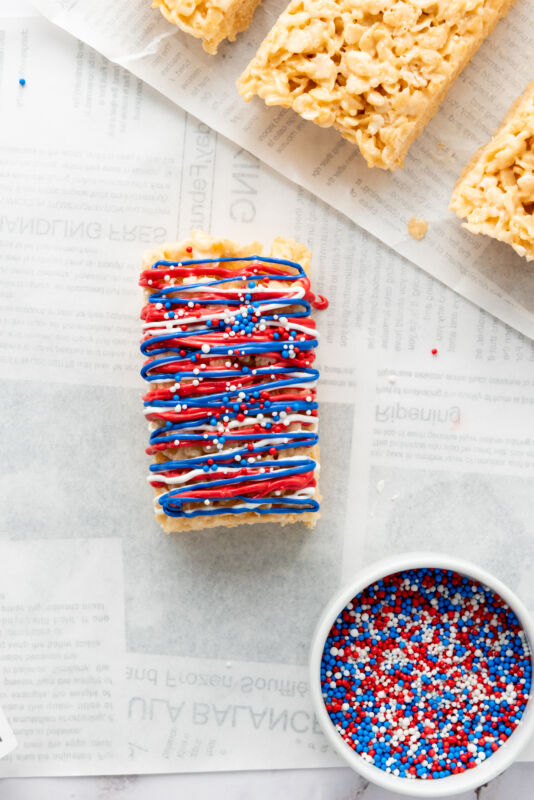
9. Allow the treats to set completely at room temperature, or in the refrigerator for a faster setting.

Top Tips
-
Use fresh marshmallows: For the best texture, make sure your mini marshmallows are fresh. Older marshmallows can become hard and may not melt as smoothly.
-
Don’t overheat the marshmallows: When melting the marshmallows and butter, be careful not to overheat them. Keep the heat low and stir constantly to avoid burning or hardening the mixture.
-
Let the treats cool completely before cutting: Allow the Rice Krispie treats to cool and set in the refrigerator for at least one hour. This helps them firm up, making them easier to cut into squares without falling apart.
-
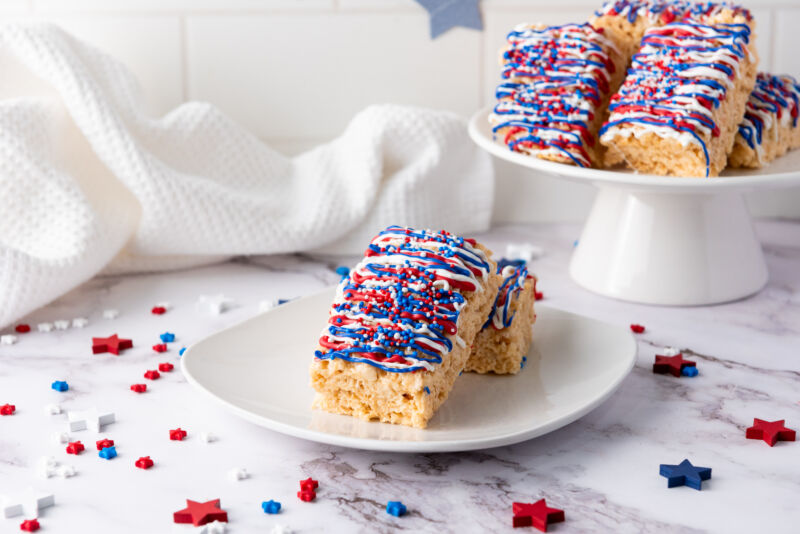
Use different colored sprinkles: Get creative with the sprinkles! You can use red, white, and blue sprinkles to enhance the patriotic look, or mix it up with fun shapes like stars or hearts for a festive touch.
-
Don’t dip too much: When dipping the treats into the melted candy, dip just enough to coat the bottom half of each square for a fun color pop. You can even mix and match the colors to create unique designs.
-
Work quickly with the melted candies: Meltable candies set quickly, so try to work fast when dipping your treats to avoid the coating hardening before you’re finished.
-
Try different types of sprinkles: For extra fun, experiment with various types of sprinkles, like jimmies, nonpareils, or even edible glitter, to add a little sparkle and texture.
Perfect Pairings and Serving Ideas
Perfect Pairings:
-
Patriotic Punch: Serve these treats alongside a refreshing red, white, and blue fruit punch or lemonade for a fun, festive drink option that complements the colors of the treats.
-
Grilled BBQ: These treats are the perfect sweet ending to a savory BBQ spread. Pair them with grilled burgers, hot dogs, and corn on the cob for a classic Fourth of July feast.
-
Fruit Salad: A light and fresh fruit salad with berries, watermelon, and pineapple adds a healthy balance to the sweet richness of the Rice Krispie treats.
-
Ice Cream: Vanilla or strawberry ice cream works wonderfully alongside these treats. You can even serve them on top of a scoop for an indulgent dessert!
-
Iced Tea or Lemonade: A tall glass of iced tea or lemonade is the perfect refreshing beverage to balance the sweetness of the Rice Krispie treats.
Serving Ideas:
-
Individual Portions: Cut the treats into smaller squares or rectangles and wrap each piece in festive wax paper or cellophane for easy, grab-and-go servings at picnics or parties.
-
Dessert Table: Arrange the treats on a dessert table with other red, white, and blue-themed treats like cupcakes, cookies, and fruit tarts. Add some flags or festive decor to create a fun holiday vibe.
-
Party Favors: These treats make great party favors. Package them in clear bags with a ribbon or place them in mini takeout boxes for guests to take home.
-
Fireworks Viewing: Serve them in individual cups or on skewers at a fireworks viewing. The treats are easy to eat while enjoying the show and add a fun, colorful snack to the evening.
-
Picnic or BBQ Dessert: Serve the Rice Krispie treats as part of a picnic or BBQ dessert spread. They are easy to transport and won’t melt in the heat, making them a great choice for outdoor gatherings.
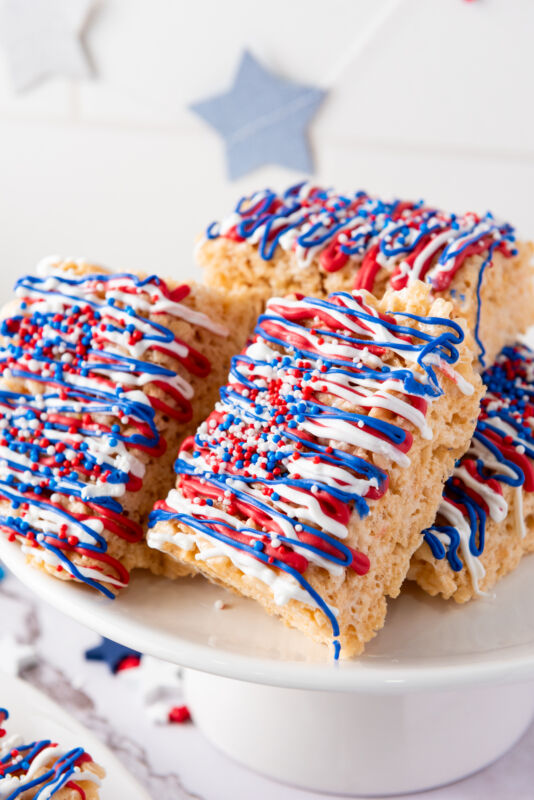
Independence Rice Krispie Treats: A Sweet and Festive Way to Celebrate!
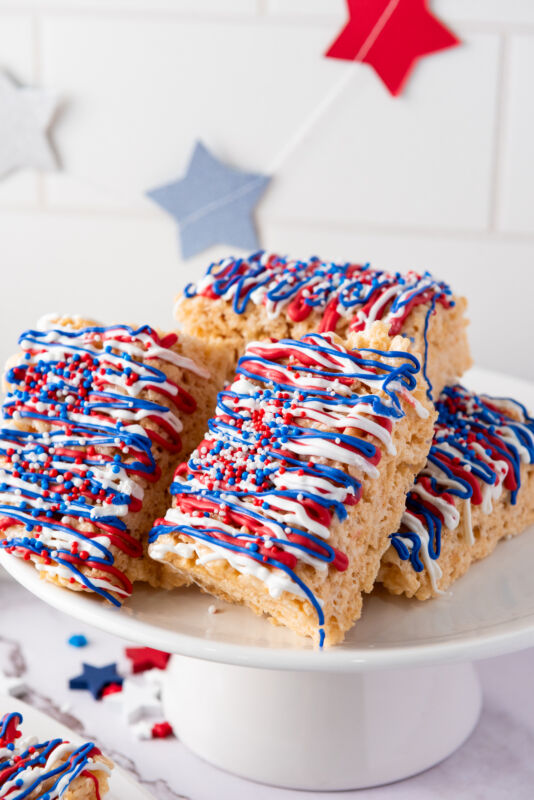
Independence Rice Krispie Treats are a festive, fun, and easy-to-make treat perfect for celebrating the Fourth of July. With a crunchy Rice Krispies base, gooey marshmallows, and colorful red, white, and blue candy coatings, these treats are a sweet, patriotic addition to any celebration. Decorated with sprinkles, they’re as delicious as they are festive!
Ingredients
- 5 cups rice Krispies cereal
- ¼ cup butter
- 4 cups mini marshmallows (about 10 ounces)
- ½ cup red meltable candies
- ½ cup white meltable candies
- ½ cup blue meltable candies
- Sprinkles: as desired, can be any type of your choosing
Instructions
- Melt the butter in a large pot over low heat. Add the mini marshmallows, stirring until completely melted and the mixture is smooth.
- Remove the pot from heat and immediately mix in the Rice Krispies cereal until well coated.
- Press the mixture firmly into a 9x13 inch baking pan lined with parchment paper or lightly greased. Flatten it evenly across the pan.
- Let the Rice Krispie treat cool and set in the refrigerator for at least one hour.
- Once set, lift the whole treat out of the pan using the edges of the parchment paper. Place it on a cutting board and cut into squares or rectangles to your preferred size.
- Separately melt the red, white, and blue meltable candies according to the package instructions. Use bowls deep enough for easy dipping.
- Drizzle each Rice Krispie square with each of the melted candy colors. You can do this with a spoon or a piping bag.
- Place the treats onto a sheet of parchment paper. While the candy coating is still wet, sprinkle with your chosen sprinkles for a decorative touch.
- Allow the treats to set completely at room temperature, or in the refrigerator for a faster setting.