Easy Biscoff Brownies with a Gorgeous Cookie Butter Swirl
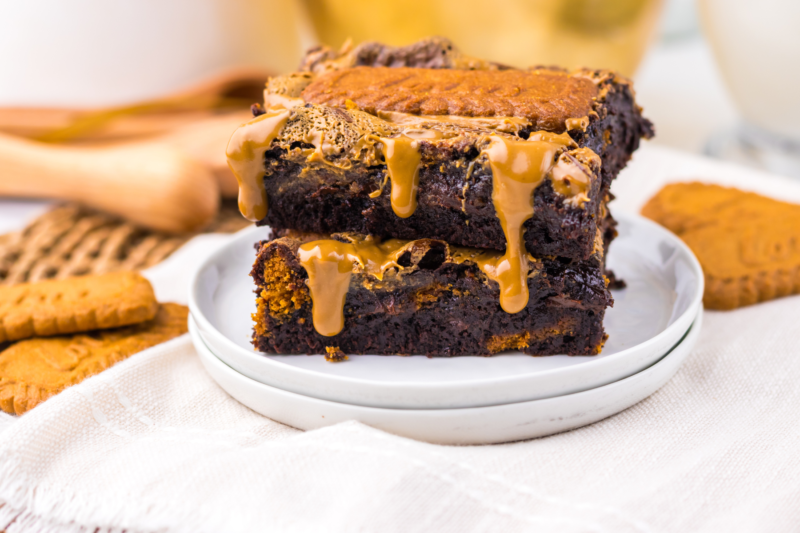
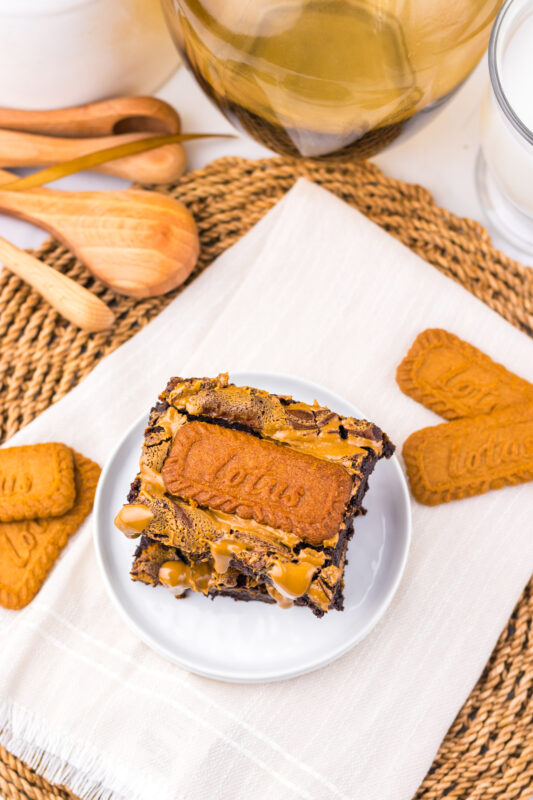
If you love rich, chocolatey brownies and have a soft spot for cookie butter, you’re going to be very happy right now. These brownies are thick, fudgy, and swirled with warm Biscoff spread that bakes up beautifully on top. Add in chunks of crunchy cookies and melty chocolate chips, and suddenly a simple pan of brownies feels a little extra in the best way possible.
This is the kind of recipe that looks impressive but doesn’t ask much of you. A good nonstick 9×13 pan, parchment paper for easy lifting, and a sturdy whisk are really all you need. Warming the cookie butter just enough to make it spoonable makes swirling super easy, and that swirl turns into the prettiest topping once it hits the oven. These brownies photograph so well, especially sliced into thick squares once they’ve cooled.
They’re perfect for bake sales, dessert trays, or those nights when you want something cozy and chocolatey without pulling out a mixer or a pile of bowls. Pair them with a scoop of vanilla ice cream, pack them up for sharing, or keep them tucked away for sneaky treats throughout the week. If you’re already a fan of Biscoff cookies or cookie butter, this recipe is about to become a repeat favorite.
Why We Love This Recipe
- It’s ultra fudgy in the middle with just the right set edges, which is exactly how a brownie should be.
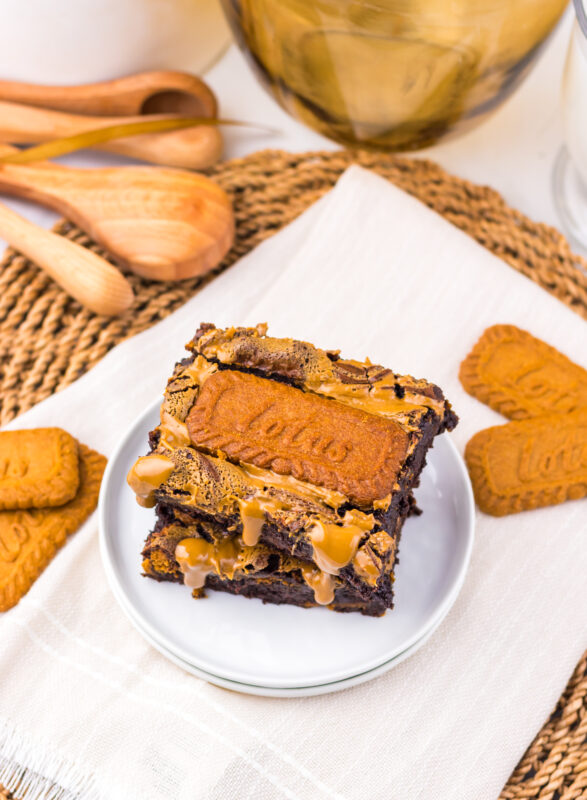
- That Biscoff cookie butter swirl bakes up so pretty, it looks bakery-worthy without any extra effort.
- You get the best of both worlds with rich chocolate flavor and that warm, spiced cookie crunch in every bite.
- It feels a little fancy, but the steps are just as easy as making classic brownies.
- They slice beautifully into thick squares, which makes them perfect for sharing or dessert trays.
- The combo of melty chocolate chips and crunchy cookie pieces keeps every bite interesting.
- They’re a hit with anyone who loves brownies and even bigger hit with Biscoff fans.
- These are great for make-ahead desserts since the flavor gets even better once they’ve cooled.
Equipment
-
9×13 baking pan: Gives you thick, bakery-style brownies with just the right amount of fudgy center.
-
Parchment paper: Makes lifting the brownies out of the pan easy and keeps slicing nice and clean.
-
Nonstick cooking spray: A quick spritz helps make sure nothing sticks around the edges.
-
Medium saucepan: Perfect for melting the butter and mixing everything into a glossy, rich base.
-
Whisk: Helps bring the sugars, eggs, and vanilla together smoothly without overworking the batter.
-
Rubber spatula: Great for folding in chocolate chips and cookie pieces without deflating the batter.
-
Measuring cups and spoons: Keeps everything accurate so the brownies bake up just right.
-
Knife or skewer: Used to gently swirl the warmed cookie butter into that pretty marbled top.
-
Cooling rack: Letting the brownies cool properly makes them easier to slice into thick, neat squares.
Ingredients
-
1 cup salted butter: This is the base of that rich, fudgy texture, and the salt helps balance all the sweetness.
-
1 ½ cups granulated sugar: Adds classic sweetness and helps give the brownies that shiny, crackly top everyone loves.
-
½ cup brown sugar, packed: Brings extra moisture and a hint of caramel flavor that pairs perfectly with chocolate.
-
4 large eggs: These hold everything together and give the brownies structure without tipping them into cakey territory.
-
2 teaspoons vanilla extract: A small splash that makes all the chocolate and cookie flavors really pop.
-
1 cup all-purpose flour: Just enough flour to give the brownies shape while keeping the centers soft and fudgy.
-
1 cup unsweetened cocoa powder: This is where that deep, rich chocolate flavor really comes from.
-
1 cup semi-sweet chocolate chips: Melty pockets of chocolate throughout make every bite feel extra indulgent.
-
½ cup Biscoff cookie butter, slightly warmed: Swirled on top for that warm, spiced cookie flavor and a bakery-style finish using Lotus Biscoff.
-
1 cup crushed Biscoff cookies: Folded into the batter to add crunch and even more cookie flavor throughout.
-
8–10 whole Biscoff cookies: Pressed gently on top so they bake right in and make the brownies look irresistible.

Recipe Instructions
You can find a printable recipe card at the bottom of this post.
Step 1: Preheat the oven to 350°F. Line a 9×13 baking pan with parchment paper and give it a light spray so nothing sticks.
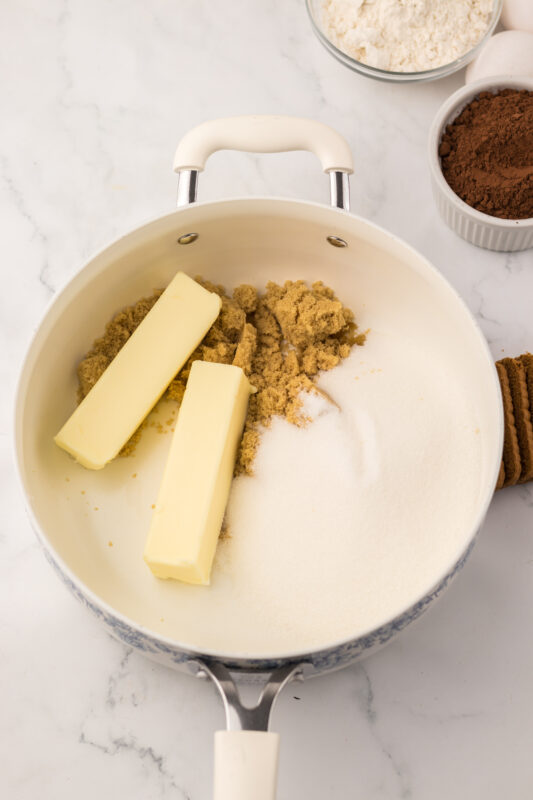
Step 2: Melt the butter in a saucepan over low heat. Whisk in the granulated sugar and brown sugar until smooth and glossy, then let it cool slightly so it’s not too hot.
Step 3: Add the eggs and vanilla, whisking until everything is well combined and silky.
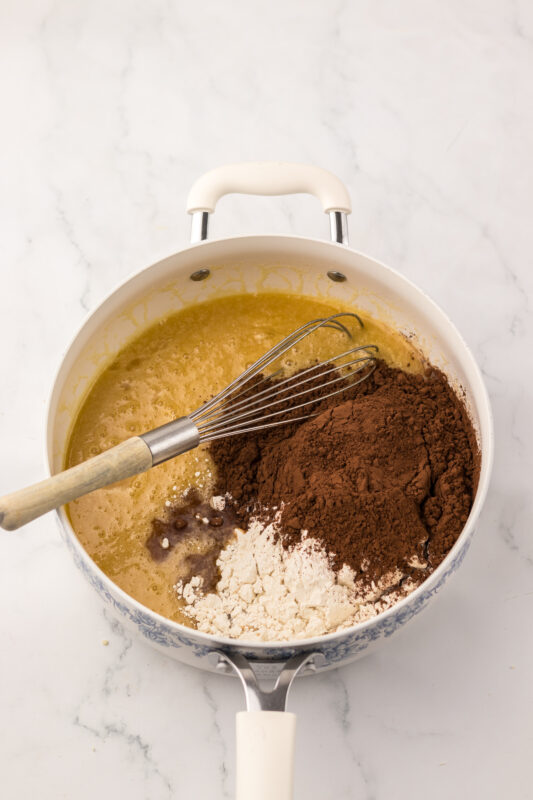
Step 4: Stir in the flour and cocoa powder just until the batter comes together. Stop as soon as you don’t see dry spots to keep the brownies fudgy.
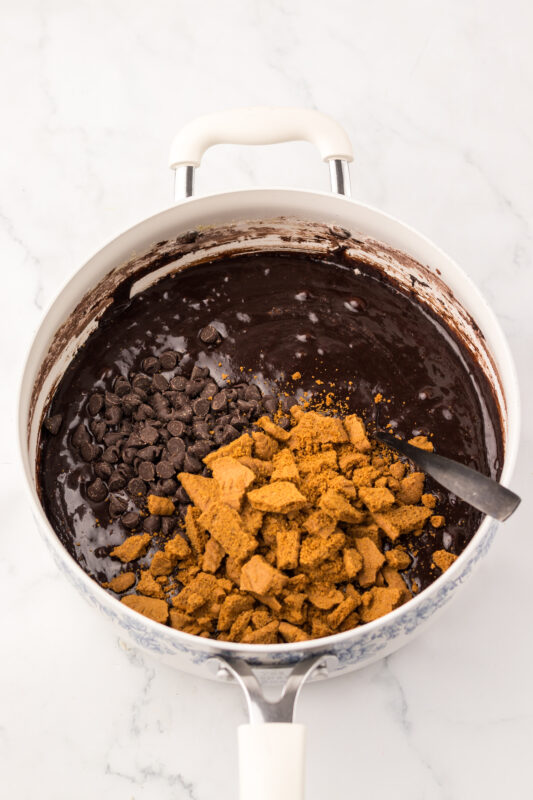
Step 5: Gently fold in the chocolate chips and most of the crushed Biscoff cookies, saving a little for the top if you like.
Step 6: Pour the batter into the prepared pan and spread it out evenly.
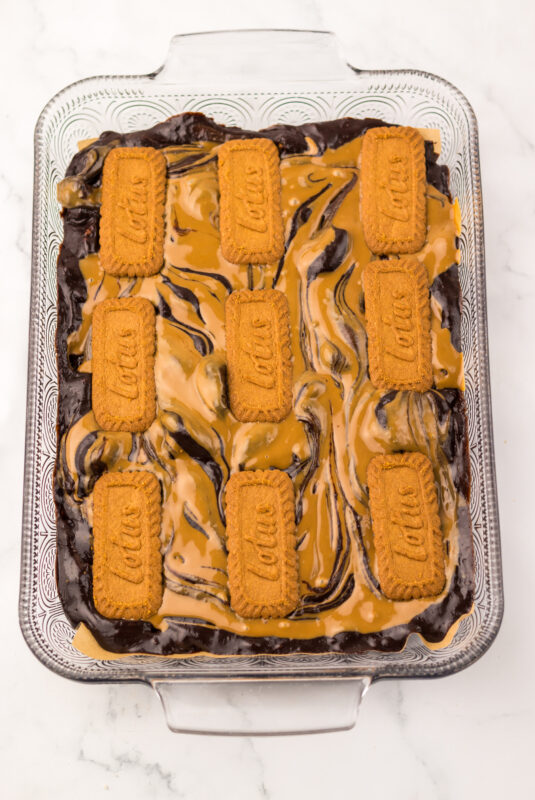
Step 7: Warm the Biscoff cookie butter just until it’s easy to spoon, then drop small spoonfuls over the batter and swirl gently with a knife.
Step 8: Press the whole Biscoff cookies on top, spacing them out evenly.
Step 9: Bake for 30 to 35 minutes, until the edges are set and the center is soft and fudgy, not wet.

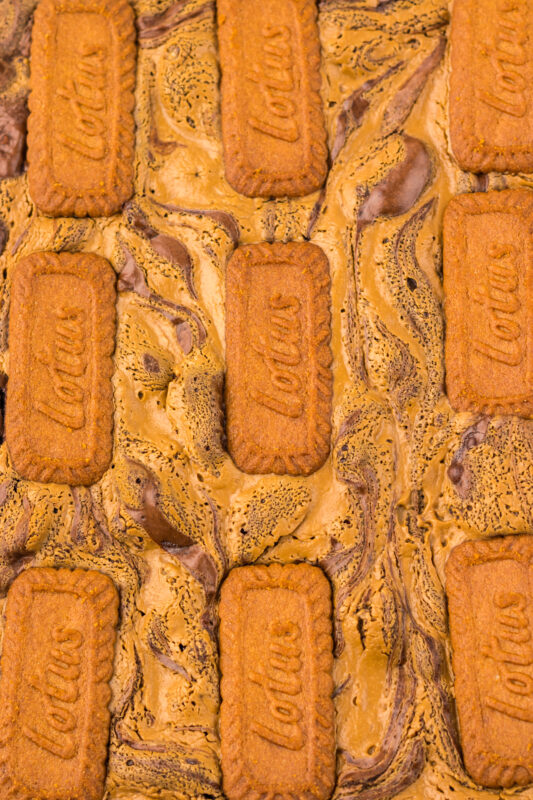
Step 10: Let the brownies cool before slicing so you get thick, clean squares.
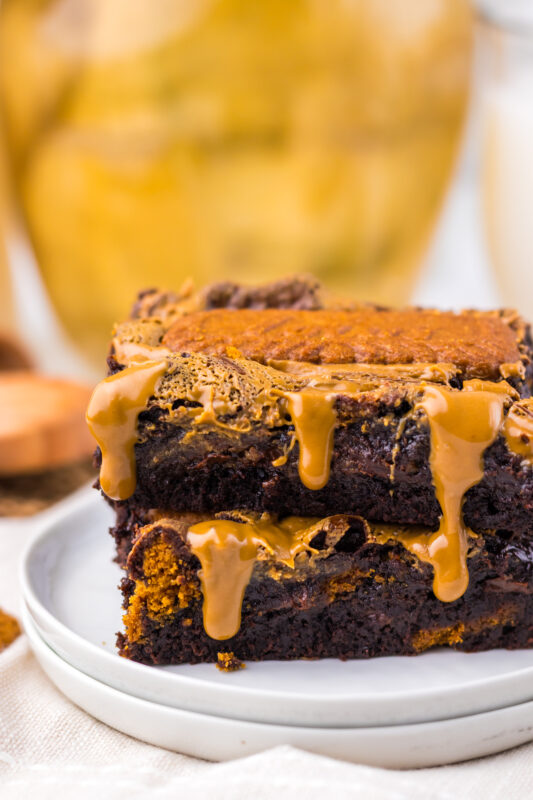
Serving & Storing
-
These brownies are best once they’ve cooled a bit, since that gives you clean slices and the perfect fudgy texture.
-
Serve them as-is, or warm them slightly and add a scoop of vanilla ice cream for an extra cozy dessert.
-
They’re great for dessert trays, bake sales, or potlucks because they travel well and hold their shape.
-
Store leftovers in an airtight container at room temperature for up to 3 days and they’ll stay soft and rich.
-
If you want them to last a little longer, keep them in the fridge for up to 5 days and let them come to room temperature before serving.
-
These brownies freeze really well. Wrap individual squares tightly and freeze for up to 2 months for easy grab-and-go treats.
-
For that just-baked feel, a quick 10 to 15 seconds in the microwave brings the fudgy texture right back.
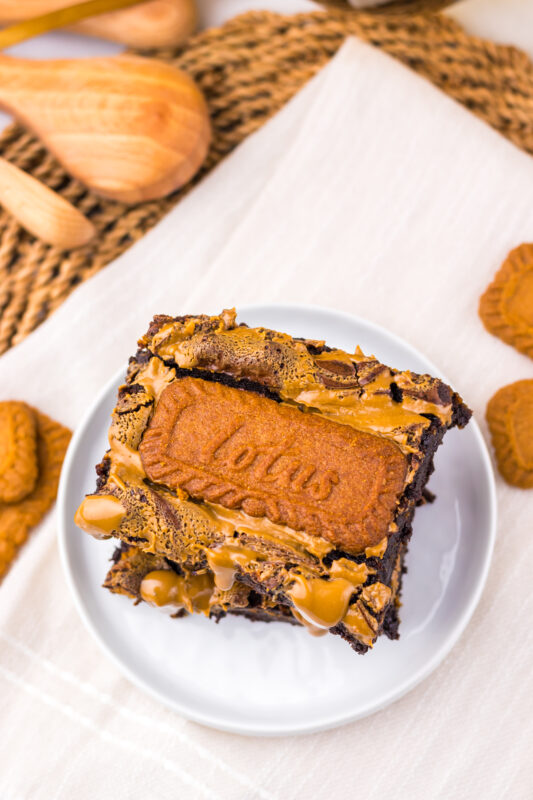
Variations & Substitutions
-
Make them extra chocolatey: Swap half of the semi-sweet chocolate chips for dark chocolate chips if you like a deeper, richer chocolate flavor.
-
Dial back the sweetness: Use dark cocoa powder or reduce the granulated sugar slightly if you prefer brownies that aren’t overly sweet.
-
Add some crunch: Stir in chopped walnuts or pecans along with the crushed Biscoff cookies for a little extra texture.
-
Skip the cookie topping: Leave off the whole Biscoff cookies on top and just stick with the swirl for a cleaner, more classic brownie look.
-
Go dairy-free: Use a dairy-free butter substitute and dairy-free chocolate chips. The texture stays fudgy and delicious.
-
Make them gluten-free: Swap the all-purpose flour for a 1:1 gluten-free baking blend with great results.
-
Turn them into brownie bites: Bake the batter in a lined muffin tin for thick, bakery-style brownie cups. Just reduce the bake time slightly.
-
Lean into the swirl: Add a little extra Biscoff cookie butter on top if you love bold swirls and a stronger cookie butter flavor.
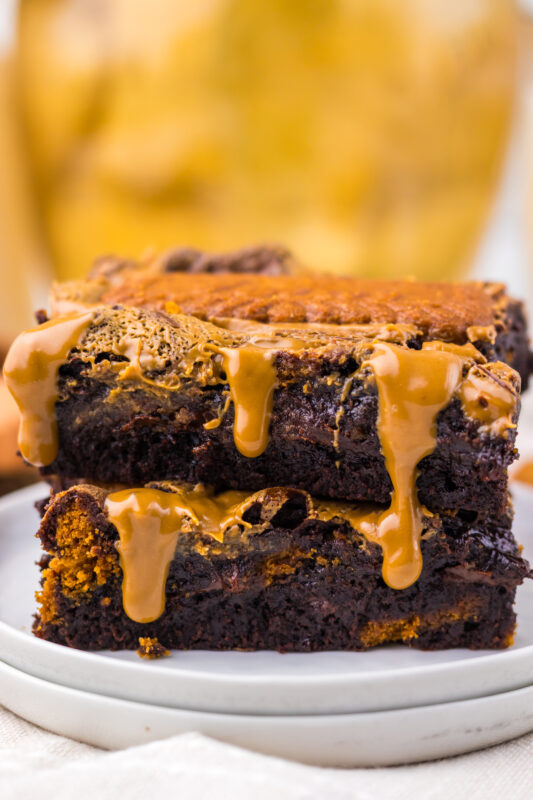
Little Tricks That Make a Big Difference
-
Let the butter mixture cool slightly: Giving it a few minutes before adding the eggs keeps them from scrambling and helps everything mix smoothly.
-
Don’t overmix the batter: Stir just until the flour and cocoa disappear. Overmixing can make brownies dense instead of fudgy.
-
Warm the cookie butter gently: A quick warm-up makes it easy to swirl without sinking straight into the batter.
-
Go easy on the swirl: A light hand with the knife gives you those pretty ribbons on top instead of muddying the batter.
-
Press the cookies in lightly: This helps the whole Biscoff cookies stay visible on top while still baking into the brownies.
-
Check early: Start checking at the 30-minute mark. You want set edges and a soft center, not a dry brownie.
-
Cool completely before slicing: It’s tempting, but cooling helps the brownies set so you get thick, clean squares every time.
FAQs
Can I use natural or Dutch-processed cocoa powder?
Either works here. Natural cocoa gives a slightly sharper chocolate flavor, while Dutch-processed makes the brownies taste a bit smoother and richer.
Do I have to use salted butter?
Salted butter adds great balance to the sweetness, but unsalted works too. Just add a small pinch of salt to the batter if you make the swap.
How do I know when the brownies are done?
The edges should look set and slightly pulled away from the pan, while the center still looks soft. A toothpick inserted near the center should come out with a few moist crumbs, not wet batter.
Can I make these ahead of time?
Yes. These brownies are actually even better the next day once the flavors settle, making them perfect for prepping ahead.
Why did my brownies turn out dry?
They were likely baked a little too long or overmixed. Pull them while the center is still soft and stir the batter just until combined.
Can I double the recipe?
You can, but it’s best to bake in two separate pans so the brownies cook evenly and stay fudgy.
Do the whole Biscoff cookies get too crunchy on top?
They soften slightly as they bake and stay delicious. If you prefer them softer, press them a little deeper into the batter before baking.

Biscoff Brownies with Cookie Butter Swirl

These Biscoff brownies are rich, fudgy, and swirled with warm cookie butter, then topped with crunchy Biscoff cookies for a bakery-style finish. Easy to make and perfect for sharing, they’re the kind of chocolatey treat that looks impressive without any extra fuss.
Ingredients
- 1 cup salted butter
- 1 ½ cups granulated sugar
- ½ cup brown sugar, packed
- 4 large eggs
- 2 teaspoons vanilla extract
- 1 cup all-purpose flour
- 1 cup unsweetened cocoa powder
- 1 cup semi-sweet chocolate chips
- ½ cup Biscoff cookie butter, slightly warmed
- 1 cup crushed Biscoff cookies (folded into the batter)
- 8–10 whole Biscoff cookies, for topping
Instructions
- Preheat the oven to 350°F. Line a 9x13 baking pan with parchment paper and give it a light spray so nothing sticks.
- Melt the butter in a saucepan over low heat. Whisk in the granulated sugar and brown sugar until smooth and glossy, then let it cool slightly so it’s not too hot.
- Add the eggs and vanilla, whisking until everything is well combined and silky.
- Stir in the flour and cocoa powder just until the batter comes together. Stop as soon as you don’t see dry spots to keep the brownies fudgy.
- Gently fold in the chocolate chips and most of the crushed Biscoff cookies, saving a little for the top if you like.
- Pour the batter into the prepared pan and spread it out evenly.
- Warm the Biscoff cookie butter just until it’s easy to spoon, then drop small spoonfuls over the batter and swirl gently with a knife.
- Press the whole Biscoff cookies on top, spacing them out evenly.
- Bake for 30 to 35 minutes, until the edges are set and the center is soft and fudgy, not wet.
- Let the brownies cool before slicing so you get thick, clean squares.
Notes
- Let the butter and sugar mixture cool slightly before adding the eggs to keep the batter smooth.
- Stir the batter just until combined. Overmixing can lead to dense brownies instead of a fudgy texture.
- Warm the Biscoff cookie butter gently so it’s easy to swirl. Too hot and it will melt straight into the batter.
- For cleaner slices, allow the brownies to cool completely before cutting.
- If you like extra gooey brownies, pull them closer to the 30-minute mark. For firmer edges, bake a few minutes longer.
- Lining the pan with parchment makes lifting and slicing much easier.
- Press the whole Biscoff cookies lightly into the batter so they stay in place while baking.
Nutrition Information:
Yield:
12Serving Size:
1Amount Per Serving: Calories: 625Total Fat: 33gSaturated Fat: 18gUnsaturated Fat: 15gCholesterol: 108mgSodium: 283mgCarbohydrates: 77gFiber: 6gSugar: 34gProtein: 11g