Easy No-Bake Mango Cheesecake with a Buttery Digestive Crust
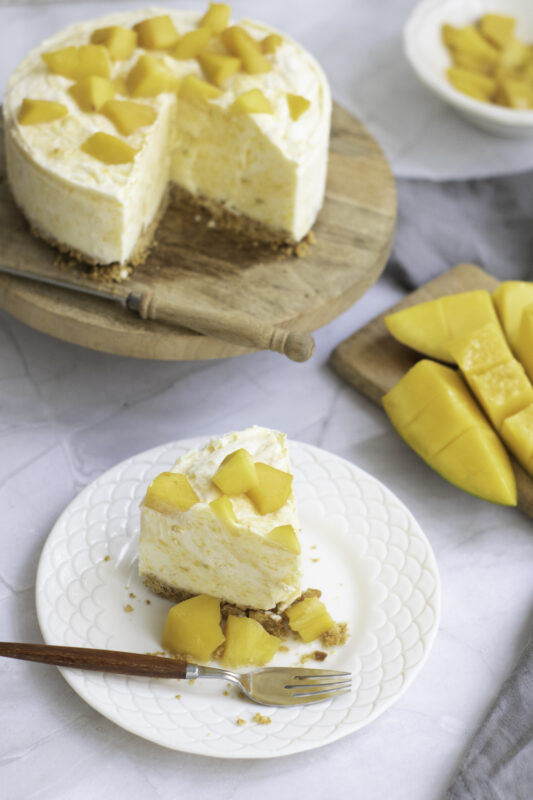
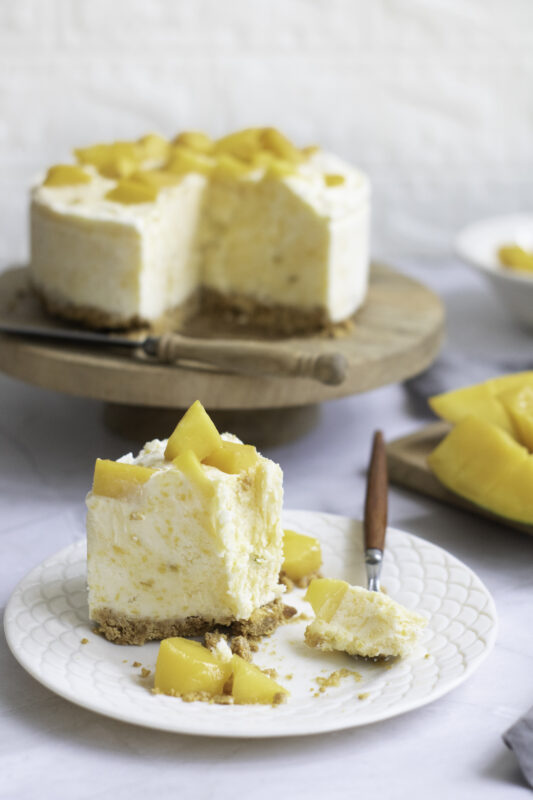
I’ve got a dessert that’s become an absolute favorite around here lately, my easy no-bake mango cheesecake with a buttery digestive crust. Honestly, it feels like a little tropical vacation every time I take a bite. The creamy, tangy mango filling paired with that crumbly, buttery crust is just the kind of sweet treat that brightens up any day. Plus, no oven required! That’s a win in my book, especially on warmer days when I want something cool and refreshing without heating up the kitchen.
What I love most about this cheesecake is how simple it is to put together. The filling is light and fluffy thanks to whipped cream folded right into the mango and cream cheese mixture, and the digestive biscuit crust adds just the perfect bit of crunch. It’s not overly sweet but still feels indulgent, perfect for sharing with friends or saving a few slices for myself (no judgment here). I always find that a homemade dessert like this makes gatherings feel a little more special, even if it’s just a casual get-together.
If you’re someone who’s a fan of fruity desserts or just looking for a show-stopping recipe that’s easy enough for any skill level, this mango cheesecake is for you. It’s that kind of dessert you’ll want to make again and again, and trust me, your friends will be asking for the recipe.
Ingredients
For the Crust:
-
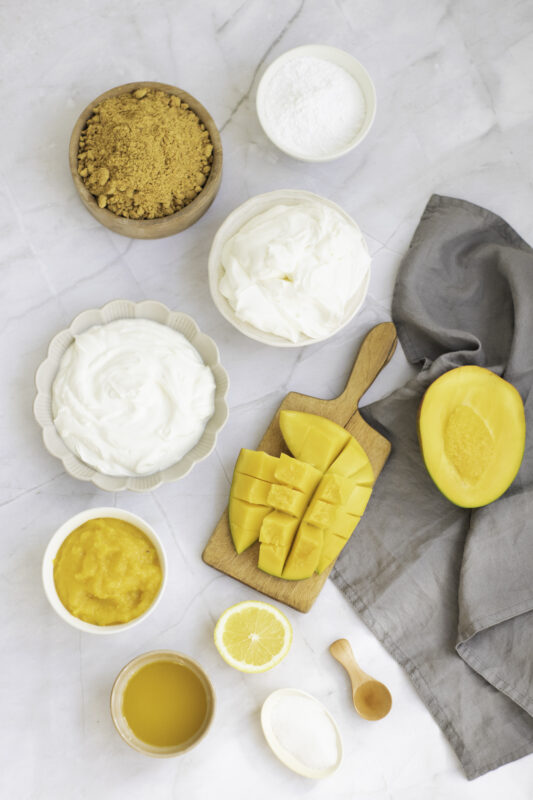
1 ½ cups digestive biscuits crushed into crumbles: adds a buttery, crunchy base that’s classic and comforting.
-
1/3 cup melted unsalted butter: binds the crumbs together and gives the crust a rich, buttery flavor.
For the Filling:
-
24 oz (680g) cream cheese, softened: creates a smooth, creamy foundation that’s rich and tangy.
-
1 cup powdered sugar: sweetens the filling perfectly without any graininess.
-
2 teaspoons vanilla extract: adds a warm, fragrant note that balances the mango’s brightness.
-
1 ½ cups mango puree: brings fresh, tropical flavor and vibrant color to the cheesecake.
-
1 tablespoon lemon juice: adds a subtle zing that brightens the overall taste.
-
1 ½ cups whipped cream: lightens the filling for a fluffy, airy texture.
For the Topping:
-
1 cup diced mango: offers juicy bursts of fresh mango for texture and extra fruitiness.
-
2 tablespoons sugar: sweetens and helps soften the mango topping as it cooks.
-
1 tablespoon lemon juice: keeps the topping bright and adds a touch of acidity.
Recipe Instructions
You can find a printable recipe card at the bottom of this post.
1. In a medium mixing bowl, combine the digestive biscuit crumbs with the melted butter.

2. Press the mixture into the base of a springform pan to create an even crust.
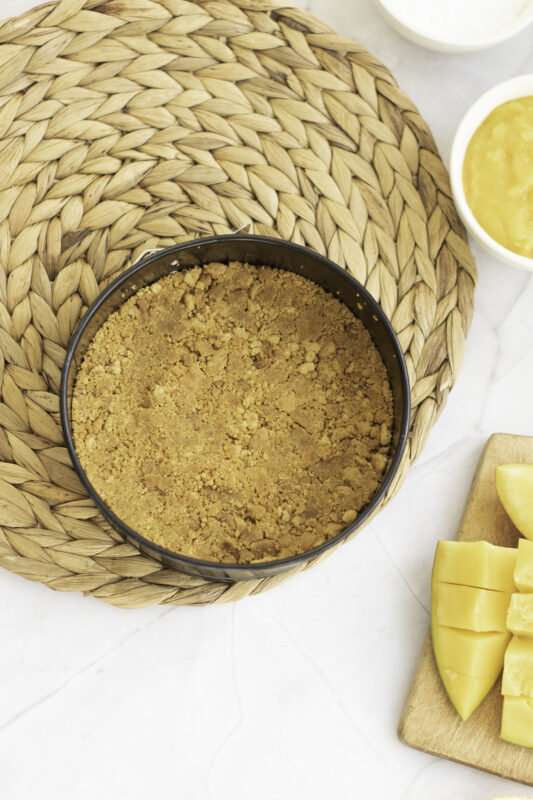
3. Place it in the refrigerator to set while preparing the filling.
4. In a large mixing bowl, beat the cream cheese with a spatula to soften, until smooth.
5. Add the powdered sugar and vanilla extract, beating until well combined.
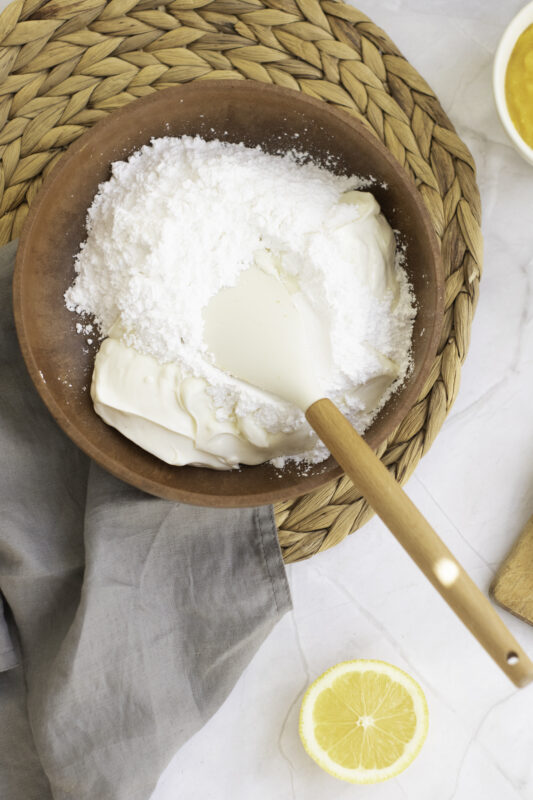
6. Mix in mango puree and lemon juice until the mixture is smooth.
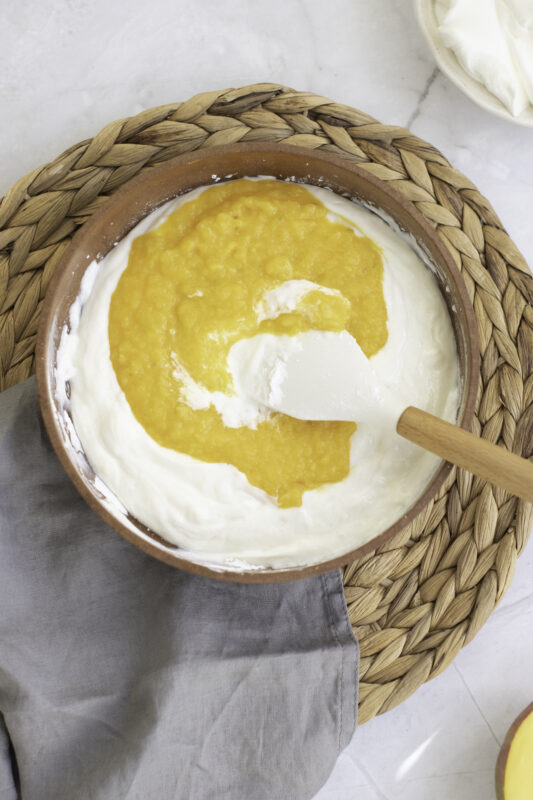
7. Gently fold in the whipped cream until the filling is light and airy.
8. Pour the filling over the crust, spreading it evenly.

9. Refrigerate for at least 4 hours or until set.
10. In a saucepan, combine the diced mango, sugar, and lemon juice.
11. Cook over medium heat until the mango is softened, and the sugar is dissolved.

12. Allow the mixture to cool before spreading it over the chilled cheesecake.
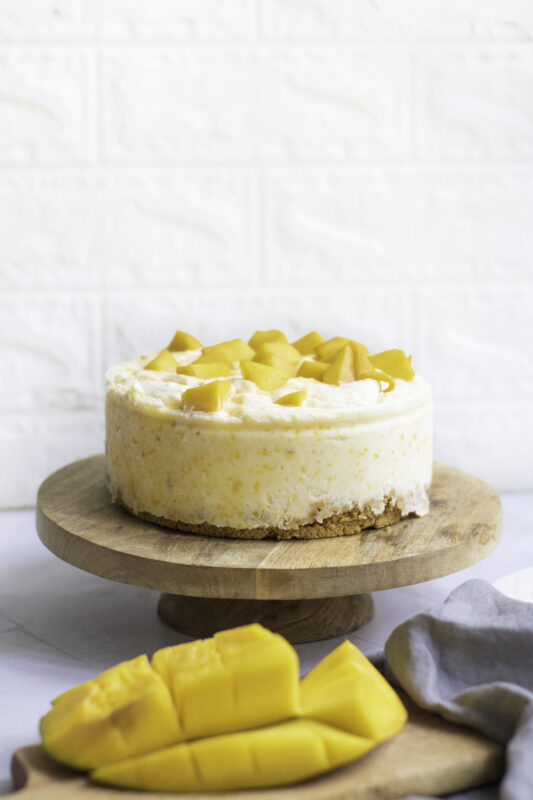
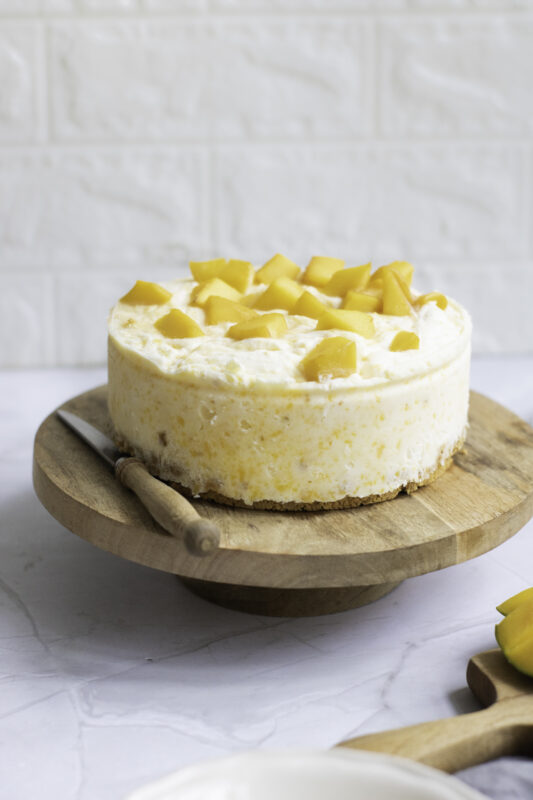
13. Scatter the mango pieces over the cheesecake.

14. Slice and serve.
Top Tips
-
Use ripe, sweet mangoes for the best flavor in both the puree and the topping.
-
Make sure the cream cheese is fully softened to avoid lumps in the filling.
-
Gently fold the whipped cream into the filling to keep it light and airy.
-
Press the crust firmly into the pan so it holds together well but don’t over-compact it.
-
Chill the cheesecake for at least 4 hours (or overnight) to ensure it sets perfectly.
-
If your mango topping feels too runny after cooking, let it cool completely before spreading to avoid sogginess.
-
For extra flair, you can add a sprinkle of toasted coconut or chopped pistachios on top.
-
Use a sharp knife warmed in hot water to get clean, smooth cheesecake slices.
My Favorite Ways to Enjoy Mango Cheesecake
-
Serve it chilled with a dollop of whipped cream for a light, refreshing dessert.
-
Pair it with a cup of hot chai or herbal tea to balance the sweetness.
-
Add a sprinkle of toasted coconut flakes or chopped nuts on top for extra crunch and flavor.
-
Enjoy it as a special treat after a summer BBQ or tropical-themed dinner.
-
Pack a slice for a picnic or potluck, it travels well and always gets compliments.
-
Try it alongside fresh berries or a drizzle of passion fruit sauce for a fruity twist.
-
Keep it simple and savor it on its own as a perfect afternoon indulgence.
Serving & Storing
-
Always serve the cheesecake chilled for the best texture and flavor.
-
Use a sharp knife dipped in warm water to cut clean slices without cracking.
-
Store any leftovers covered tightly in the fridge for up to 3-4 days.
-
If you need to store it longer, wrap the cheesecake well and freeze for up to 1 month, thaw overnight in the fridge before serving.
-
Keep the topping separate if possible, adding it fresh before serving to maintain its texture.
-
Let the cheesecake sit at room temperature for about 10 minutes before serving if it’s too firm straight from the fridge.

FAQs
Q: Can I use canned mango puree instead of fresh mangoes?
A: Yes! Just make sure it’s pure mango puree without added sugars or preservatives for the best flavor.
Q: Do I have to use a springform pan?
A: A springform pan makes it easier to remove the cheesecake without damaging it, but a regular cake pan lined with parchment can work too.
Q: Can I make this cheesecake ahead of time?
A: Absolutely! It actually tastes better after chilling overnight, so feel free to prepare it a day ahead.
Q: How can I make the crust gluten-free?
A: Swap the digestive biscuits for gluten-free graham crackers or gluten-free cookies of your choice.
Q: Can I substitute the whipped cream with something else?
A: You can use whipped coconut cream for a dairy-free alternative, but it may change the texture slightly.
Q: What if my cheesecake doesn’t set properly?
A: Make sure you chill it for at least 4 hours or overnight. If it’s still too soft, extra chilling time usually helps.

Easy No-Bake Mango Cheesecake

A creamy, no-bake mango cheesecake with a buttery digestive biscuit crust, topped with sweet mango chunks. Light, fruity, and perfect for warm days or anytime you want a simple tropical dessert.
Ingredients
For the Crust:
- 1 ½ cups digestive biscuits crushed into crumbles
- 1/3 cup melted unsalted butter
For the Filling:
- 24 oz (680g) cream cheese, softened
- 1 cup powdered sugar
- 2 teaspoons vanilla extract
- 1 ½ cups mango puree
- 1 tablespoon lemon juice
- 1 ½ cups whipped cream
For the Topping:
- 1 cup diced mango
- 2 tablespoons sugar
- 1 tablespoon lemon juice
Instructions
- In a medium mixing bowl, combine the digestive biscuit crumbs with the melted butter.
- Press the mixture into the base of a springform pan to create an even crust.
- Place it in the refrigerator to set while preparing the filling.
- In a large mixing bowl, beat the cream cheese with a spatula to soften, until smooth.
- Add the powdered sugar and vanilla extract, beating until well combined.
- Mix in mango puree and lemon juice until the mixture is smooth.
- Gently fold in the whipped cream until the filling is light and airy.
- Pour the filling over the crust, spreading it evenly.
- Refrigerate for at least 4 hours or until set.
- In a saucepan, combine the diced mango, sugar, and lemon juice.
- Cook over medium heat until the mango is softened, and the sugar is dissolved.
- Allow the mixture to cool before spreading it over the chilled cheesecake.
- Scatter the mango pieces over the cheesecake.
- Slice and serve.