No Bake Peanut Butter Oreo Cheesecake That Melts in Your Mouth
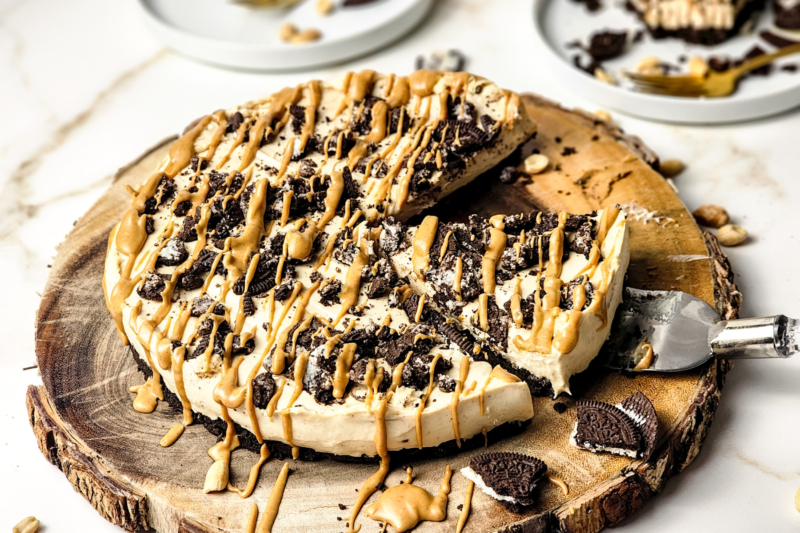
You know those days when dinner’s sorted but everyone’s still hovering in the kitchen asking what’s for dessert? That’s usually when I start thinking about something sweet I can pull together without a lot of fuss or extra cost. With three kids, I’ve learned to keep a few simple treats in my back pocket that feel a little special but don’t take up my whole evening or blow the grocery budget. That’s where my no-bake Peanut Butter Oreo Cheesecake comes in.
This one has quickly become a favorite in our house because it’s made with easy, affordable ingredients and comes together without turning on the oven. It’s creamy, a little indulgent, and packed with flavors my kids already love, so I know it won’t go to waste. I can make it earlier in the day, tuck it into the fridge, and have dessert ready to go without any last-minute stress.
It’s the kind of recipe I find myself coming back to again and again, especially when life feels busy and I still want to put something homemade on the table. If you’re looking for a simple dessert that feels like a treat without a lot of effort, this is one you’ll want to keep handy. It just makes those everyday family moments a little sweeter and a whole lot easier.
Why We Love This Recipe
- No oven needed: It’s perfect for busy days or warm weather when you don’t feel like turning the oven on but still want something homemade.
- Budget-friendly ingredients: Most of what you need are simple, easy-to-find staples, so you’re not spending a fortune on a dessert.
- Make-ahead friendly: You can pop it in the fridge earlier in the day and forget about it until you’re ready to serve.
- Kid-approved flavors: Peanut butter and Oreos are always a hit, so you won’t hear any complaints at the table.
- Minimal prep and cleanup: There’s no complicated steps, and you’re only using a few bowls, which makes life so much easier.
- Great for sharing: It makes enough to feed a crowd, so it’s perfect for family get-togethers or when the kids have friends over.
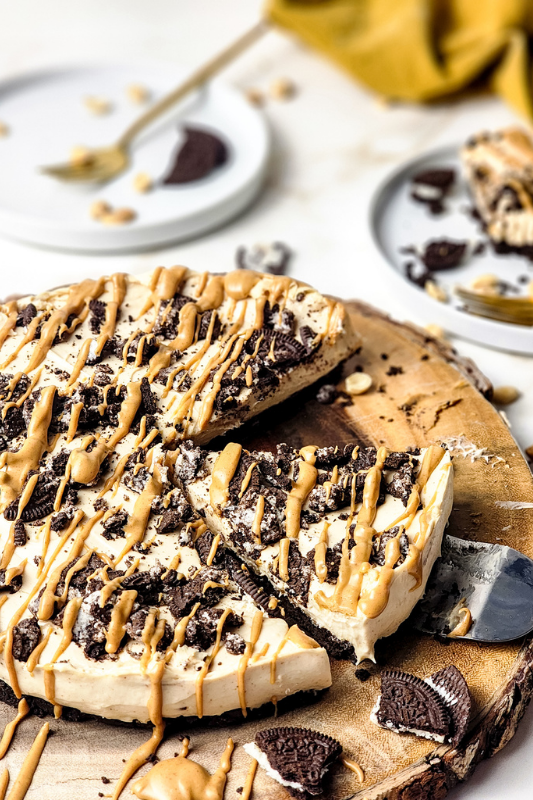
Equipment
-
10-inch springform pan: This makes it easy to remove the cheesecake cleanly and gives you nice, neat slices every time.
-
Parchment paper: Helps the crust lift out without sticking and saves you a bit of cleanup at the end.
-
Hand mixer: Takes the effort out of mixing and gives you that smooth, creamy texture you want.
-
Mixing bowls: You’ll want a couple of different sizes so you can prep each part without juggling everything in one bowl.
-
Rubber spatula: Perfect for folding everything together gently and scraping down the sides so nothing goes to waste.
-
Measuring cups and spoons: Keeps your ingredients balanced so the texture turns out just right.
-
Food processor or zip-top bag and rolling pin: An easy way to crush the Oreos without making a mess.
-
Whisk: Handy if you want to quickly mix or smooth out anything before using the mixer.
-
Offset spatula or the back of a spoon: Makes it easy to spread the filling evenly so it looks nice and sets properly.
-
Microwave-safe bowl: Great for melting the butter and peanut butter quickly without extra dishes.
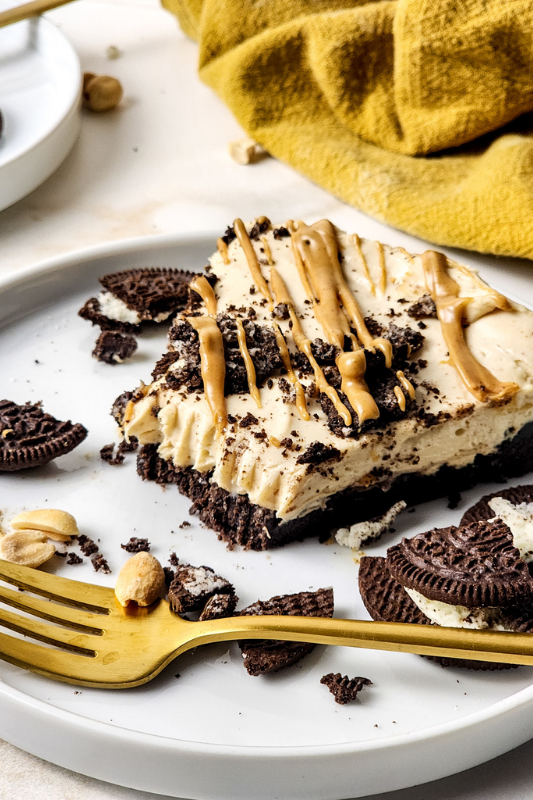
Ingredients
-
25 Oreos, crushed: These make that rich, chocolatey crust and add a little crunch that everyone loves.
-
6 tablespoons unsalted butter, melted: This helps hold the crust together so it slices nicely without falling apart.
-
1 ½ cups heavy cream: Whipped up, this gives the filling that light, fluffy texture that balances out the richness.
-
16 ounces cream cheese: This is the base of the cheesecake, making it smooth, creamy, and nice and thick.
-
1 cup peanut butter: Adds that rich, nutty flavor that pairs so perfectly with the chocolate cookies.
-
½ cup peanut butter, melted: Drizzled on top, it adds an extra layer of flavor and makes it feel a little more special.
-
1 cup crushed Oreos: Sprinkled over the top for extra crunch and a little extra Oreo goodness in every bite.
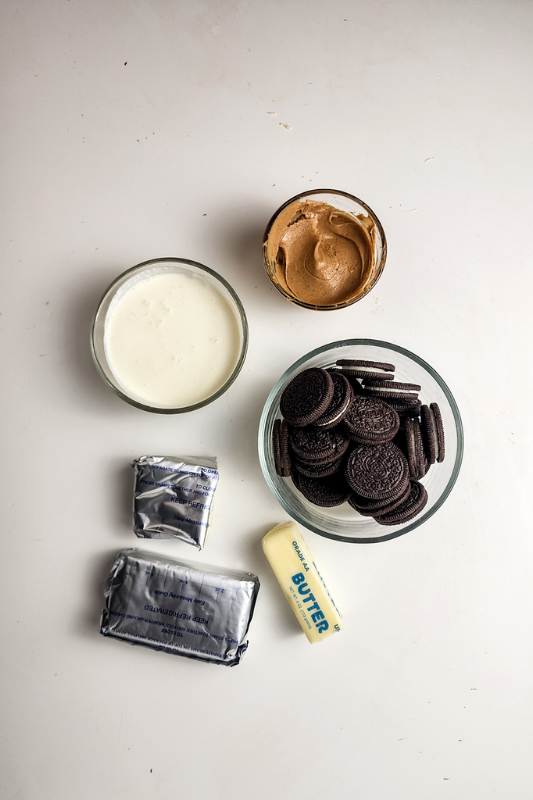
Recipe Instructions
You can find a printable recipe card at the bottom of this post.
Step 1: Line a 10-inch springform pan with parchment paper and set it aside.
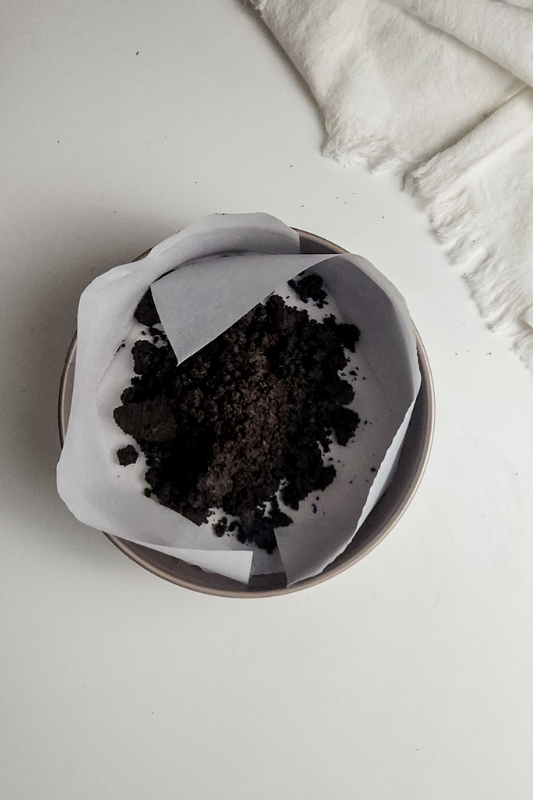
Step 2: In a medium bowl, combine the crushed Oreos and melted butter, stirring until the crumbs are fully coated.
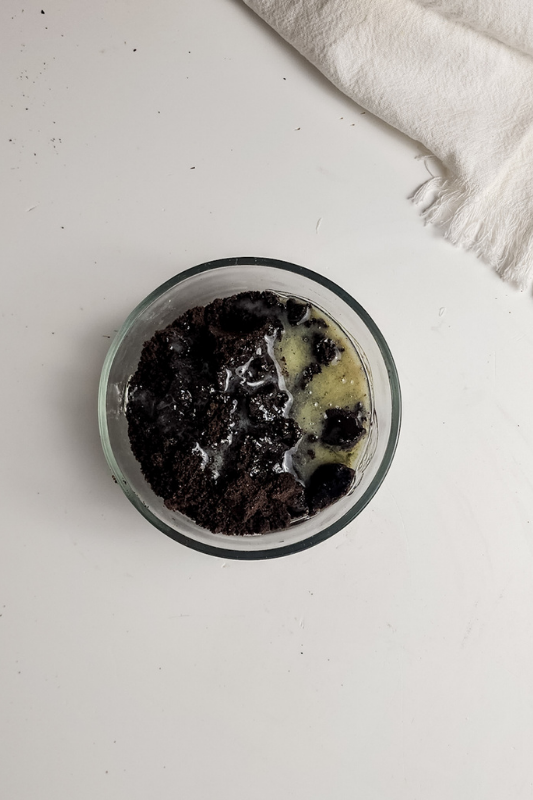
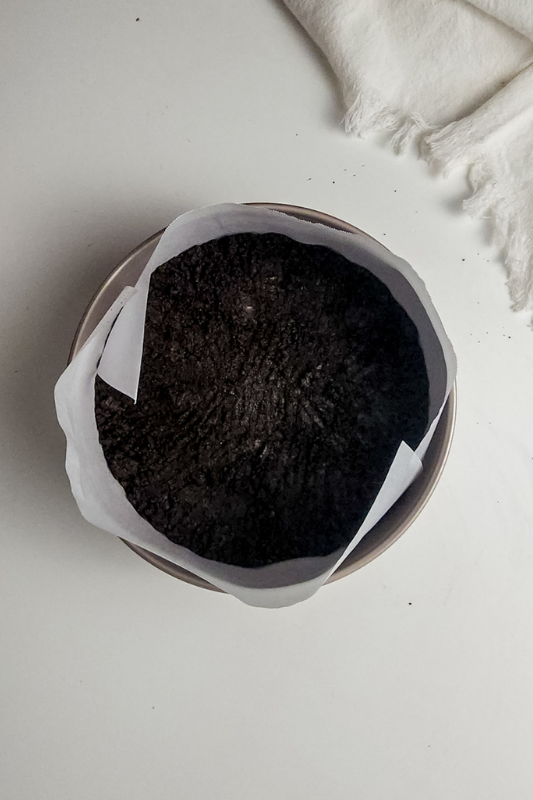
Step 3: Press the Oreo mixture firmly into the bottom of the prepared pan to create an even crust, then set aside.
Step 4: In a separate bowl, whip the heavy cream with a hand mixer until stiff peaks form, then set it aside.
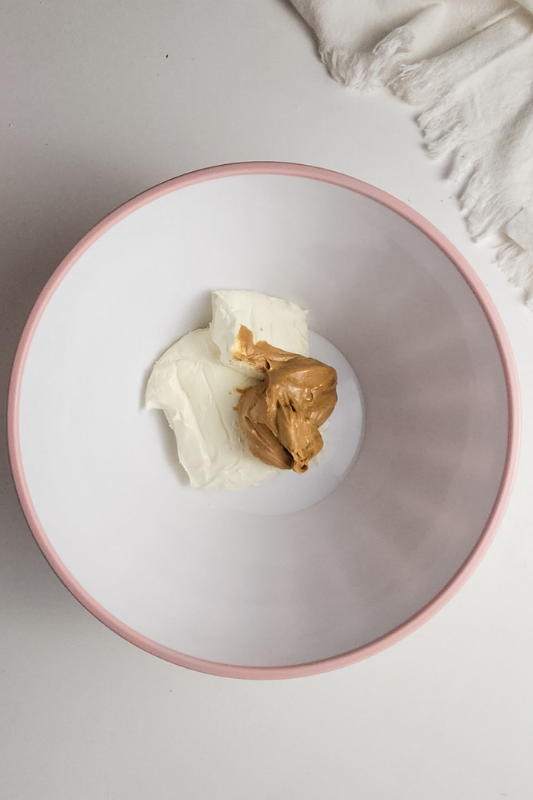
Step 5: In another large bowl, beat the cream cheese and peanut butter together until smooth and creamy.
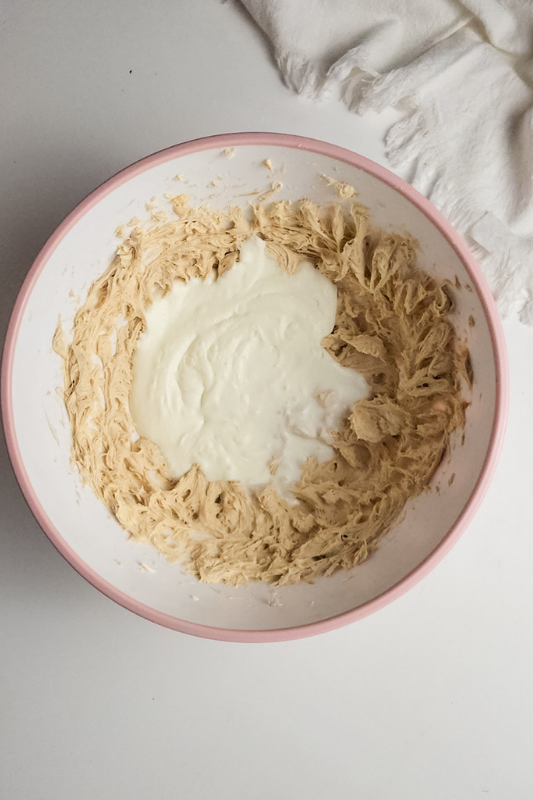
Step 6: Carefully fold the whipped cream into the peanut butter mixture until everything is evenly blended.
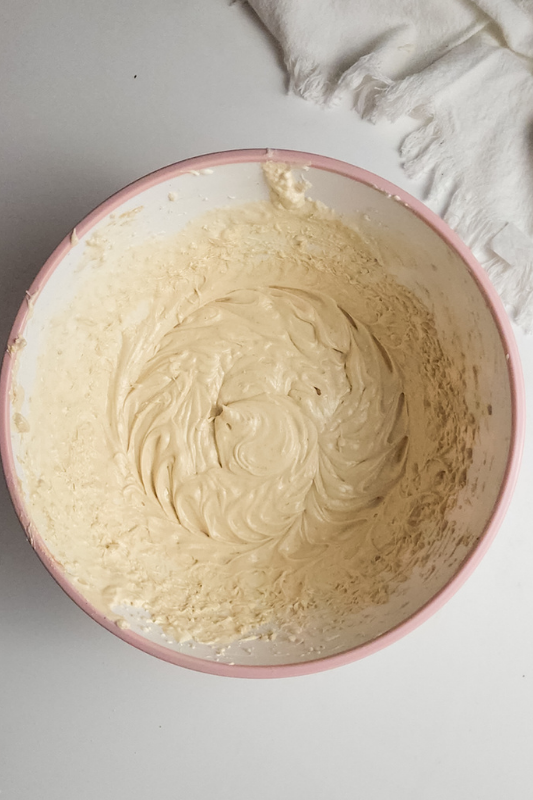
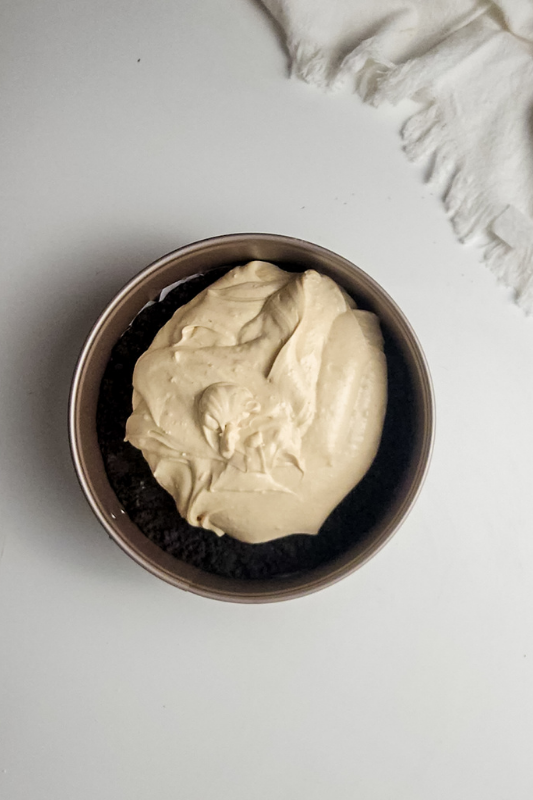
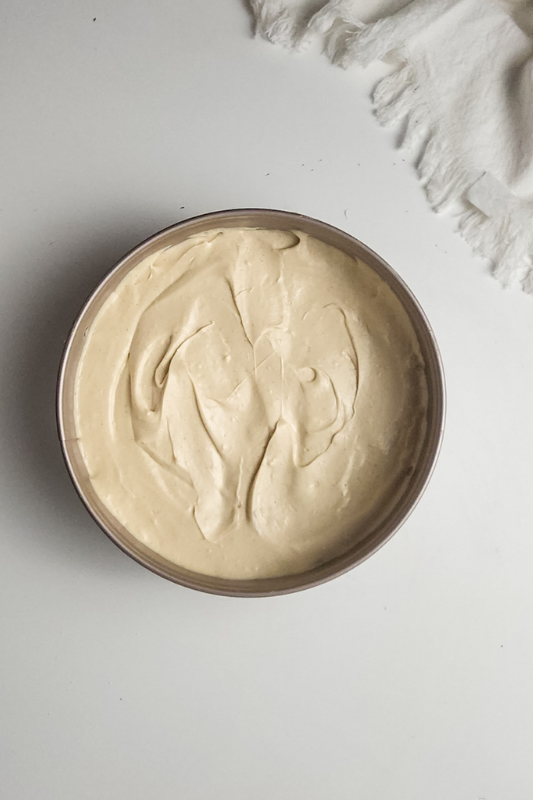
Step 7: Spoon the cheesecake filling over the Oreo crust, spreading it out smoothly. Sprinkle extra crushed Oreos on top, cover, and refrigerate for 4–6 hours or until set.
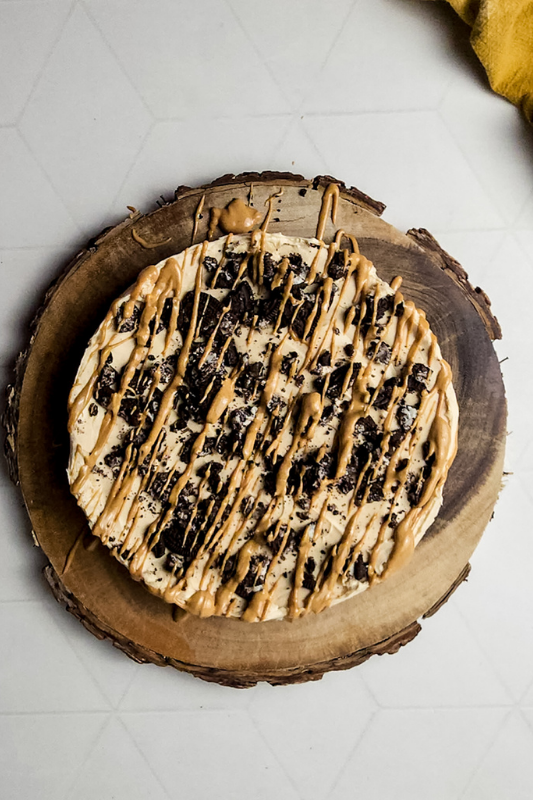
Step 8: Before serving, drizzle with melted peanut butter, slice, and enjoy!
Serving & Storing
-
Chill before slicing: Let it set in the fridge for at least a few hours so it holds its shape and cuts cleanly.
-
Use a sharp knife: Wipe the knife between slices to keep everything looking neat, especially with that creamy filling.
-
Serve straight from the fridge: It’s best nice and cold, which also helps it stay firm while you’re serving.
-
Add toppings just before serving: If you’re drizzling extra peanut butter or adding more crushed cookies, do it right before bringing it out so it looks fresh.
-
Store leftovers covered in the fridge: Just cover the pan or transfer slices to an airtight container and it’ll keep well for a few days.
-
Great for making ahead: I like to make it the night before, which takes one more thing off my plate the next day.
-
Freeze for later: You can freeze slices individually, then just thaw in the fridge when you need an easy dessert.
Variations & Substitutions
-
Swap the cookies: You can use any chocolate sandwich cookies you have on hand if Oreos aren’t in the cupboard, and it still turns out just as tasty.
-
Try a different nut butter: If peanut butter isn’t your thing, almond or sunflower seed butter works well and gives it a slightly different flavor.
-
Use reduced-fat cream cheese: It lightens things up a bit and still gives you that creamy texture everyone expects.
-
Add a chocolate drizzle: A little melted chocolate on top makes it feel extra special without much extra cost or effort.
-
Mix in chopped candy: If you’ve got leftover chocolate bars or bits of candy, stir them in for a fun twist the kids will love.
-
Go for a smaller pan: If you want thicker slices, use a slightly smaller pan and just let it set a little longer.
-
Make it extra peanut buttery: Add a few spoonfuls of peanut butter into the crust or swirl some through the filling for more flavor in every bite.
Little Tricks That Make a Big Difference
-
Let the cream cheese soften first: It mixes so much smoother and saves you from those little lumps in the filling.
-
Whip the cream until stiff peaks form: This is what gives you that light, fluffy texture instead of something dense and heavy.
-
Press the crust firmly: Take a minute to really pack it down so it holds together when you slice it later.
-
Fold gently, don’t rush it: When you combine the whipped cream with the filling, go slow so you keep all that air in there.
-
Line the pan properly: A bit of parchment makes lifting it out so much easier and keeps everything looking neat.
-
Chill long enough: It might be tempting to rush it, but giving it a full set time makes all the difference when serving.
-
Warm the knife slightly for slicing: A quick rinse under warm water helps you get those clean, bakery-style slices.
What to Serve with Peanut Butter Oreo Cheesecake
-
Fresh berries on the side: A handful of strawberries or raspberries adds a little freshness that balances out the richness nicely.
-
A simple cup of coffee: This is one of those desserts that pairs perfectly with a warm drink after dinner.
-
Cold milk for the kids: You really can’t go wrong with a glass of milk alongside something this chocolatey and creamy.
-
Vanilla ice cream: If you’re feeling a bit indulgent, a small scoop on the side makes it feel like a real treat.
-
Whipped cream topping: A dollop on each slice makes it look a little extra special without much effort.
-
Chocolate or caramel sauce: Drizzle a little over the plate if you want to dress it up for guests.
-
A simple fruit salad: Keeps things balanced and gives everyone a lighter option alongside the cheesecake.
FAQs
Can I make this no bake peanut butter Oreo cheesecake ahead of time?
Yes, and I usually do. It actually sets better when made the day before, which makes things so much easier when you’ve got a busy day ahead.
How long does this no bake cheesecake need to chill?
I’d give it at least 4 to 6 hours in the fridge, but overnight is even better if you can plan ahead.
Can I freeze peanut butter Oreo cheesecake?
You can. I like to freeze it in slices so I can just take out what we need and let it thaw in the fridge
How long will this cheesecake last in the fridge?
It keeps well for about 3 to 4 days if it’s covered properly, which is great for stretching dessert over a few nights.
Can I use crunchy peanut butter in this no bake cheesecake?
Yes, you can. It adds a bit of texture, which some people really enjoy.
Do I have to use a springform pan for this cheesecake?
It helps with easy removal, but if you don’t have one, you can use a regular dish lined well with parchment.
Can I use store-brand ingredients for peanut butter Oreo cheesecake?
Absolutely. I do this all the time, and it still turns out just as delicious.
Why isn’t my no bake peanut butter Oreo cheesecake setting properly?
It usually just needs more time in the fridge, or the whipped cream may not have been beaten quite enough before folding it in.

No Bake Peanut Butter Oreo Cheesecake
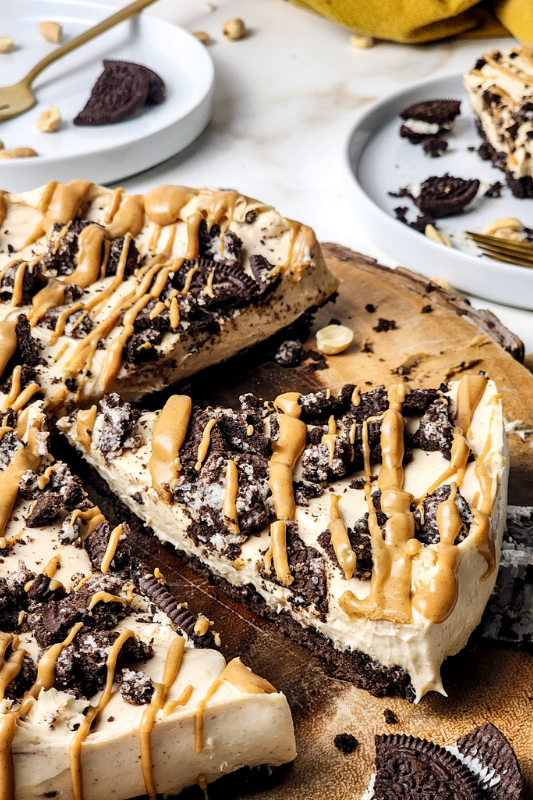
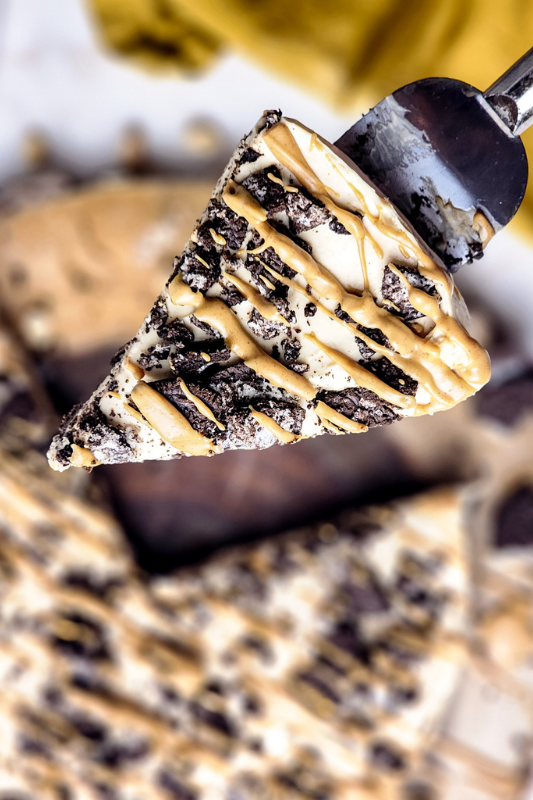
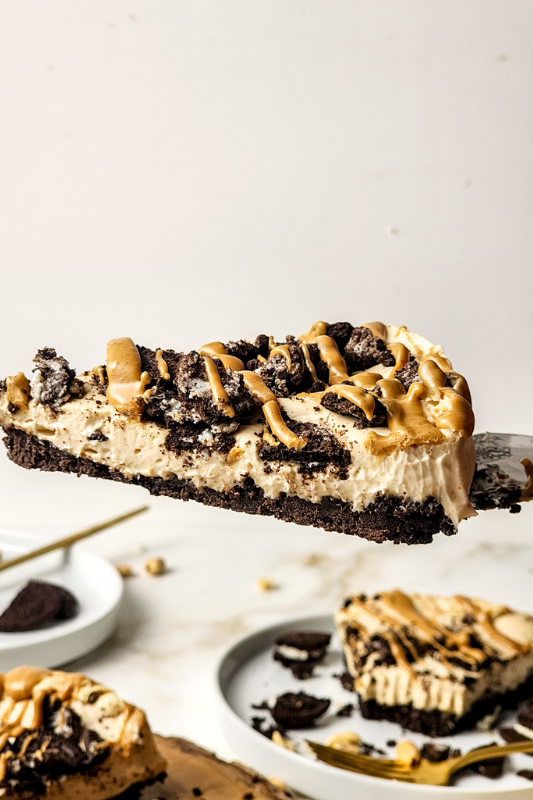
This no bake peanut butter Oreo cheesecake is one of those easy desserts I come back to again and again when I want something homemade without a lot of effort. It’s rich, creamy, and packed with those familiar flavors everyone in the family loves, all sitting on a simple Oreo crust. Since there’s no oven involved, it’s perfect for busy days or when you just want to get ahead and have dessert ready in the fridge. It slices beautifully, feeds a crowd, and always disappears quicker than I expect.
Ingredients
- 25 oreos, crushed
- 6 tablespoons unsalted butter, melted
- 1 ½ cups heavy cream
- 16 ounces cream cheese
- 1 cup peanut butter
- ½ cup peanut butter, melted
- 1 cup crushed oreos
Instructions
- Line a 10-inch springform pan with parchment paper and set it aside.
- In a medium bowl, combine the crushed Oreos and melted butter, stirring until the crumbs are fully coated.
- Press the Oreo mixture firmly into the bottom of the prepared pan to create an even crust, then set aside.
- In a separate bowl, whip the heavy cream with a hand mixer until stiff peaks form, then set it aside.
- In another large bowl, beat the cream cheese and peanut butter together until smooth and creamy.
- Carefully fold the whipped cream into the peanut butter mixture until everything is evenly blended.
- Spoon the cheesecake filling over the Oreo crust, spreading it out smoothly. Sprinkle extra crushed Oreos on top, cover, and refrigerate for 4–6 hours or until set.
- Before serving, drizzle with melted peanut butter, slice, and enjoy!
Notes
- Soften the cream cheese first: Let it sit at room temperature so it blends smoothly without lumps.
- Don’t skip whipping the cream properly: Make sure you reach stiff peaks so the filling sets up nice and firm.
- Press the crust firmly into the pan: This helps it hold together when slicing and serving.
- Line the pan with parchment: It makes lifting the cheesecake out much easier and keeps the edges neat.
- Chill long enough before serving: Give it at least 4–6 hours, or overnight if you can, for the best texture.
- Slice with a warm knife: Run it under warm water and wipe between cuts for clean slices.
- Adjust sweetness if needed: If your peanut butter is already sweetened, you can slightly reduce the topping drizzle.
- Store covered in the fridge: Keeps well for a few days and is great for making ahead.
Nutrition Information:
Yield:
8Serving Size:
1Amount Per Serving: Calories: 1189Total Fat: 80gSaturated Fat: 30gUnsaturated Fat: 50gCholesterol: 83mgSodium: 954mgCarbohydrates: 117gFiber: 7gSugar: 62gProtein: 18g