There’s something about a simple no-bake dessert that just makes life easier, especially when the days feel full and the kitchen’s already busy. I’m always looking for treats that don’t take a ton of effort but still feel a little special when I set them on the table. This one checks all the boxes for me. It’s colorful, fun, and made with ingredients I can grab without stretching the grocery budget.
I first started making this kind of layered dessert when my kids were younger and wanted to help in the kitchen. It’s one of those recipes that looks impressive, but it’s really just a few easy steps done one at a time. The layers come together so nicely, and it’s the kind of thing that gets everyone peeking in the fridge to see if it’s set yet. It’s simple, a little nostalgic, and always brings a smile.
It’s also a great make-ahead option, which I rely on more than I’d like to admit. I can get it done earlier in the day and not think about dessert again until we’re ready to serve. Add a little whipped topping and some sprinkles, and it feels like something you’d bring out for a celebration, even if it’s just a regular family dinner at home.
If you like this then make sure you also check out some of my other red, white & blue treats too:
Why We Love This Recipe
- It’s a budget-friendly treat that still feels special. You’re using simple ingredients like jello and whipped topping, so it doesn’t cost much to make something fun.
- No baking means less hassle on busy days. You can pull this together without turning on the oven, which is a lifesaver when the kitchen’s already warm.
- It’s easy enough to make with the kids. Mine love helping with the layers, and it turns into a fun little kitchen project.
- You can make it ahead and forget about it. Once it’s in the fridge, it sets on its own, so that’s one less thing to worry about later.
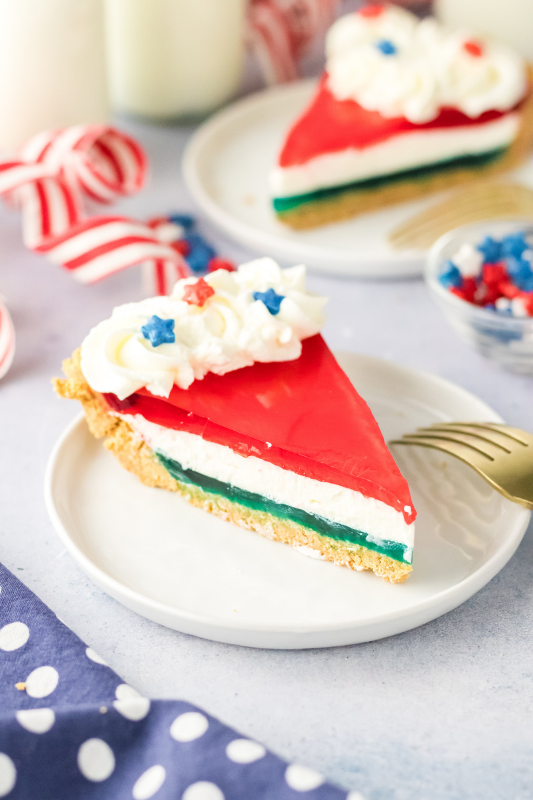
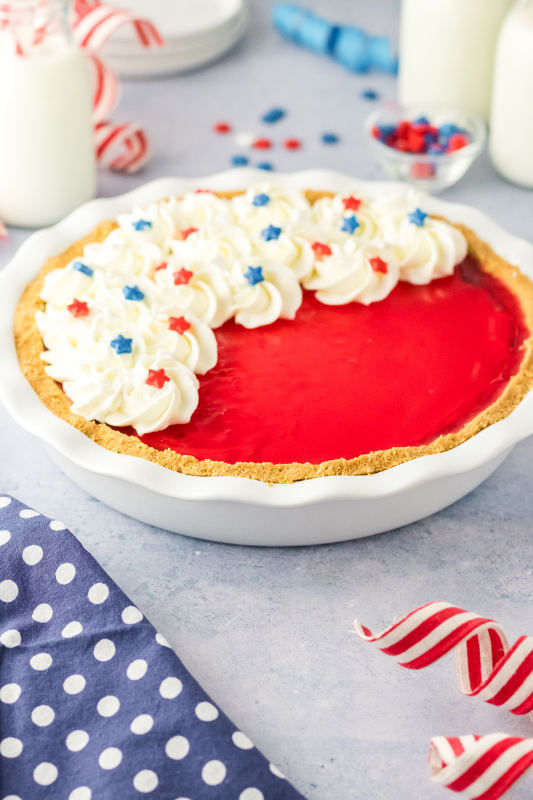
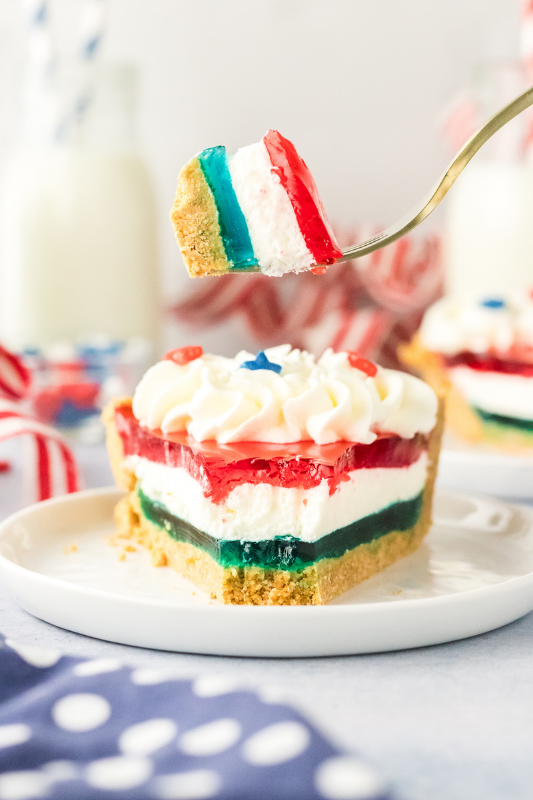
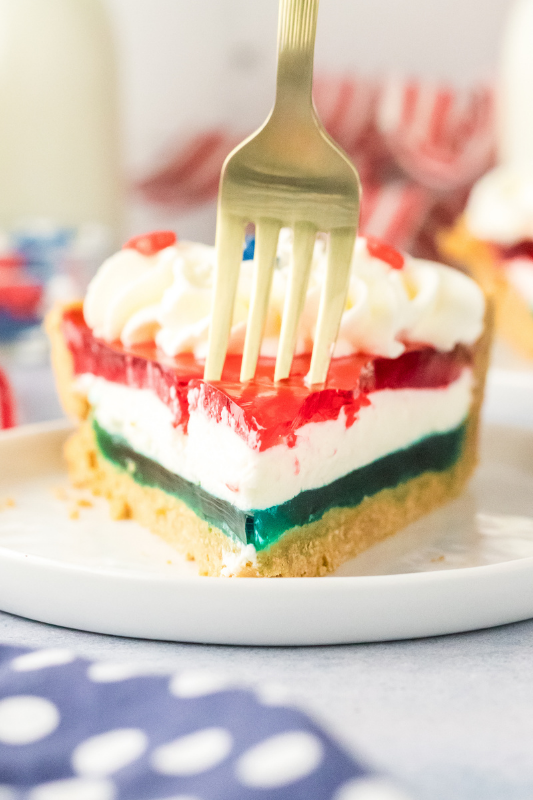
- It looks festive without any extra effort. Those red, white, and blue layers do all the work for you, so it’s perfect for holidays or parties.
- It’s light and refreshing after a big meal. It’s not too heavy, so it’s just right when everyone still wants a little something sweet.
Equipment
- Pie plate: You’ll need a standard 9-inch pie plate to press in the crust and layer everything neatly.
- Medium mixing bowl: This is perfect for mixing up the graham cracker crust without making a mess.
- Small mixing bowls: You’ll use these for preparing each jello layer, and you can just rinse and reuse if you don’t want extra dishes.
- Whisk: Helps you dissolve the jello smoothly so you don’t end up with any grainy bits.
- Measuring cups: Makes it easy to get the water amounts just right so the layers set properly.
- Spatula or spoon: Great for spreading the whipped topping evenly without disturbing the layers underneath.
Ingredients
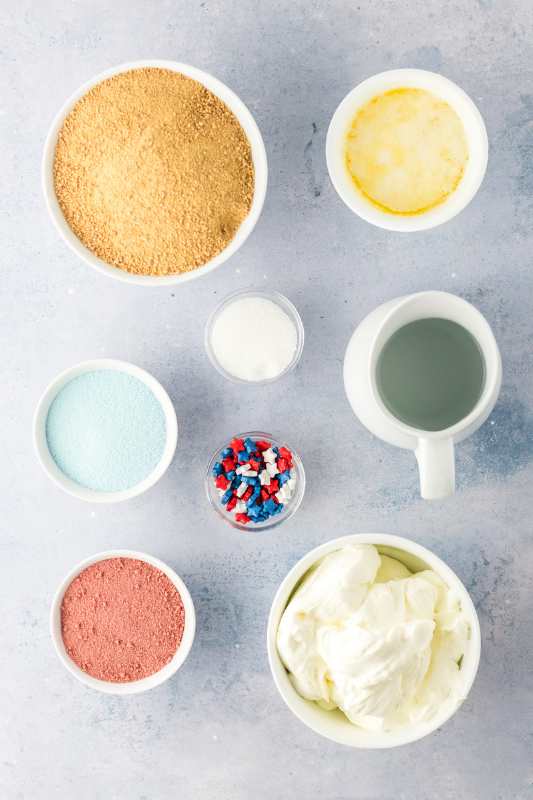
- Graham cracker crumbs: These make a simple, budget-friendly crust that comes together quickly and holds everything in place.
- Granulated sugar: Just a little bit adds sweetness to the crust and helps balance the flavors.
- Unsalted butter, melted: This brings the crust together and gives it that rich, homemade taste we all love.
- Blue jello: This is what gives you that bright, fun layer that really makes the pie stand out.
- Boiling water, divided: You’ll use this to dissolve each jello layer so it sets up nice and smooth.
- Whipped cream or cool whip: This creamy middle layer softens the jello and adds that light, fluffy texture.
- Red jello: Adds the second colorful layer and helps give the pie that festive look everyone notices.
- Additional whipped cream and sprinkles for decor: A simple topping like this makes it feel extra special without adding much cost or effort.
Recipe Instructions
You can find a printable recipe card at the bottom of this post.
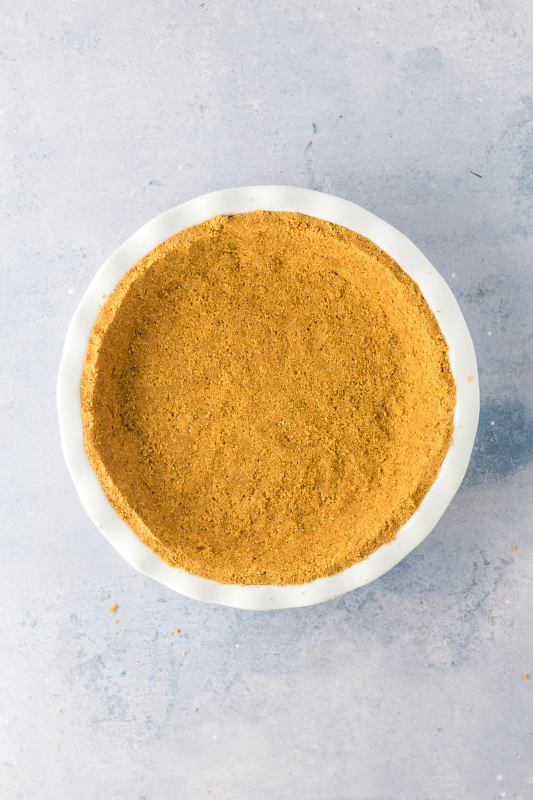
Step 1: In a medium mixing bowl, stir together the graham cracker crumbs, granulated sugar and butter together. It should be a little clumpy, slightly damp and will stick together if you press a little between your fingers.

Step 2: Push the crust into the bottom and up the sides of a 9” pie plate. You want to press firmly. If you want to keep your fingers clean you can also use a greased glass or measuring cup to press the crust into place. Pop the crust into the fridge to chill while you make the first layer of the pie.
Step 3: In a small mixing bowl, whisk together the blue jello powder with 2/3 cup of boiling water. Whisk until no granules of the gelatin remain. Let the jello mixture sit so that it can cool to room temperature. Stir the bowl every minute or so to keep the gelatin from setting and to cool it a little quicker.

Step 4: Pour the cooled blue layer into the chilled crust. Tap it lightly on the counter to remove any air bubbles. Pop the pie in the fridge to chill and set for at least 30-40 minutes.

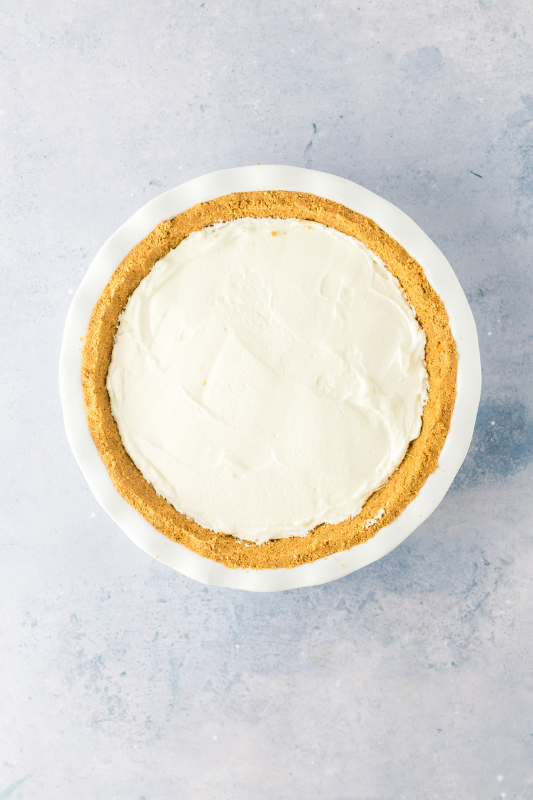
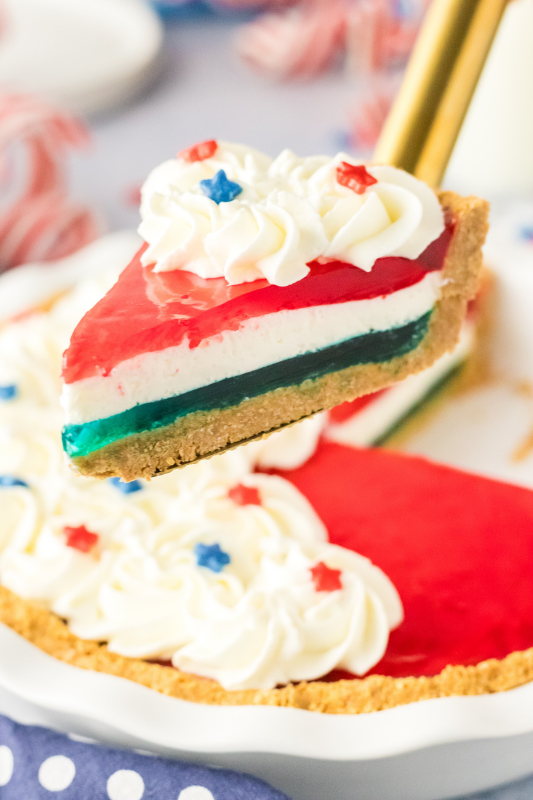
Step 5: Once the first jello layer has set, spread the whipped cream or topping in an even layer over the blue. Pop the pie back in the fridge to chill while you make the red layer.

Step 6: You’re going to do the same steps that you did earlier. In a small mixing bowl, whisk the red jello powder with 2/3 cups boiling water. Make sure there is none of the powder remaining. Let the bowl stand until it reaches room temperature, whisking occasionally.
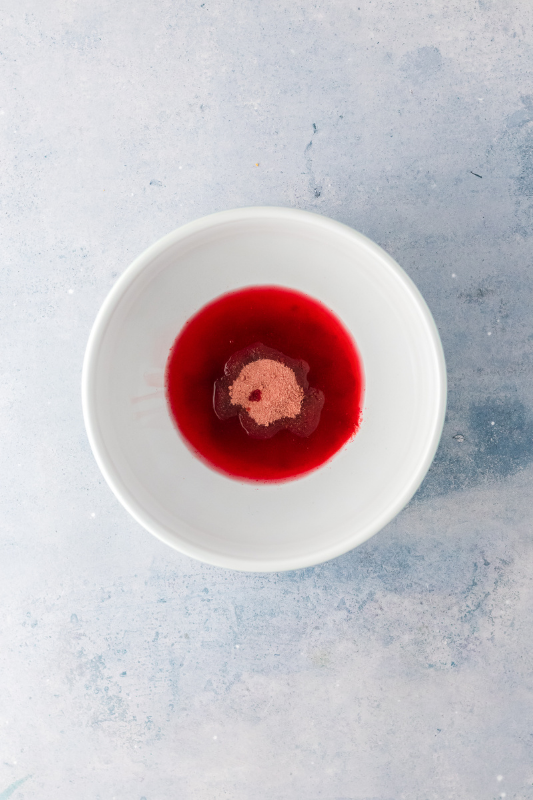
Step 7: Spoon the red gelatin carefully over the whipped topping layer. You don’t want the layers to mix together so do not pour the gelatin mixture into the pie. Place the pie back in the fridge to fully set for at least 4 hours but up to overnight.

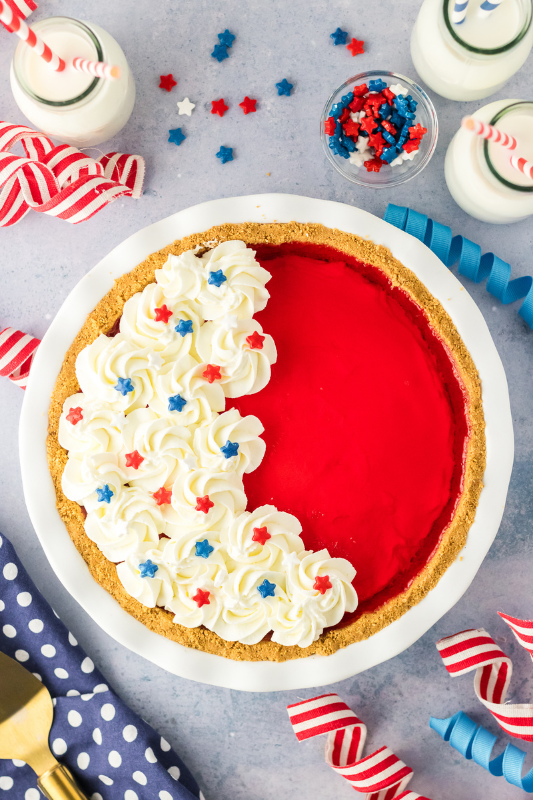
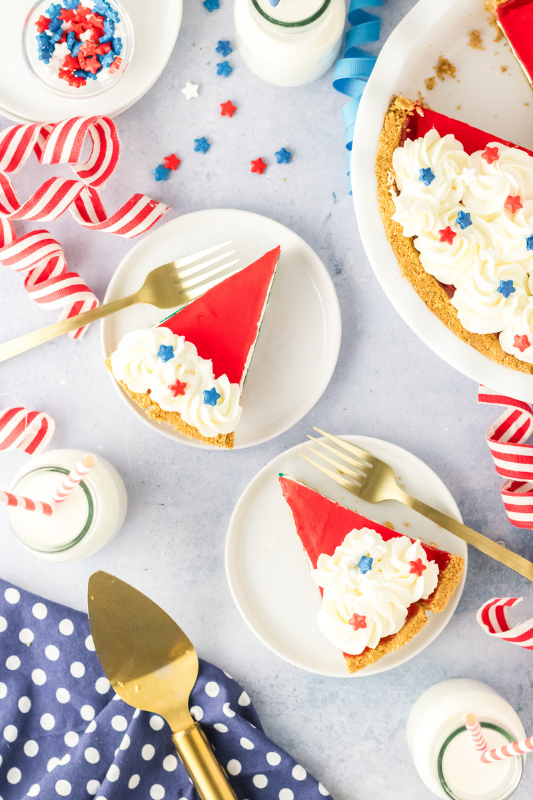
Step 8: When you’re ready to serve, top with dollops of whipped topping and fun sprinkles. Enjoy!

Serving & Storing
- Chill it well before slicing. I like to give it the full time in the fridge so the layers hold their shape nicely when you cut into it.
- Use a sharp knife for clean slices. Wiping the knife between cuts helps keep those pretty layers looking neat on each piece.
- Serve it straight from the fridge. It holds up best when it’s nice and cold, especially on warmer days.
- Cover leftovers tightly. I usually just wrap the pie plate or pop it into a container so it doesn’t dry out or pick up fridge smells.
- It keeps well for a couple of days. We’ve had it last up to 2–3 days in the fridge, and it still tastes just as good.
- Add toppings right before serving. That way the whipped cream and sprinkles stay fresh and don’t get soggy.
Variations & Substitutions
- Swap the flavors to match what you have. You can easily change up the jello colors and flavors depending on what’s on sale or already in your cupboard.
- Use a store-bought crust to save time. If it’s a busy day, grabbing a ready-made graham crust works just fine and cuts out a step.
- Try homemade whipped cream instead. If you’ve got a few extra minutes, freshly whipped cream gives it a richer, from-scratch feel.
- Make it a little lighter. You can use light whipped topping or reduced-sugar jello if that’s what your family prefers.
- Add a fruit layer for something different. Sliced strawberries or blueberries tucked between layers can give it a fresh little twist.
- Turn it into individual cups. If you’re serving a crowd, layering everything in small cups makes it easier to hand out and a lot less messy.
Little Tricks That Make a Big Difference
- Let each jello layer cool before adding it. If it’s too warm, it can melt the layer underneath and you’ll lose those clean lines.
- Stir the jello as it cools. This keeps it from starting to set too soon and makes it easier to pour when you’re ready.
- Press the crust in firmly. Taking an extra minute here helps it hold together better when you slice it later.
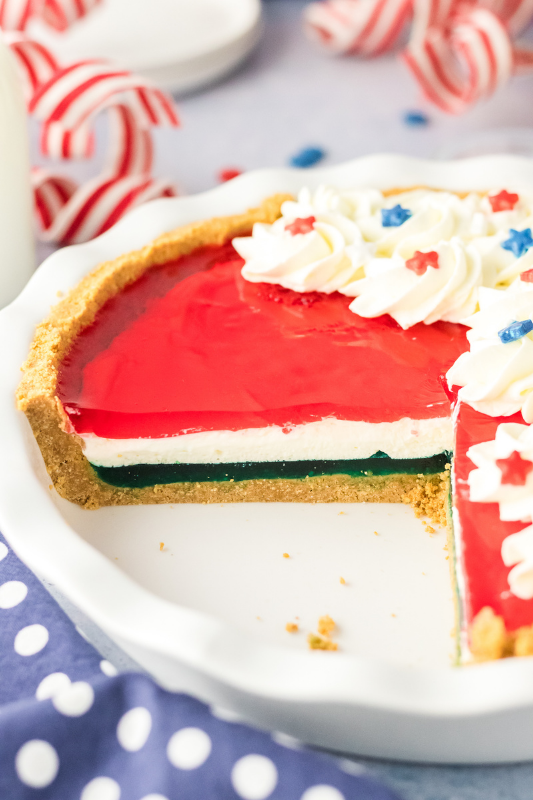
- Chill between each step. I know it adds a little time, but it really helps keep the layers neat and separate.
- Spoon the top layer gently. Pouring too fast can mix the layers, so I like to go slow and steady.
- Tap the pie plate lightly on the counter. This helps release any air bubbles and gives you a smoother finish.
What to Serve with Red, White & Blue Patriotic Jello Pie
- Keep it simple with classic cookout foods. It pairs so well with burgers, hot dogs, or grilled chicken after a relaxed family meal.
- Add some fresh fruit on the side. A bowl of strawberries, blueberries, or watermelon keeps things light and ties in nicely with the colors.
- Serve with a scoop of vanilla ice cream. If you’ve got ice cream on hand, it turns this into a really fun, extra treat for the kids.
- Offer iced drinks or lemonade. Something cold and refreshing balances out the sweetness and just feels right on a warm day.
- Pair it with other easy summer sides. Think pasta salad, potato salad, or corn on the cob to round out a full meal.
- Bring it out for casual gatherings. It fits right in at backyard get-togethers, potlucks, or any laid-back family celebration.
FAQs
Can I make red, white and blue jello pie ahead of time?
Yes, this is a great make-ahead dessert. I usually make it the day before and let it chill overnight so everything sets up nicely.
How long does jello pie need to set in the fridge?
It needs at least 4 hours to fully set, but giving it a little longer helps the layers hold their shape better when sliced.
Can I use Cool Whip instead of homemade whipped cream?
Absolutely. Cool Whip works just as well and is a nice shortcut if you’re trying to save time.
Why are my jello layers mixing together?
This usually happens if the jello is still too warm when you add it. Let it cool to room temperature and add it slowly to keep the layers separate.
Can I change the flavors or colors of the jello?
Yes, you can easily swap in different flavors and colors depending on the occasion or what you have on hand.
How do I store leftover jello pie?
Just cover it tightly and keep it in the fridge. It will stay fresh for about 2 to 3 days.
Can I freeze jello pie?
I wouldn’t recommend freezing it, as the texture can change once it thaws and the layers may not hold up well.
What kind of crust works best for jello pie?
A graham cracker crust is the easiest and most budget-friendly option, and it pairs really well with the light, fruity layers.
Prep Time
20 minutes
Additional Time
4 hours 30 minutes
Total Time
4 hours 50 minutes
Ingredients
-
1 and 1/2 cups (7oz, 188g) graham cracker crumbs
-
2 tablespoons granulated sugar
-
1/2 cup (4oz, 115g) unsalted butter, melted
-
3oz (85g) blue jello
-
1 and 1/3 cups (11fl.oz, 330ml) boiling water, divided
-
1 and 1/2 cups (4oz, 113g) whipped cream or cool whip
-
3oz (85g) red jello
-
Additional whipped cream and sprinkles for decor
Instructions
- In a medium mixing bowl, stir together the graham cracker crumbs, granulated sugar and butter together. It should be a little clumpy, slightly damp and will stick together if you press a little between your fingers.
- Push the crust into the bottom and up the sides of a 9” pie plate. You want to press firmly. If you want to keep your fingers clean you can also use a greased glass or measuring cup to press the crust into place. Pop the crust into the fridge to chill while you make the first layer of the pie.
- In a small mixing bowl, whisk together the blue jello powder with 2/3 cup of boiling water. Whisk until no granules of the gelatin remain. Let the jello mixture sit so that it can cool to room temperature. Stir the bowl every minute or so to keep the gelatin from setting and to cool it a little quicker.
- Pour the cooled blue layer into the chilled crust. Tap it lightly on the counter to remove any air bubbles. Pop the pie in the fridge to chill and set for at least 30-40 minutes.
- Once the first jello layer has set, spread the whipped cream or topping in an even layer over the blue. Pop the pie back in the fridge to chill while you make the red layer.
- You're going to do the same steps that you did earlier. In a small mixing bowl, whisk the red jello powder with 2/3 cups boiling water. Make sure there is none of the powder remaining. Let the bowl stand until it reaches room temperature, whisking occasionally.
- Spoon the red gelatin carefully over the whipped topping layer. You don’t want the layers to mix together so do not pour the gelatin mixture into the pie. Place the pie back in the fridge to fully set for at least 4 hours but up to overnight.
- When you're ready to serve, top with dollops of whipped topping and fun sprinkles. Enjoy!
Notes
- Let each layer cool before adding it. This helps keep the layers clean and prevents them from blending together.
- Chill between steps for best results. Giving each layer time to set makes slicing much easier later on.
- Don’t rush the final set time. It really needs a full 4 hours, or overnight if you can, so everything holds together nicely.
- Press the crust firmly into the pan. This keeps it from crumbling when you cut and serve.
- Add toppings right before serving. That way the whipped cream stays fluffy and the sprinkles don’t bleed color.
- Use what you have on hand. You can swap in different jello flavors or use a store-bought crust if that’s easier on a busy day.
Nutrition Information:
Yield:
10
Serving Size:
1
Amount Per Serving:
Calories: 127Total Fat: 11gSaturated Fat: 6gUnsaturated Fat: 4gCholesterol: 27mgSodium: 29mgCarbohydrates: 8gFiber: 0gSugar: 6gProtein: 1g