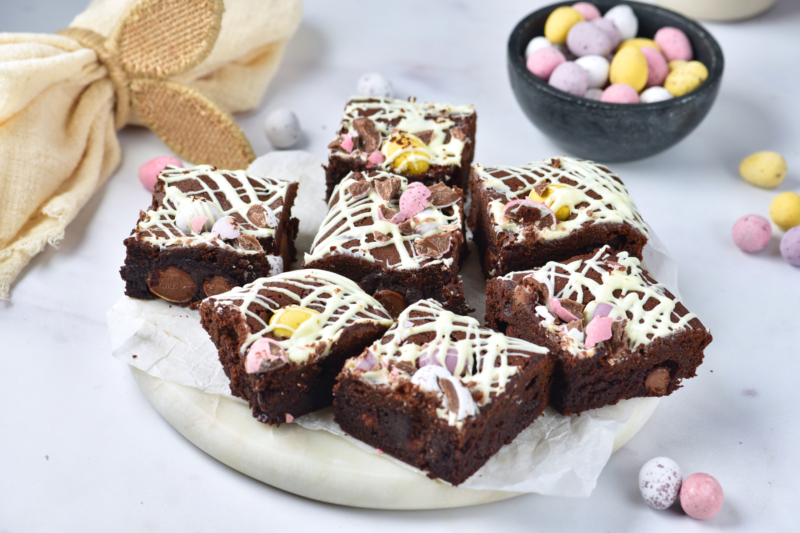
Ultra Fudgy Mini Eggs Brownies with a White Chocolate Drizzle
If there’s one bake that instantly puts me in an Easter mood, it’s these Mini Eggs brownies. They’re rich, chocolatey, and have that soft, fudgy middle that makes you “accidentally” cut a second slice. The Mini Eggs add the perfect crunch and pop of color, and honestly, they just make the whole thing feel a little more fun. This is the kind of recipe that disappears fast once it hits the table.
I love how simple these are to pull together too. Everything starts in a microwave-safe bowl, which already feels like a win, and there’s no fancy equipment needed. A sturdy whisk, a silicone spatula, and a trusty 6×8-inch baking dish are all you really need. Folding in those Cadbury Mini Eggs at the end is my favorite part, especially knowing how good they’re going to look pressed into the top once they come out of the oven.
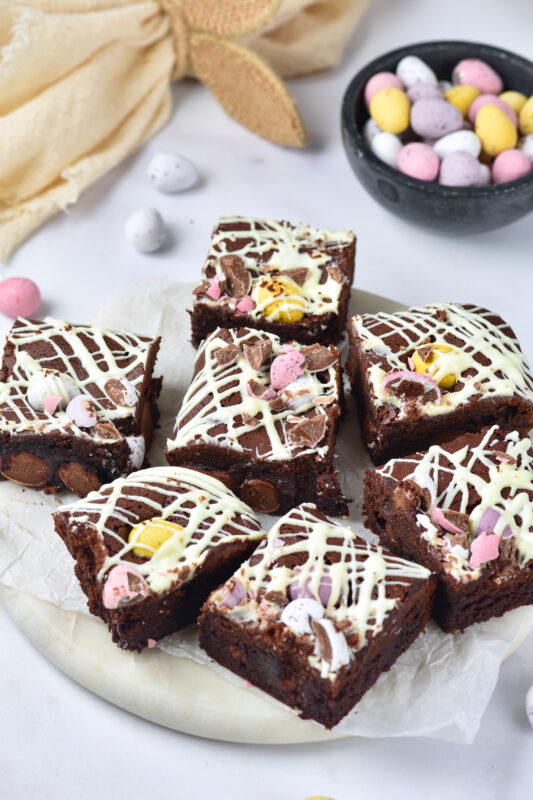
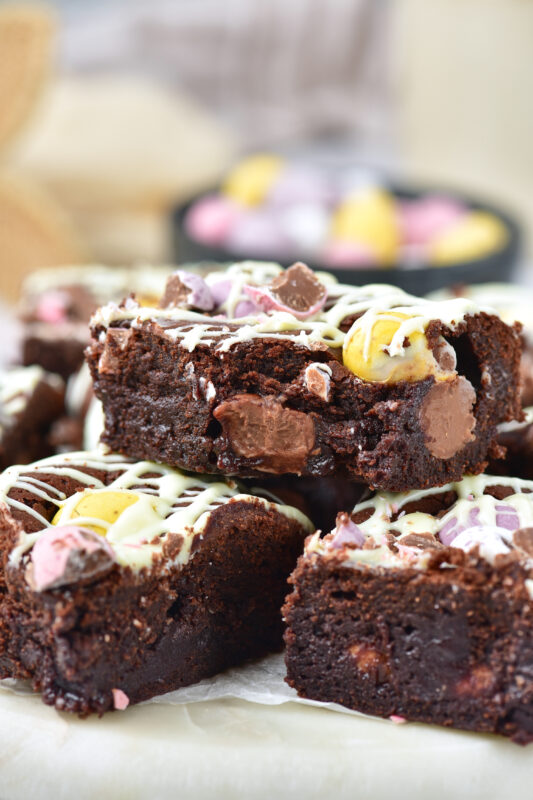
And can we talk about the finishing touches? Pressing extra chocolate eggs into the warm brownies and drizzling melted white chocolate over the top makes them look like something you’d spot in a bakery window. I usually grab a bar of good white chocolate or a bag of white chocolate chips from the pantry, melt it gently, and go wild with the drizzle. These brownies are perfect for Easter weekend, bake sales, or just a cozy afternoon treat with a cup of coffee when you want something a little extra special.
Make sure you also take a look at my other Easter desserts too!
Why We Love This Recipe
- They’re seriously fudgy. These brownies bake up thick, rich, and gooey in the middle, exactly how a proper chocolate brownie should be.
- Mini Eggs make everything better. You get little pops of crunchy shell and melty chocolate in every bite, which is basically the best Easter surprise.
- They look way fancier than the effort involved. A few pressed-in Mini Eggs and a quick white chocolate drizzle make these feel bakery-worthy without any stress.
- No complicated steps. Melt, whisk, fold, bake, and decorate. It’s the kind of recipe you can make without overthinking it.
- Perfect for sharing (or not). They’re great for Easter gatherings, bake sales, or sneaking one straight from the fridge with a cup of coffee.
- That crackly top though. The shiny, crackly brownie top paired with a soft center is always a win.
- Easy to prep ahead. They slice beautifully once cooled, which makes them ideal when you want something ready to grab and serve.
Equipment
-
Microwave-safe bowl: This is where the butter and chocolate melt together into a glossy, dreamy mixture with minimal effort.
-
Whisk: Perfect for mixing the eggs and sugars until they’re slightly thickened and give you that lovely crackly brownie top.
-
Silicone spatula: Ideal for gently folding everything together without knocking the air out of the batter.
-
Fine mesh sieve: Helps sift in the flour and cocoa powder so you don’t end up with any sneaky lumps.
-
6×8-inch baking dish: The perfect size for thick, fudgy brownies instead of thin, overbaked ones.
-
Nonstick spray or parchment paper: Makes lifting and slicing the brownies so much easier once they’ve cooled.
-
Small microwave-safe bowl: Handy for melting the white chocolate for that pretty drizzle on top.
-
Sharp knife: Essential for clean slices once the brownies have fully cooled (patience is hard, I know).
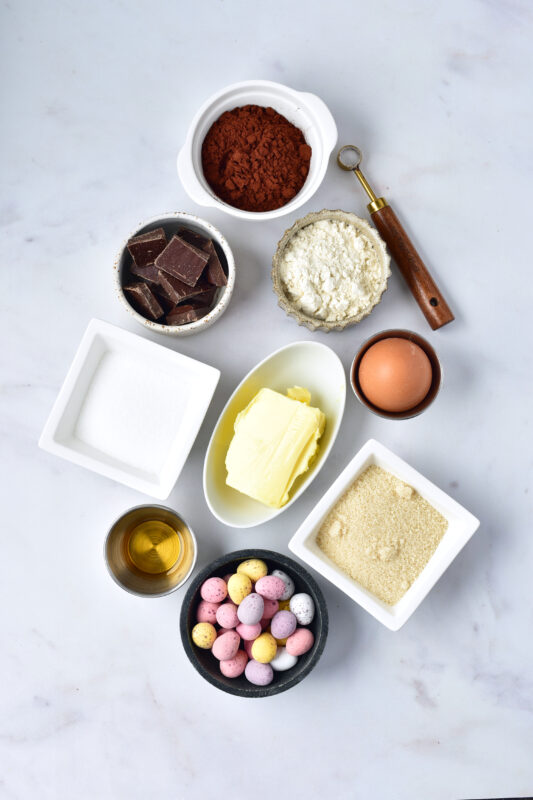
Ingredients
-
4 oz butter: This melts into the chocolate and gives the brownies that rich, fudgy texture we all love.
-
1 cup dark chocolate, broken into squares: The star of the show, bringing deep chocolate flavor and that glossy, indulgent finish.
-
½ cup white sugar: Helps create that shiny, crackly top everyone fights over.
-
¼ cup brown sugar: Adds a little extra moisture and a subtle caramel note that keeps the brownies soft.
-
3 eggs: These give the brownies structure while keeping the center perfectly gooey.
-
1 tsp vanilla extract: Just a splash, but it really rounds out all the chocolate flavors.
-
3 oz Cadbury Mini Eggs: Folded into the batter for crunchy shells, melty chocolate, and plenty of Easter charm.
-
⅓ tsp all-purpose flour: Just enough to hold everything together without turning these into cake.
-
3 tbsp cocoa powder: Boosts the chocolate flavor and makes the brownies extra rich.
For decoration:
-
2 oz chocolate eggs: Pressed into the top while warm so they look pretty and add even more chocolate in every bite.
-
1 oz white chocolate: Melted and drizzled over the top for a simple finish that makes these brownies feel bakery-worthy.
Recipe Instructions
You can find a printable recipe card at the bottom of this post.
Step 1: Add the butter and dark chocolate to a microwave-safe bowl.
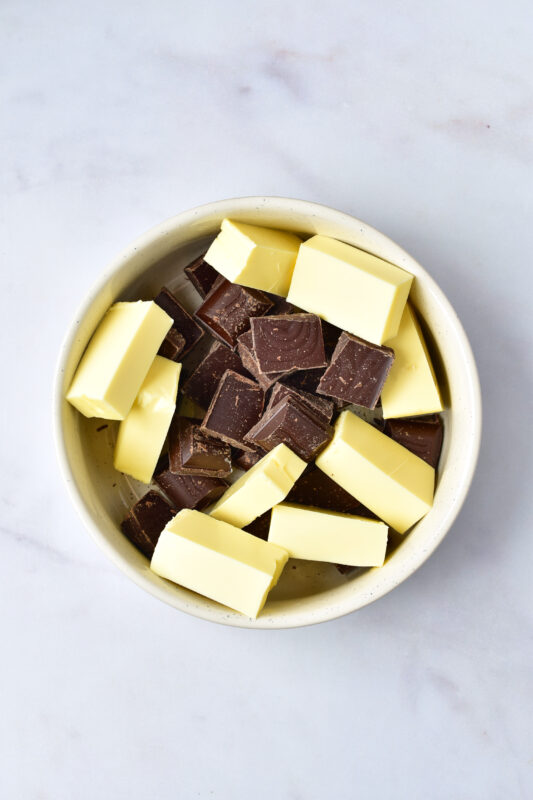
Step 2: Heat in 30-second bursts, stirring between each round, until completely melted and smooth. Set aside to cool slightly.

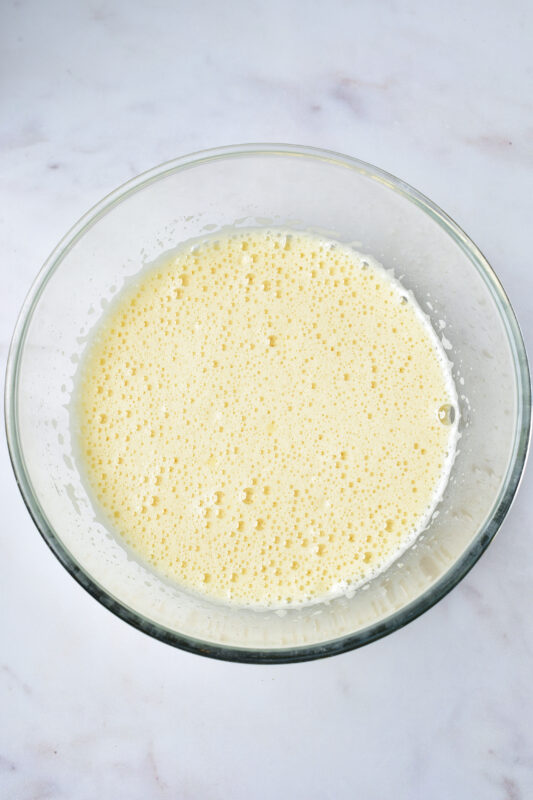
Step 3: In a separate bowl, whisk the eggs, sugars, and vanilla extract together for about 3 minutes, until well combined and slightly thickened.
Step 4: Slowly pour the warm chocolate mixture into the egg mixture, whisking constantly to keep the eggs from curdling.
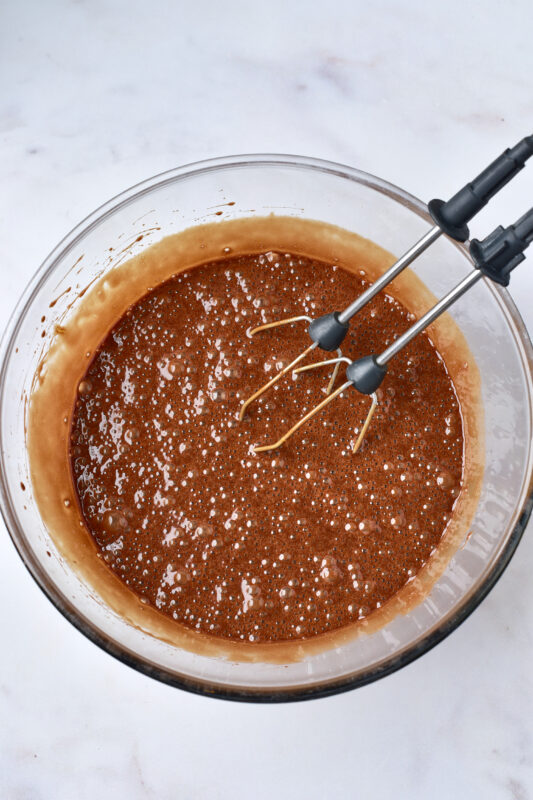
Step 5: Sift in the dry ingredients and mix just until incorporated.
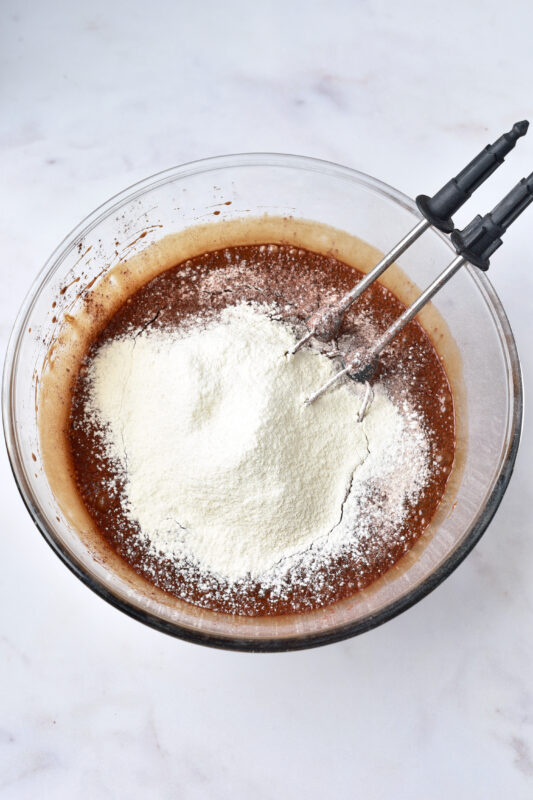
Step 6: Switch to a spatula and stir gently until the batter is thick and smooth.
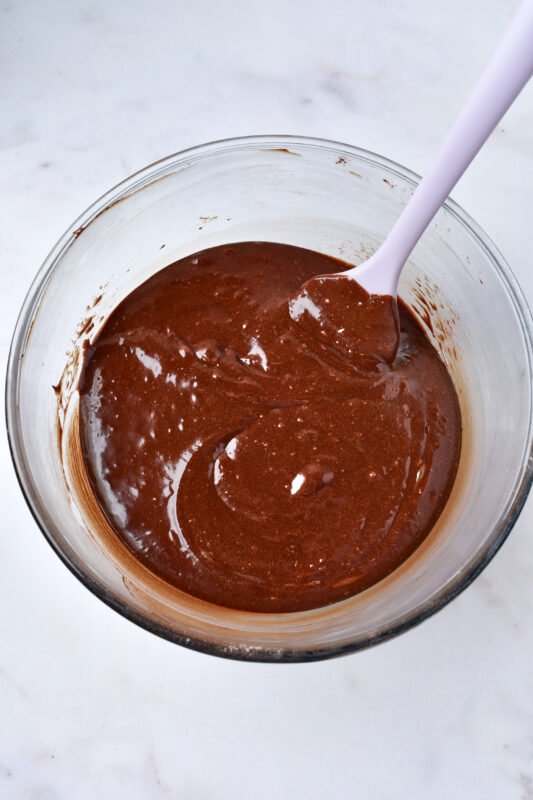
Step 7: Preheat the oven to 360°F (180°C), then fold the Cadbury Mini Eggs into the batter.

Step 8: Pour the batter into a greased 6×8-inch baking dish and spread it evenly.
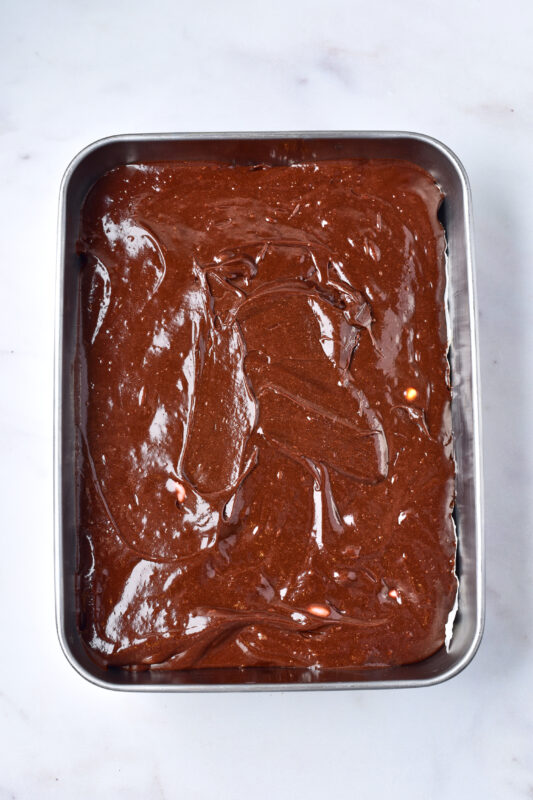
Step 9: Bake for 20 minutes, then press half of the decoration eggs into the top. Let the brownies cool in the pan for 10 minutes.

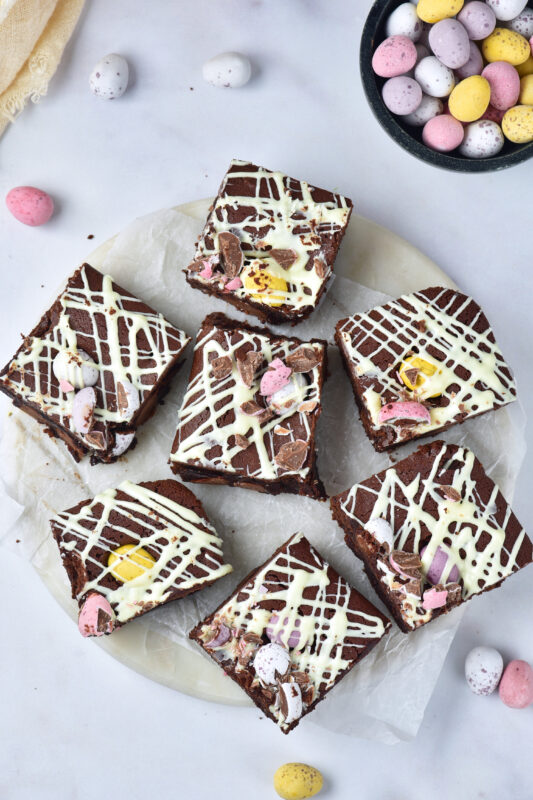
Step 10: Press in the remaining eggs, finely chop a few for texture, and drizzle with melted white chocolate. Allow the brownies to cool completely before slicing and serving.

Serving & Storing
-
Let them cool before slicing. I know it’s tempting, but giving the brownies time to cool helps them set so you get neat slices instead of chocolatey chaos.
-
Serve slightly warm or at room temperature. Warm brownies are extra gooey, while room temperature gives you that perfect fudgy bite. Both are honestly a win.
-
They’re great on their own. These brownies are rich enough to stand alone, but no one’s stopping you from adding a scoop of vanilla ice cream on the side.
-
Store in an airtight container. Keep them at room temperature for up to 3 days and they’ll stay soft and fudgy.
-
Fridge-friendly if you like them extra firm. Pop them in the fridge and they’ll become dense and ultra-chocolatey, which some people love.
-
They freeze surprisingly well. Wrap individual slices and freeze for up to 2 months so you can grab a brownie whenever the craving hits.
Variations & Substitutions
-
Swap the Mini Eggs if needed. If you can’t find them, chopped chocolate bars, chocolate chips, or even peanut butter eggs work just as well.
-
Use milk chocolate for a sweeter brownie. Dark chocolate keeps these rich and intense, but milk chocolate will give you a softer, sweeter finish.
-
Add a little crunch. A handful of chopped walnuts, pecans, or hazelnuts folded into the batter adds great texture.
-
Skip the white chocolate drizzle if you want. They’re still delicious without it, or you can drizzle dark or milk chocolate instead.
-
Make them extra indulgent. Swirl a little chocolate spread or cookie butter through the batter before baking for a fun twist.
-
Turn them into bake-sale squares. Cut them smaller and add extra decoration eggs on top so every piece looks pretty and festive.
-
Gluten-free friendly with one swap. Use a gluten-free all-purpose flour blend and they’ll still bake up nice and fudgy.

Little Tricks That Make a Big Difference
-
Whisk the eggs and sugar properly. Giving them a good 2–3 minutes of whisking helps create that shiny, crackly brownie top everyone loves.
-
Let the melted chocolate cool slightly. If it’s too hot when you add it, you risk scrambling the eggs, so warm, not piping hot, is the sweet spot.
-
Fold gently at the end. Switching to a spatula and folding softly keeps the brownies dense and fudgy instead of overmixed and cakey.
-
Don’t overbake them. They might look slightly underdone in the middle at 20 minutes, but they’ll firm up as they cool and stay perfectly gooey.
-
Press the Mini Eggs in while warm. Doing this straight out of the oven helps them stick and look extra pretty once sliced.
-
Chop a few eggs for the topping. Mixing whole and chopped pieces adds texture and makes the brownies look more interesting.
-
Use a sharp knife for slicing. Clean cuts make all the difference, especially if you wipe the blade between slices.

FAQs
Can I use milk chocolate instead of dark chocolate?
Yes, absolutely. The brownies will be sweeter and a little less intense, but still very rich and delicious.
Why do my brownies look slightly underbaked in the middle?
That’s exactly what you want. They’ll continue to set as they cool, giving you that fudgy center instead of a dry brownie.
Can I double this recipe?
You can. Use a larger baking dish and keep an eye on the baking time, adding a few extra minutes if needed.
Do I need to use Cadbury Mini Eggs?
They’re great for that classic Easter look and crunch, but any chocolate eggs or chopped chocolate will work just fine.
Can I make these ahead of time?
Yes. These brownies are actually even better the next day once they’ve fully set, making them perfect for prepping ahead.
How do I get clean slices?
Let the brownies cool completely and use a sharp knife, wiping the blade between cuts for neat edges.
Can I freeze Mini Eggs brownies?
Definitely. Wrap individual slices tightly and freeze for up to two months. Just let them thaw at room temperature before serving.

Mini Eggs Brownies
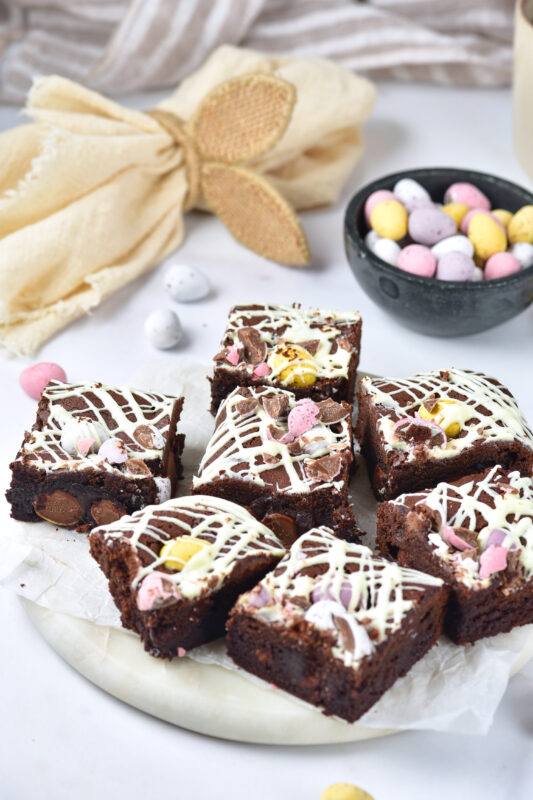
These Mini Eggs brownies are rich, fudgy, and packed with chocolate in every bite. Made with melted dark chocolate, a soft gooey center, and plenty of crunchy Mini Eggs, they’re finished with a simple white chocolate drizzle that makes them look extra special. Perfect for Easter baking, bake sales, or a cozy treat at home, this is an easy brownie recipe that always disappears fast.
Ingredients
- 4 oz butter
- 1 cup dark chocolate, broken into squares
- 1/2 cup white sugar
- 1/4 cup brown sugar
- 3 eggs
- 1 tsp vanilla extract
- 3 oz Cadbury chocolate eggs
- 1/3 tsp all-purpose flour
- 3 tbsp cocoa powder
For decoration:
- 2 oz chocolate eggs
- 1 oz white chocolate
Instructions
- Add the butter and dark chocolate to a microwave-safe bowl.
- Heat in 30-second bursts, stirring between each round, until completely melted and smooth. Set aside to cool slightly.
- In a separate bowl, whisk the eggs, sugars, and vanilla extract together for about 3 minutes, until well combined and slightly thickened.
- Slowly pour the warm chocolate mixture into the egg mixture, whisking constantly to keep the eggs from curdling.
- Sift in the dry ingredients and mix just until incorporated.
- Switch to a spatula and stir gently until the batter is thick and smooth.
- Preheat the oven to 360°F (180°C), then fold the Cadbury Mini Eggs into the batter.
- Pour the batter into a greased 6×8-inch baking dish and spread it evenly.
- Bake for 20 minutes, then press half of the decoration eggs into the top. Let the brownies cool in the pan for 10 minutes.
- Press in the remaining eggs, finely chop a few for texture, and drizzle with melted white chocolate. Allow the brownies to cool completely before slicing and serving.
Notes
- These brownies will look slightly soft in the center when they come out of the oven, and that’s exactly how they should be. They firm up as they cool.
- For extra clean slices, let the brownies cool completely and wipe your knife between cuts.
- If your white chocolate seems thick when melting, add a tiny splash of cream or milk to help it drizzle smoothly.
- Pressing the Mini Eggs into the brownies while they’re still warm helps them stick and look extra pretty once sliced.
- If you prefer firmer brownies, chill them in the fridge for about 30 minutes before cutting.
- These brownies taste even better the next day, once the flavors have had time to settle.
Nutrition Information:
Yield:
6Serving Size:
1Amount Per Serving: Calories: 707Total Fat: 40gSaturated Fat: 24gUnsaturated Fat: 16gCholesterol: 144mgSodium: 192mgCarbohydrates: 78gFiber: 5gSugar: 66gProtein: 9g