No-Churn Mint Chocolate Chip Ice Cream Using the Ninja Creami
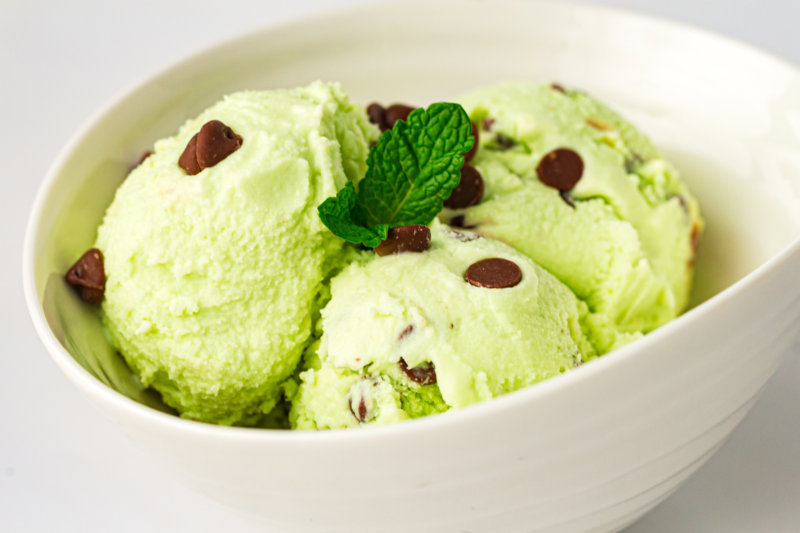
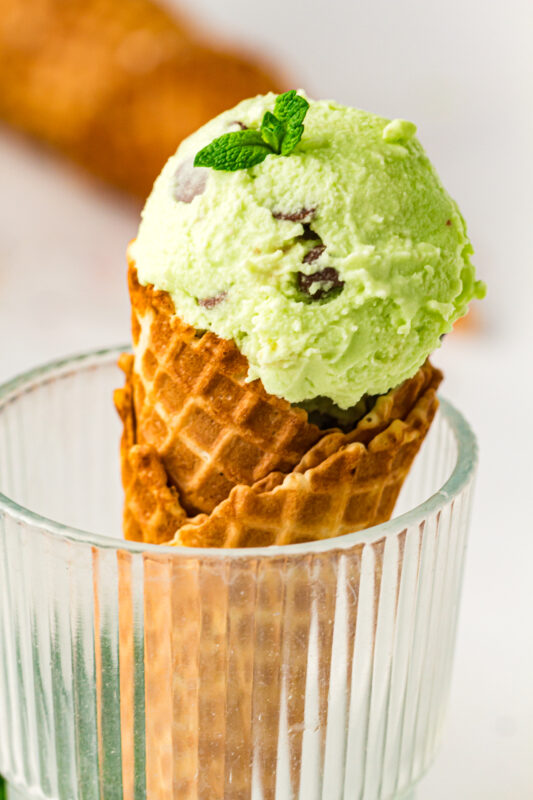
If mint chocolate chip is your ice cream order every single time, you’re going to be very happy here. There’s something so nostalgic about that cool, creamy mint paired with little bits of chocolate, and making it at home somehow makes it even better. This version delivers that classic ice cream shop flavor while keeping the process simple and totally doable in your own kitchen.
The Ninja Creami really does the heavy lifting with this recipe. You whisk everything together, freeze the base, then let the machine turn it into ultra-smooth ice cream. A Ninja Creami pint container is essential, and a silicone spatula comes in handy for scraping down the bowl so nothing goes to waste. When it’s time to add the chocolate, a small spoon makes the mix-in step quick and easy.
This recipe is also very easy to customize, which makes it fun to make again and again. You can adjust the mint to suit your taste, add extra chocolate if you’re in the mood, or play around with the color using green gel food coloring for that classic look. A mini whisk helps everything blend smoothly so the final texture stays creamy and scoopable. It’s relaxed, flexible, and perfect for a homemade treat that feels a little special.
Why We Love This Recipe
- It tastes like classic ice cream shop mint chip, but you get to make it right at home. Creamy, cool, and loaded with chocolate in every bite.
- The Ninja Creami does all the hard work. Once the base is frozen, it spins up into the smoothest, dreamiest texture with hardly any effort.
- That mint flavor is just right. It’s fresh and refreshing, not overpowering or toothpaste-y, which makes it easy to keep going back for “just one more scoop.”
- You control everything that goes in. From the sweetness to the shade of green to the amount of chocolate, it’s easy to tweak it exactly how you like it.
- It’s a single-pint recipe, which means no massive batch taking over your freezer. Perfect for treating yourself without leftovers staring you down.
- The mix-in step is oddly satisfying. Dropping in the chocolate and watching it swirl through the ice cream never gets old.
- It feels indulgent but still simple. A handful of basic ingredients turns into something that tastes totally special.

Equipment
-
Ninja Creami machine: This is the star of the show and the reason this ice cream turns out so unbelievably creamy with hardly any effort.
-
Ninja Creami pint container with lid: You’ll freeze the base right in this, so having it clean, dry, and ready to go makes everything smoother.
-
Medium mixing bowl: Just the right size for whisking everything together without splashing minty milk all over the counter.
-
Whisk or mini whisk: This helps the sugar dissolve properly so the ice cream spins up silky smooth instead of grainy.
-
Silicone spatula: Perfect for scraping every last drop of the mixture into the pint, because none of that goodness should be wasted.
-
Measuring cups and spoons: Handy for keeping the mint flavor balanced and the texture spot on every time.
-
Small spoon: Ideal for adding the chocolate during the mix-in step and keeping things neat and easy.
Ingredients
-
1 cup (240 ml) whole milk: This gives the ice cream its smooth, creamy base without making it feel too heavy.
-
¾ cup (180 ml) double cream: This is where that rich, scoop-shop creaminess really comes from, so don’t skip it.
-
⅓ cup (40 g) confectioners sugar (icing sugar): It dissolves easily and keeps the texture soft and silky once frozen.
-
1 tsp peppermint extract: Just enough to give that cool, classic mint flavor without overpowering everything else.
-
A few drops green gel food colouring: Totally optional, but it gives that fun, familiar mint chip look without thinning the mixture.
-
¼ cup (40 g) chocolate chips or finely chopped chocolate: These little bits of chocolate add the perfect crunch in every bite.

Recipe Instructions
You can find a printable recipe card at the bottom of this post.
Step 1: In a medium bowl, whisk together the whole milk, double cream, confectioners sugar, peppermint extract, and green gel food colouring until the sugar has fully dissolved.


Step 2: Pour the mixture into the Ninja Creami pint container and secure the lid.


Step 3: Place the container on a completely level surface and freeze for 24 hours.
Step 4: Once fully frozen, remove the lid and insert the pint into the Ninja Creami machine.
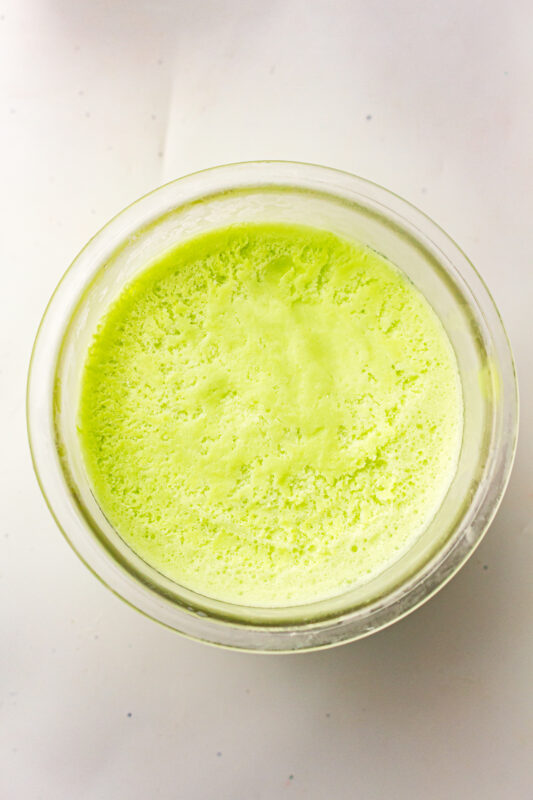
Step 5: Run the Ice Cream function.
Step 6: When the cycle finishes, create a small well in the centre of the ice cream and add 1 to 2 tablespoons of milk along with the chocolate chips.


Step 7: Run the Mix-In cycle to evenly distribute the chocolate throughout the ice cream.
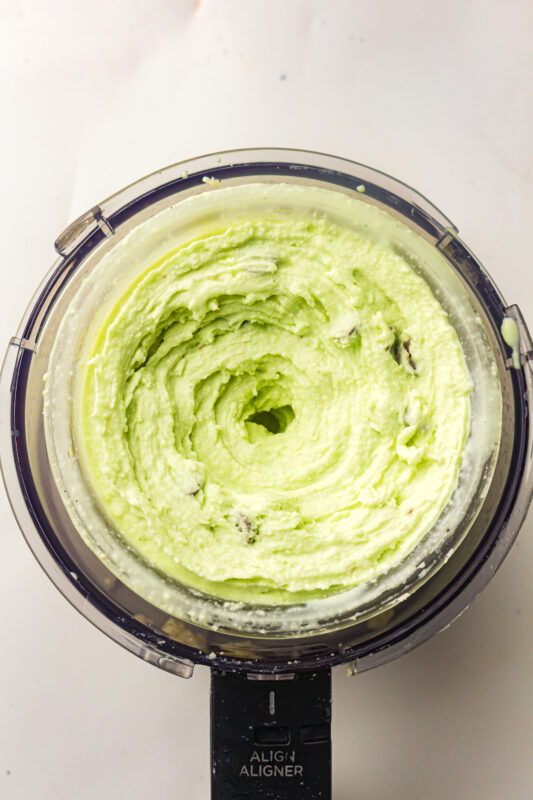
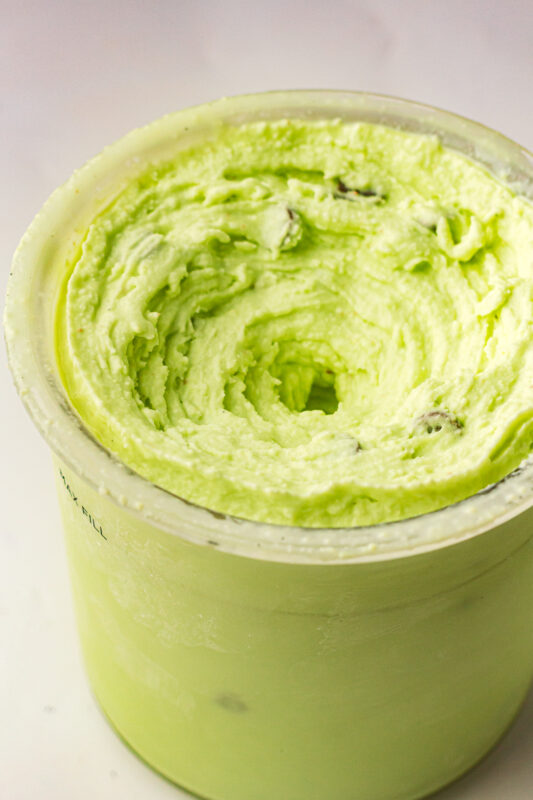
Step 8: Scoop and serve immediately.
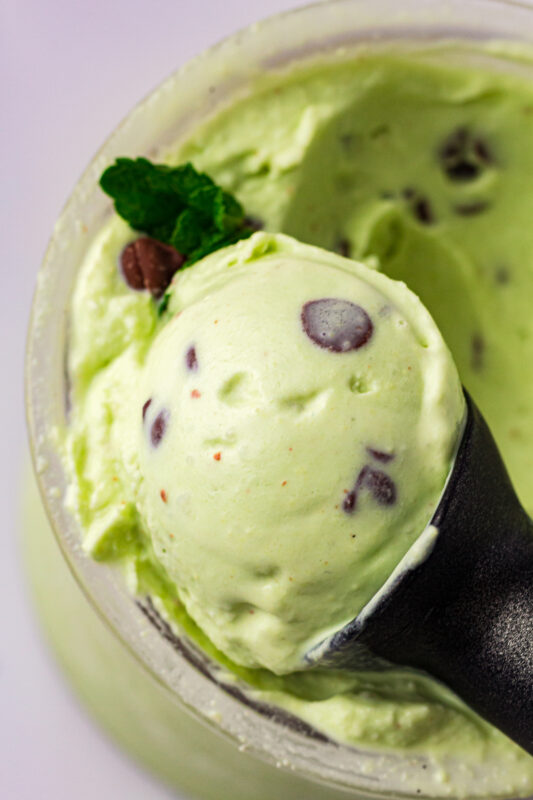
Serving & Storing
-
Serve it straight after the mix-in cycle for the creamiest, scoopable texture. This is when it’s at its absolute best.
-
If it feels a little firm, a quick re-spin or adding a tiny splash of milk brings it right back to life.
-
This recipe is perfect for one pint, so it’s ideal for enjoying right away without worrying about leftovers hanging around.
-
Storing leftovers is easy. Pop the lid back on the pint and keep it in the freezer until you’re ready for another scoop.
-
Let it sit out for a few minutes before serving again if it’s been frozen solid. That short rest makes scooping much easier.
-
A quick re-spin works wonders after storing, especially if you want that freshly spun, ultra-creamy texture again.
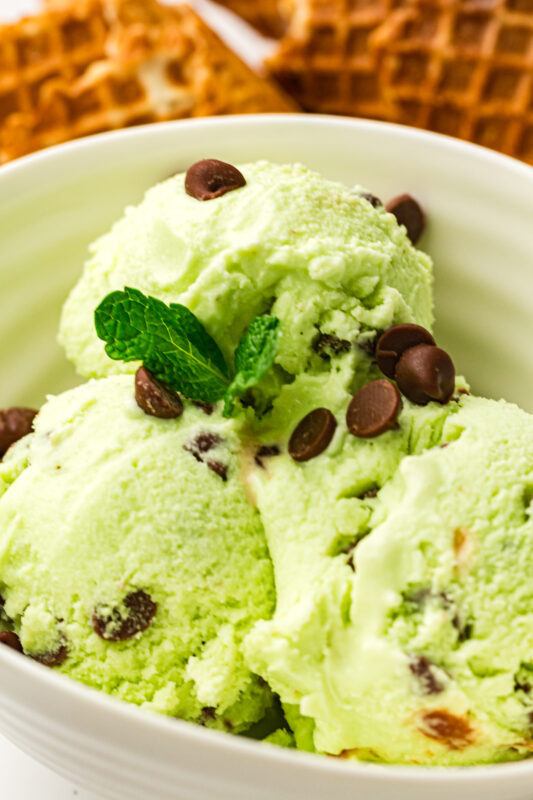
Variations & Substitutions
-
Make it extra chocolatey by adding more chips or swapping them for chopped dark chocolate or chocolate chunks.
-
Tone the mint up or down by adjusting the peppermint extract slightly. A tiny bit more goes a long way, so small tweaks are best.
-
Skip the food coloring if you want. The flavor is exactly the same, and it still tastes amazing without the green tint.
-
Use chocolate flakes or shaved chocolate if you prefer finer pieces that melt slightly into the ice cream.
-
Try a dairy swap by using full-fat coconut milk and cream for a dairy-free version with a subtle coconut twist.
-
Sweeten it your way by adjusting the confectioners sugar to taste or using powdered sweetener alternatives if that’s your preference.
-
Turn it into a dessert base by serving it with brownies, cookies, or waffles for an easy but impressive treat.
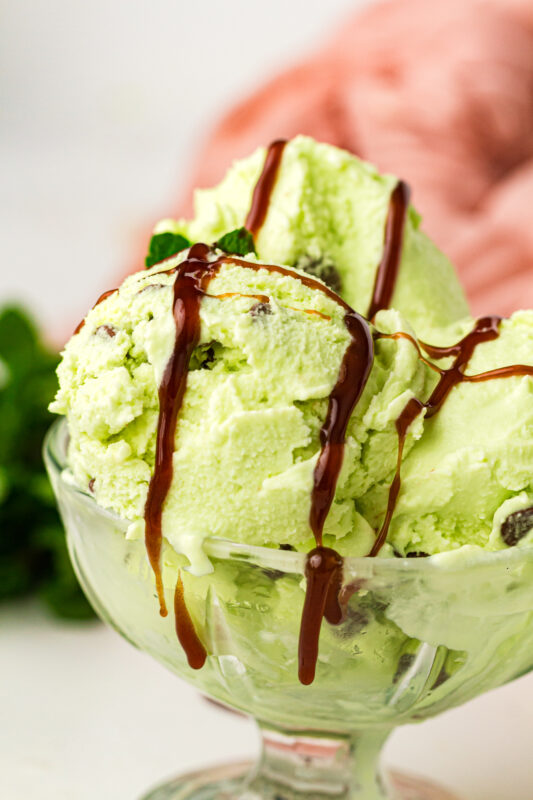
Little Tricks That Make a Big Difference
-
Make sure the sugar is fully dissolved before freezing. A quick extra whisk now means a smoother, creamier texture later.
-
Freeze the pint completely flat so it spins evenly in the Ninja Creami and gives you the best possible texture.
-
Go easy with the peppermint extract. It’s strong stuff, so sticking close to the measurement keeps the flavor fresh instead of overpowering.
-
Add a splash of milk before the mix-in cycle if the ice cream looks crumbly after the first spin. It brings everything together beautifully.
-
Use finely chopped chocolate if you like smaller bits that spread evenly through every scoop.
-
Re-spin instead of forcing it. If it feels too firm, another quick spin works far better than digging in too soon.
-
Serve it right after spinning for that soft, scoop-shop texture that makes homemade ice cream feel extra special.
FAQs
Can I make this without a Ninja Creami?
This recipe is designed specifically for the Ninja Creami, so you won’t get the same creamy texture without it. If you’re using a different ice cream maker, the method and results will be quite different.
Why does the base need to freeze for a full 24 hours?
Freezing it completely helps the Creami shave and spin the mixture properly, which is what gives you that smooth, ice cream shop-style texture.
My ice cream looks crumbly after the first spin. Is that normal?
Yes, totally normal. Just add a small splash of milk and run a re-spin or the mix-in cycle, and it should come together beautifully.
Can I use mint extract instead of peppermint extract?
You can, but peppermint extract gives that classic mint chocolate chip flavor most people expect. If you use mint extract, start with a little less since the flavor can vary.
Do I have to use green food coloring?
Not at all. It’s purely for looks and doesn’t affect the taste, so feel free to skip it if you prefer.
Can I store this ice cream and eat it later?
Absolutely. Just pop the lid back on the pint and store it in the freezer. When you’re ready to serve, let it sit out for a few minutes and give it a quick re-spin.
What kind of chocolate works best for mix-ins?
Chocolate chips, finely chopped chocolate, or even shaved chocolate all work well. Smaller pieces tend to mix more evenly through the ice cream.
Can I double this recipe?
This one is meant for a single pint, so it’s best to make two separate batches rather than doubling everything in one container.
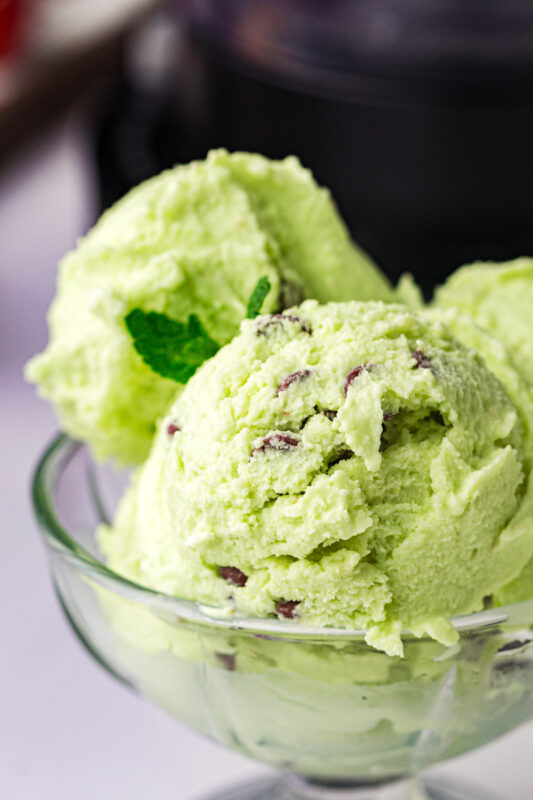
Ninja Creami Mint Chocolate Chip Ice Cream
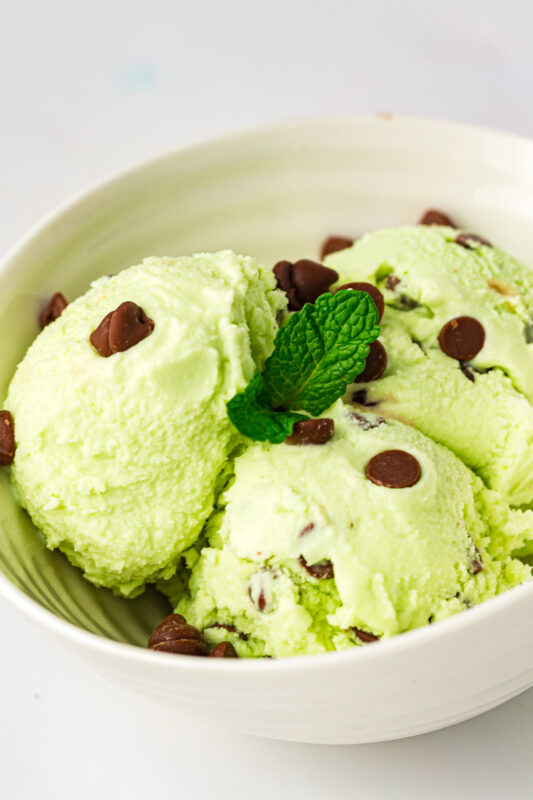
This Ninja Creami Mint Chocolate Chip Ice Cream is cool, creamy, and packed with that classic minty flavor and little bites of chocolate in every scoop. Made with simple ingredients and spun to perfection in the Ninja Creami, it’s an easy single-pint treat that tastes just like your favorite ice cream shop version, right from your own freezer.
Ingredients
- 1 cup (240 ml) whole milk
- ¾ cup (180 ml) double cream
- ⅓ cup (40 g) confectioners sugar (icing sugar)
- 1 tsp peppermint extract
- A few drops green gel food colouring
- ¼ cup (40 g) chocolate chips or finely chopped chocolate
Instructions
- In a medium bowl, whisk together the whole milk, double cream, confectioners sugar, peppermint extract, and green gel food colouring until the sugar has fully dissolved.
- Pour the mixture into the Ninja Creami pint container and secure the lid.
- Place the container on a completely level surface and freeze for 24 hours.
- Once fully frozen, remove the lid and insert the pint into the Ninja Creami machine.
- Run the Ice Cream function.
- When the cycle finishes, create a small well in the centre of the ice cream and add 1 to 2 tablespoons of milk along with the chocolate chips.
- Run the Mix-In cycle to evenly distribute the chocolate throughout the ice cream.
- Scoop and serve immediately.
Notes
- Make sure the sugar is fully dissolved before freezing to keep the final texture smooth and creamy.
- Freeze the pint on a completely level surface so it spins evenly in the Ninja Creami.
- If the ice cream looks crumbly after the first spin, add 1 to 2 tablespoons of milk and re-spin or use the mix-in cycle.
- Peppermint extract is strong, so stick close to the measurement and adjust slowly if needed.
- Finely chopped chocolate mixes in more evenly than larger chunks, especially in a single pint.
- The green food coloring is optional and can be skipped without affecting the flavor.
- This recipe is designed for one pint, so make separate batches if you want more than one serving.