Easy Grinch Nutter Butters That’ll Steal the Show (and Maybe Christmas!)
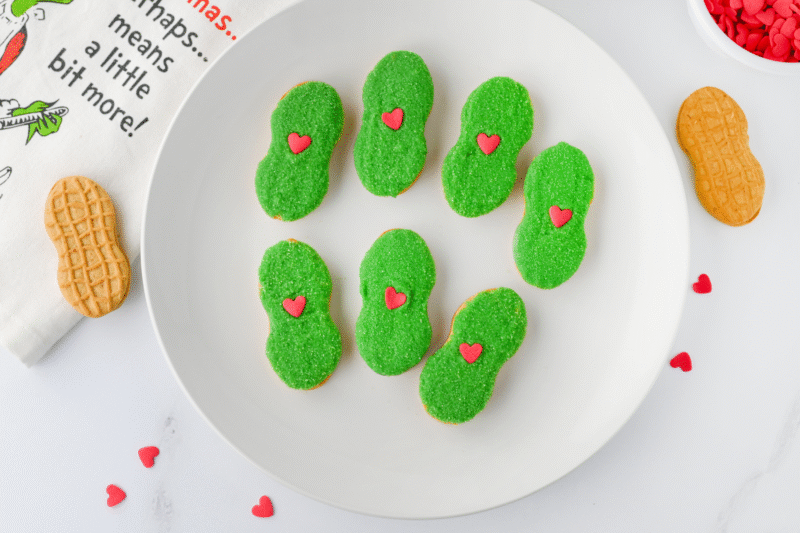
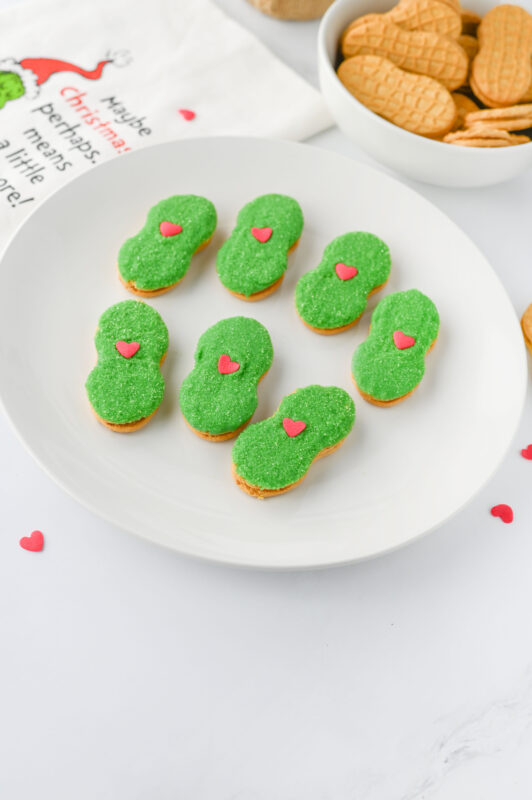
Every Christmas, I love making a few treats that instantly bring smiles, and these Grinch Nutter Butters do exactly that. They’re bright, funny, and so simple to make that even the kids can help. There’s something so fun about turning a regular cookie into a cheerful green treat with a little red heart, just like the Grinch’s growing heart at the end of the movie. It’s the kind of snack that brings a little extra magic to the season.
I always find that the easiest holiday recipes are the ones everyone remembers, and this one definitely fits that description. All you need are a few simple ingredients, and you’ll have a batch of cookies that look like you spent hours on them. The best part is that there’s no baking required, so you can make these even at the last minute before a party, a cookie exchange, or a cozy family movie night.
Whether you’re planning a Grinch-themed party or just want to add some festive color to your dessert tray, these cookies are a hit every time. They’re crunchy, sweet, and just a little mischievous, just like the Grinch himself. Once you see how cute they turn out, you’ll want to make them every Christmas.
Ingredients
- 12 oz. green candy melts – These give the cookies their signature Grinch-green color and a smooth, sweet coating.
- 1/4 cup green sanding sugar – Adds a sparkly, festive texture that makes each cookie shine.
- 16 Nutter Butter Cookies – The perfect peanut-shaped base for your adorable Grinch treats.
- 16 jumbo heart sprinkles – A sweet little touch to show the Grinch’s heart growing three sizes!

Recipe Instructions
You can find a printable recipe card at the bottom of this post.
1. Place the candy melts in a microwave-safe bowl and heat in 30-second intervals, stirring between each, until smooth and fully melted.
2. Line a baking sheet with parchment paper and set it aside.
3. Dip one side of each Nutter Butter cookie into the melted candy, letting any excess drip off while keeping the surface fully coated.

4. Gently press the coated side into the sanding sugar to cover it.
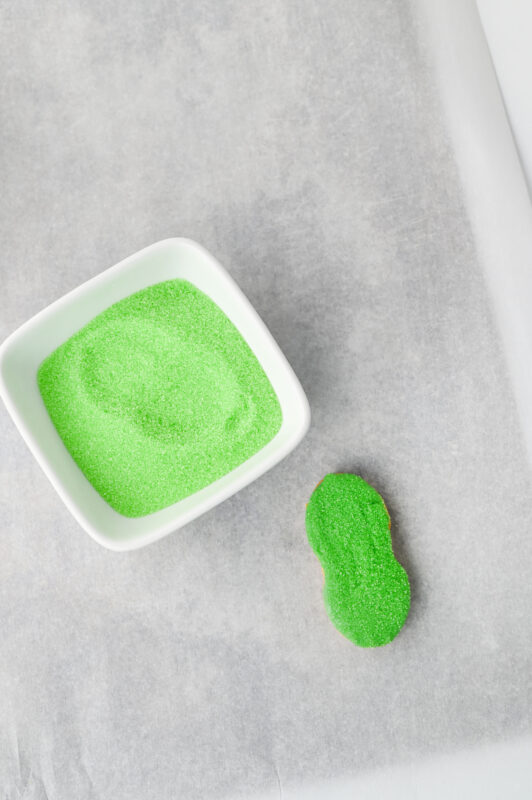
5. Arrange the cookies on the prepared parchment, candy-coated side facing up.
6. Add a jumbo heart sprinkle to each cookie while the coating is still soft.

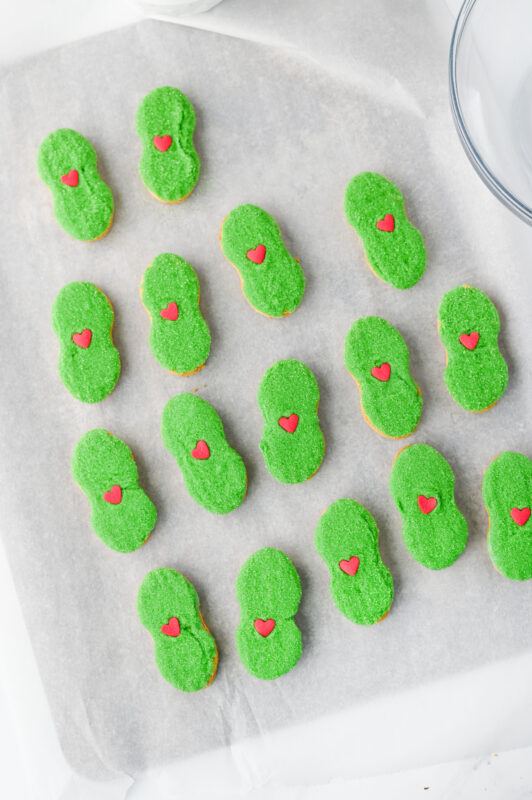
7. Repeat the process for all the cookies, then let them sit for about an hour to fully set.
Serving & Storing
-
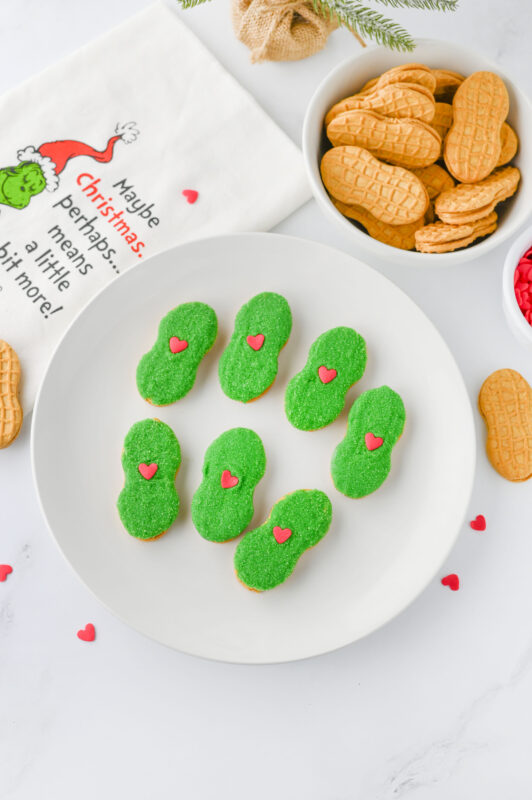
These cookies look extra fun on a holiday dessert table or tucked into a Christmas cookie box.
-
Serve them with hot cocoa or milk during a Christmas movie night for the ultimate cozy treat.
-
Once the candy coating has fully set, store the cookies in an airtight container at room temperature.
-
Keep them in a cool, dry place to prevent the candy coating from melting or getting sticky.
-
They’ll stay fresh for up to a week, making them perfect for prepping ahead of holiday gatherings.
-
If you’re gifting them, layer parchment paper between the cookies to keep them looking neat.

Variations
-
White Chocolate Grinch Cookies – Use white candy melts with a drop or two of green food coloring instead of pre-colored melts.
-
Minty Grinch Treats – Add a tiny bit of peppermint extract to the melted candy for a cool mint twist.
-
Grinch Oreos – Swap the Nutter Butters for Oreos and dip one side for an equally fun look.
-
Double-Dipped Grinch Cookies – Dip the cookies fully in green candy melts for a thicker coating and extra crunch.
-
Sprinkle Swap – Use red or white sanding sugar for a different festive look.
-
Mini Grinch Bites – Break the Nutter Butters in half before dipping to make bite-size versions perfect for parties or kids’ snack trays.

Substitutions
-
Candy Melts – You can use white chocolate chips or almond bark with a few drops of green food coloring if you don’t have candy melts.
-
Green Sanding Sugar – Try using green sprinkles or edible glitter for a different texture and sparkle.
-
Nutter Butter Cookies – Any peanut-shaped or sandwich-style cookie works if Nutter Butters aren’t available.
-
Jumbo Heart Sprinkles – Use red M&M’s, mini heart candies, or even pipe a small heart with red icing as a cute alternative.

FAQs
Can I make these ahead of time?
Yes! These cookies keep well for several days, so you can make them a few days before your holiday event. Just store them in an airtight container at room temperature.
Do I need to refrigerate them?
No, refrigeration can cause the candy coating to sweat. Keep them in a cool, dry spot instead.
Can I use regular chocolate instead of candy melts?
You can, but candy melts set more evenly and have that smooth, shiny finish. If you use chocolate, add a teaspoon of coconut oil to help it melt and coat better.
What’s the best way to melt the candy melts?
Microwave them in 30-second intervals, stirring each time, until smooth. You can also use a double boiler if you prefer more control over the heat.
Can I make these without nuts?
Yes! Simply use a nut-free sandwich cookie or shortbread-style cookie instead of Nutter Butters.
How do I keep the candy coating from clumping?
If it starts to thicken, reheat it gently for a few seconds and stir until smooth again.

Grinch Nutter Butters

These Grinch Nutter Butters are the cutest Christmas cookies you’ll ever make. Coated in bright green candy melts, sprinkled with sparkly sanding sugar, and topped with a little red heart, they’re fun, festive, and no-bake. Perfect for cookie trays, classroom parties, or a cozy Grinch movie night!
Ingredients
- 12 oz. green candy melts
- 1/4 cup green sanding sugar
- 16 Nutter Butter Cookies
- 16 jumbo heart sprinkles
Instructions
- Place the candy melts in a microwave-safe bowl and heat in 30-second intervals, stirring between each, until smooth and fully melted.
- Line a baking sheet with parchment paper and set it aside.
- Dip one side of each Nutter Butter cookie into the melted candy, letting any excess drip off while keeping the surface fully coated.
- Gently press the coated side into the sanding sugar to cover it.
- Arrange the cookies on the prepared parchment, candy-coated side facing up.
- Add a jumbo heart sprinkle to each cookie while the coating is still soft.
- Repeat the process for all the cookies, then let them sit for about an hour to fully set.