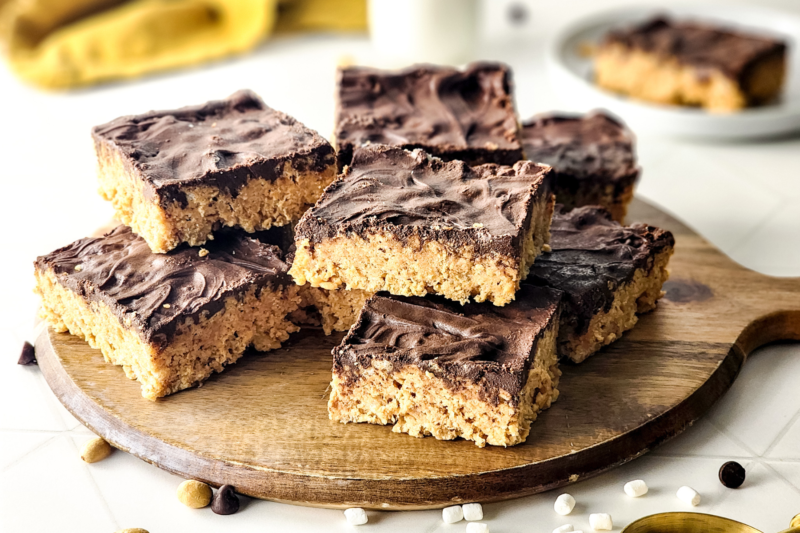
Peanut Butter Chocolate Rice Krispie Treats
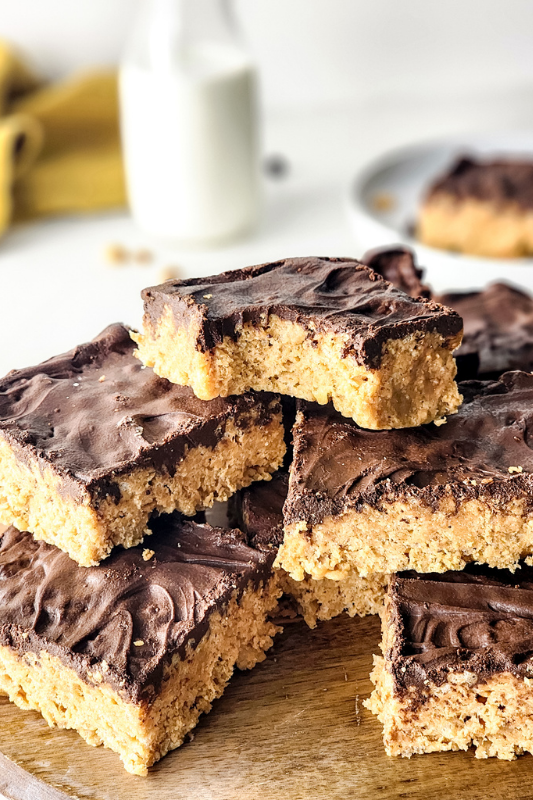
If you love peanut butter and chocolate together, you need to try these Peanut Butter Chocolate Rice Krispie Treats! They’re sweet, crunchy, a little bit gooey and honestly so good. I’ve always loved a good Rice Krispie treat, but adding peanut butter and chocolate makes them even better. They’re the kind of treat you make for everyone to share and then find yourself sneaking back into the kitchen for another piece.
One of my favorite things about this recipe is how easy it is to make. There’s no need to turn the oven on, and you only need a few simple ingredients. The browned butter adds a lovely nutty flavor, and the sweetened condensed milk helps make everything extra rich and gooey. Then you’ve got all that crispy cereal and melted marshmallow mixed together. So good!
These are great for making ahead for parties, bake sales or just to have something sweet in the house for the week. I love recipes like this that don’t take loads of effort but still feel like a proper homemade treat. Just make sure you give them enough time to set in the fridge before cutting them into squares. Although I can’t promise you won’t be tempted to try a little bit before they’re ready!
Why We Love This Recipe
- They’re so easy to make. There’s no baking involved and you only need a handful of ingredients. Perfect when you fancy making something sweet without spending ages in the kitchen.
- Peanut butter and chocolate are always a good idea! I absolutely love this combination, especially with the crispy cereal and gooey marshmallows.
- The browned butter makes them extra tasty. It’s a really simple extra step but it gives these treats a lovely rich, nutty flavor.
- They’re great for making ahead. You can make a batch, pop them in the fridge and have something sweet ready for the next few days.
- Everyone loves them. They’re great for parties, bake sales or just having something homemade to enjoy with a cup of coffee.
Equipment
-
Large saucepan or pot – For browning the butter and melting the peanut butter and marshmallows.
-
Wooden spoon or silicone spatula – For stirring everything together and folding in the Rice Krispies.
-
9×11-inch baking dish – For pressing the mixture into and allowing it to set.
-
Microwave-safe bowl – For melting the chocolate chips with the vegetable oil.
-
Sharp knife – For cutting the treats into squares once they’ve set.
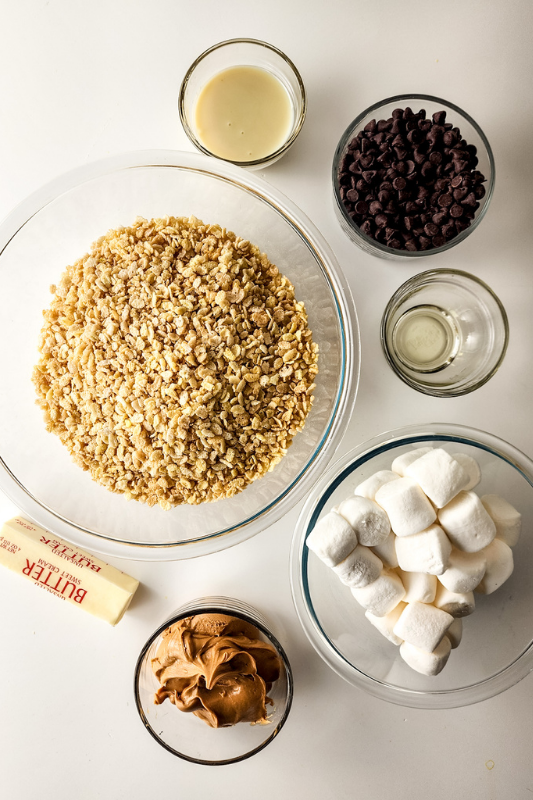
Ingredients
-
5 tablespoons butter, browned – Browning the butter gives these treats a lovely rich, nutty flavor that’s definitely worth the extra couple of minutes.
-
½ 10-ounce bag jumbo marshmallows – These melt down to make that delicious gooey mixture that holds everything together.
-
1 cup peanut butter – I like to use creamy peanut butter for this recipe as it mixes in really nicely and gives plenty of peanut butter flavor.
-
¼ cup sweetened condensed milk – This adds a little extra sweetness and helps keep the treats lovely and soft.
-
6 cups Rice Krispies cereal – You get that lovely crispy crunch in every bite. Any similar crispy rice cereal will work just as well.
-
1½ cups semisweet chocolate chips – These are perfect for adding a rich chocolate topping without making the treats overly sweet.
-
2 tablespoons vegetable oil – Adding a little oil to the melted chocolate helps make it nice and smooth and easier to spread over the treats.
Recipe Instructions
Full measurements and cooking times can be found in the recipe card at the bottom of this post.
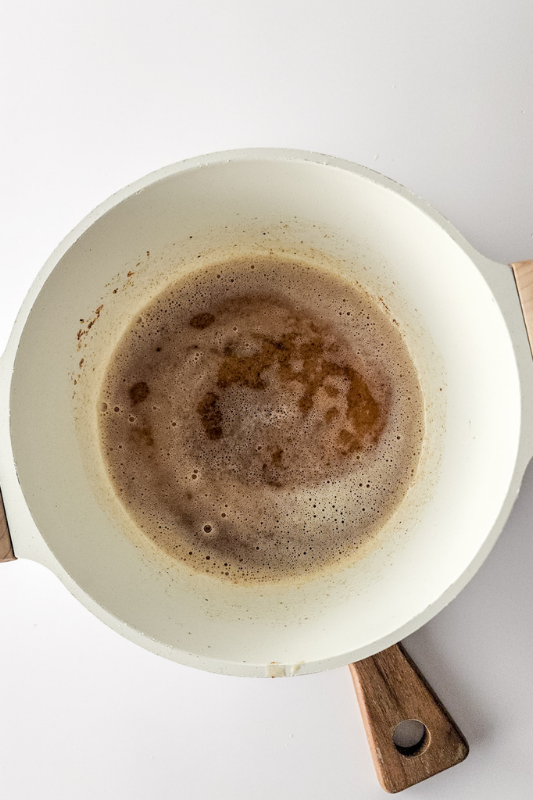
Step 1:In a large pot, melt the butter over medium heat until it turns golden brown and gives off a lovely nutty aroma. Keep an eye on it as it can burn quite quickly.
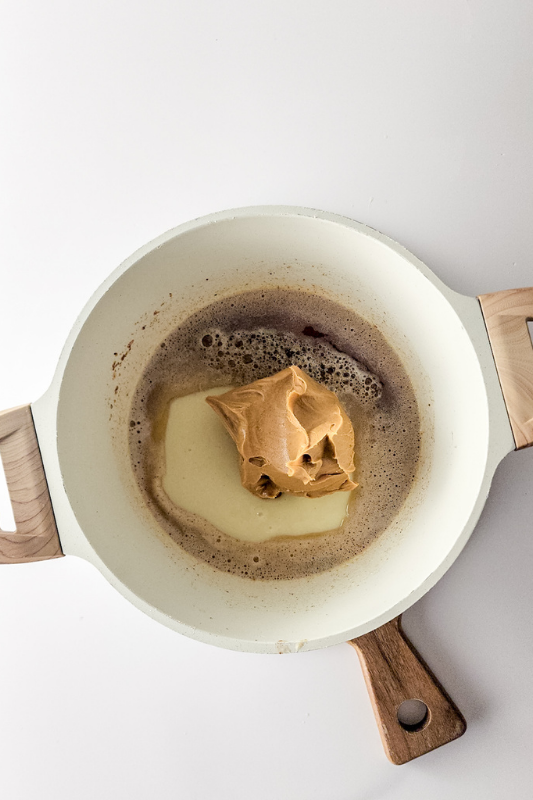
Step 2: Stir in the peanut butter and sweetened condensed milk until everything is smooth and nicely combined.
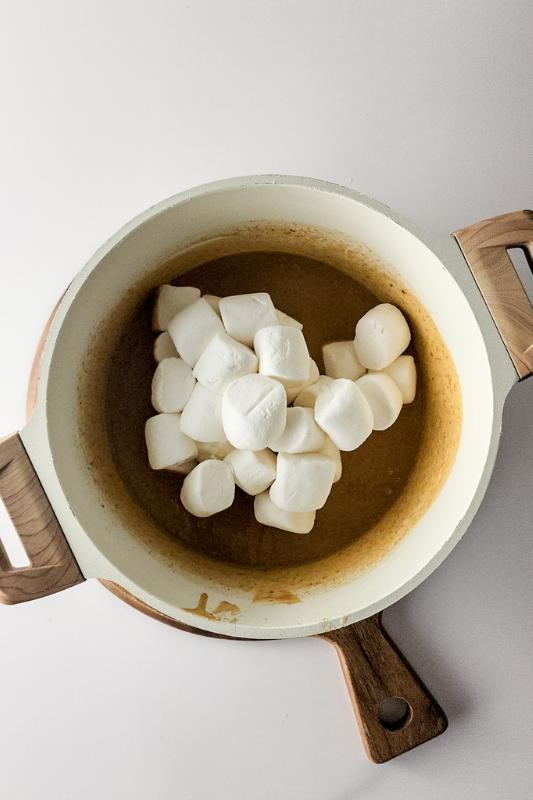
Step 3: Add the jumbo marshmallows and keep stirring over a low heat until they’ve completely melted and the mixture is lovely and creamy.
Step 4: Remove the pot from the heat and add the Rice Krispies cereal. Gently fold everything together with a wooden spoon or spatula until all the cereal is coated.
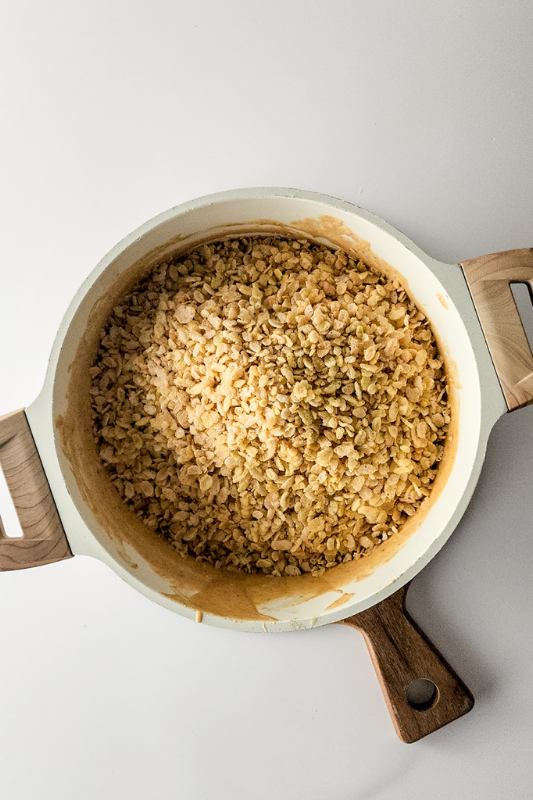
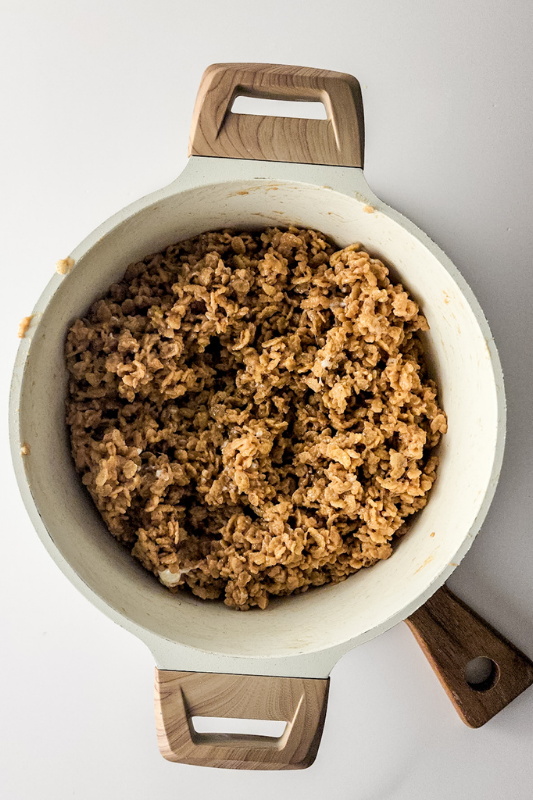
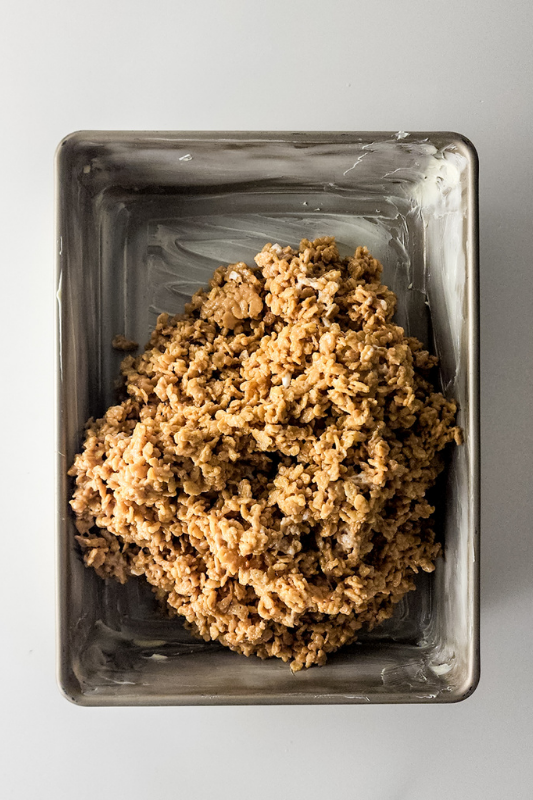
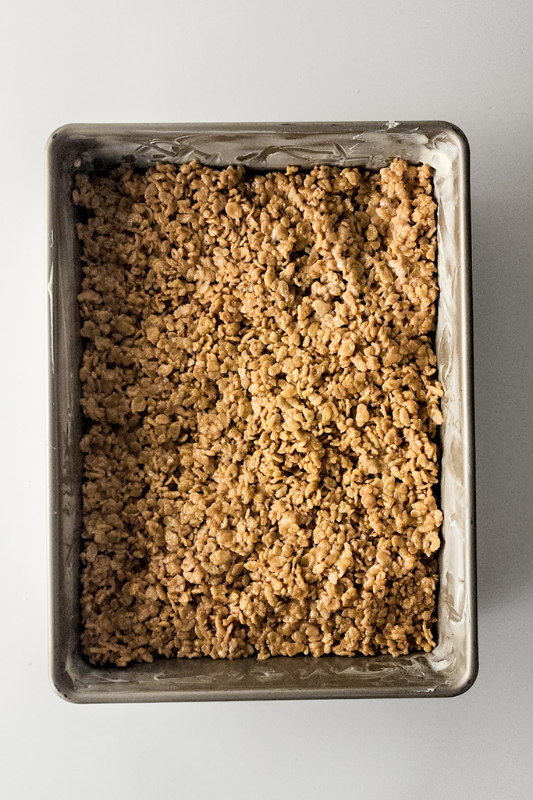
Step 5: Transfer the mixture into a buttered baking dish and gently press it down into an even layer. Try not to press too firmly or the treats can end up quite hard.
Step 6: Place the semisweet chocolate chips and vegetable oil into a microwave-safe bowl. Microwave in 20–30 second intervals, stirring between each one, until the chocolate has melted and is completely smooth.
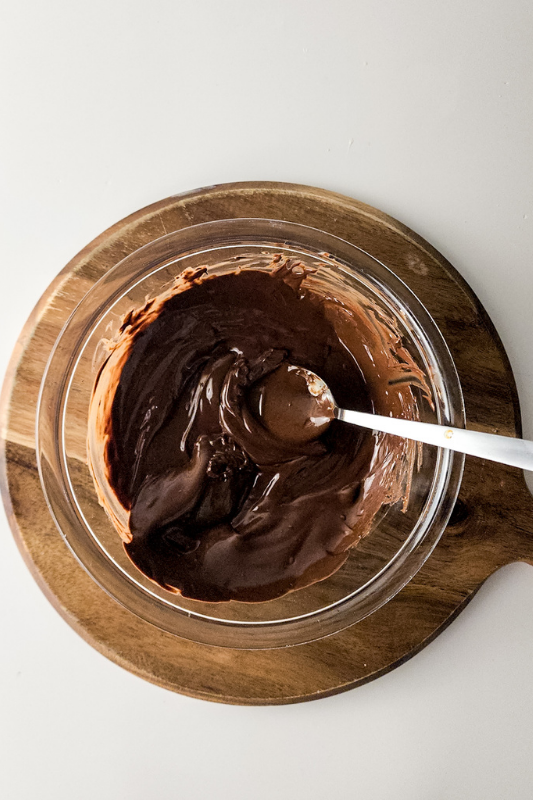
Step 7: Pour the melted chocolate over the Rice Krispie mixture, spreading it out with the back of a spoon or spatula until the whole surface is covered.
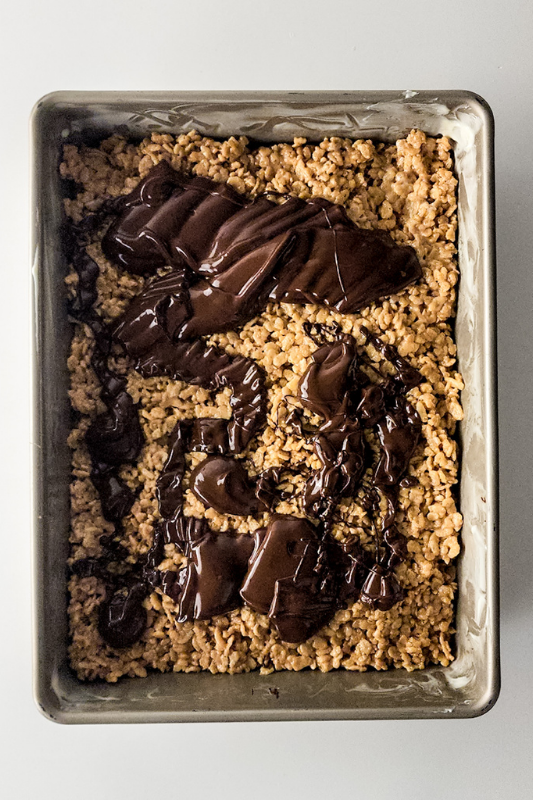
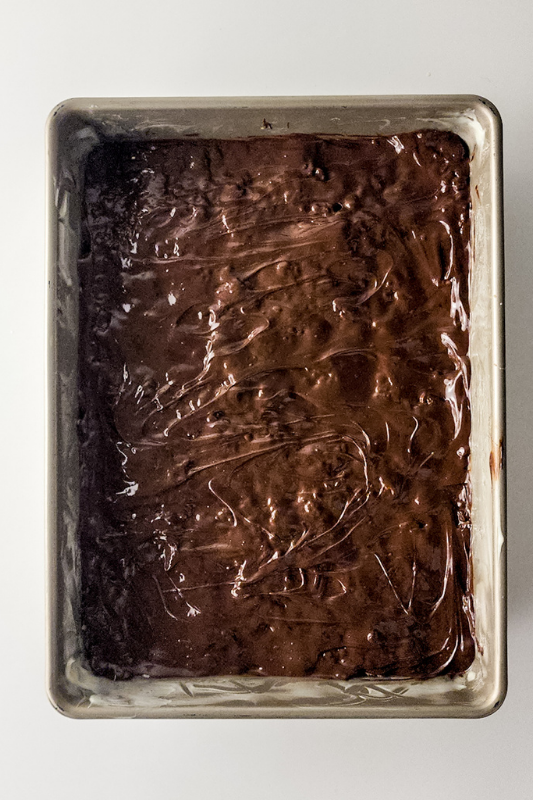
Step 8: Refrigerate for around an hour, or until the chocolate has set and the treats are firm enough to cut.
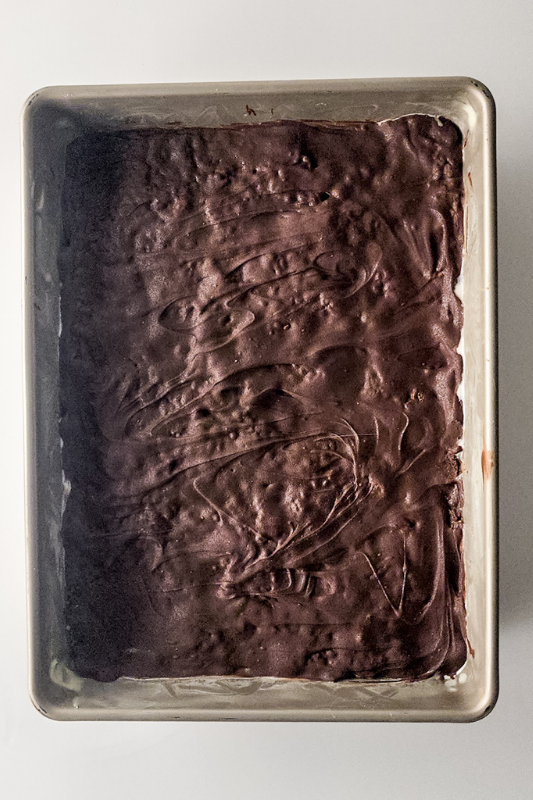
Step 9: Slice into squares and enjoy! Store the treats in an airtight container, with parchment paper between the layers if you’re stacking them.
What to Serve with Peanut Butter Chocolate Rice Krispie Treats
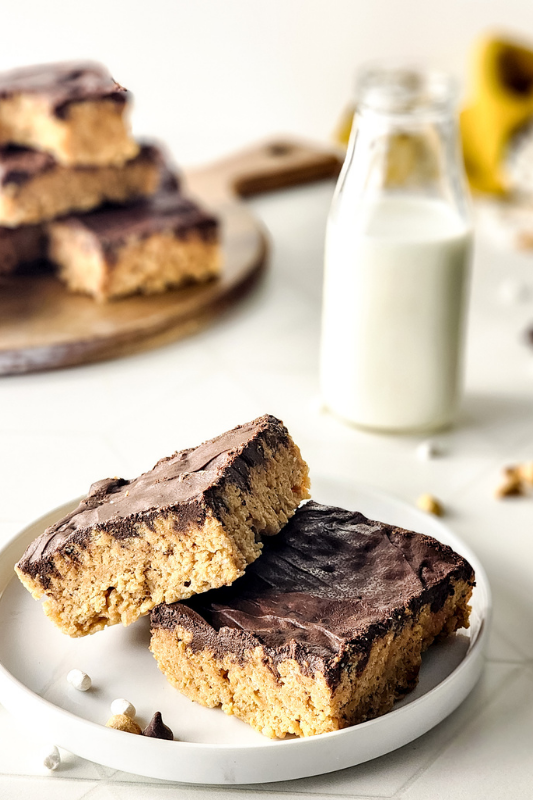
These Peanut Butter Chocolate Rice Krispie Treats are pretty delicious all on their own, but there are a few things that go really nicely with them. They’re quite rich with all that peanut butter and chocolate, so I usually think something simple works best. They’re lovely as an afternoon treat with a cup of coffee, but you could easily dress them up a little if you’re serving them for dessert or making them for a party.
-
A cold glass of milk – You can’t beat milk with peanut butter and chocolate. It’s such a good combination!
-
Coffee or hot chocolate – Perfect for enjoying with a square or two when you fancy a little afternoon treat.
-
Vanilla ice cream – Serve a square with a scoop of vanilla ice cream for a really easy dessert. The creamy ice cream goes so well with the crunchy cereal.
-
Fresh strawberries or raspberries – The freshness of the berries is lovely alongside all that rich chocolate.
-
A dessert platter – Cut the treats into smaller squares and serve them alongside cookies, brownies and fudge. This is a great idea for parties, bake sales or family get-togethers.
Storing
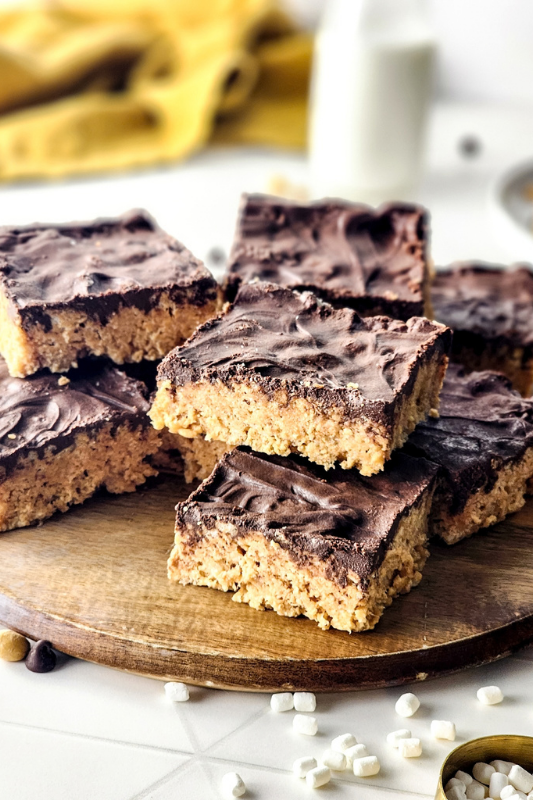
These are great for making ahead, and they keep really well too. Once the chocolate has completely set, cut them into squares and pop them into an airtight container. You can keep them at room temperature for around 2–3 days, as long as your kitchen isn’t too warm. If you’re stacking them, I’d put a little parchment paper between the layers to stop the chocolate from sticking together.
You can also store them in the fridge for up to a week. Just bear in mind that the chocolate and peanut butter mixture will firm up quite a bit when chilled, so I like to take them out of the fridge about 10–15 minutes before eating. This gives them a chance to soften slightly. I wouldn’t leave them uncovered in the fridge as they can dry out, and nobody wants a hard, dry Rice Krispie treat!
Variations & Substitutions
One of the things I love about these Peanut Butter Chocolate Rice Krispie Treats is how easy they are to change up. The peanut butter and chocolate combination is delicious as it is, but you can have a little fun with the toppings or swap a few ingredients depending on what you’ve already got in the cupboard. Here are a few ideas to try.
-
Try a different chocolate – Milk chocolate works really well if you prefer something a little sweeter, or you could use dark chocolate for a richer flavor.
-
Use crunchy peanut butter – I usually prefer creamy peanut butter, but crunchy would add some lovely little bits of peanut throughout the treats.
-
Add some chopped nuts – Sprinkle chopped peanuts or almonds over the melted chocolate before it sets for a little extra crunch.
-
Try white chocolate – Swap the semisweet chocolate chips for white chocolate chips if you fancy something different. It’s quite sweet, but really tasty with peanut butter.
-
Add some mini M&Ms – Scatter a handful over the chocolate topping before popping the treats in the fridge. This is a fun one if you’re making them for kids.
-
Use a different cereal – Cocoa Krispies would be lovely if you want even more chocolate flavor, or try another crispy rice cereal.
-
Add a little sea salt – A light sprinkle of flaky sea salt over the chocolate topping helps balance out the sweetness. I love that sweet and salty combination!
FAQs
Can I make Peanut Butter Chocolate Rice Krispie Treats ahead of time?
Absolutely! These are actually a great treat to make ahead because they need time to set anyway. I like to make them the day before I need them and keep them in an airtight container. Just take them out of the fridge a little while before serving if you prefer them slightly softer.
Why are my Rice Krispie treats hard?
This usually happens if you've heated the marshmallows for too long or pressed the mixture too firmly into the baking dish. Try to melt the marshmallows gently over a low heat and don't squash the cereal mixture down too much. You want everything to hold together without losing that lovely light, crispy texture.
Can I use natural peanut butter in Rice Krispie treats?
You can, but I'd recommend using regular creamy peanut butter for the best results. Natural peanut butter can sometimes separate and make the mixture a little oily. If it's all you've got, give it a really good stir before adding it to the pan.
Do Peanut Butter Chocolate Rice Krispie Treats need to be refrigerated?
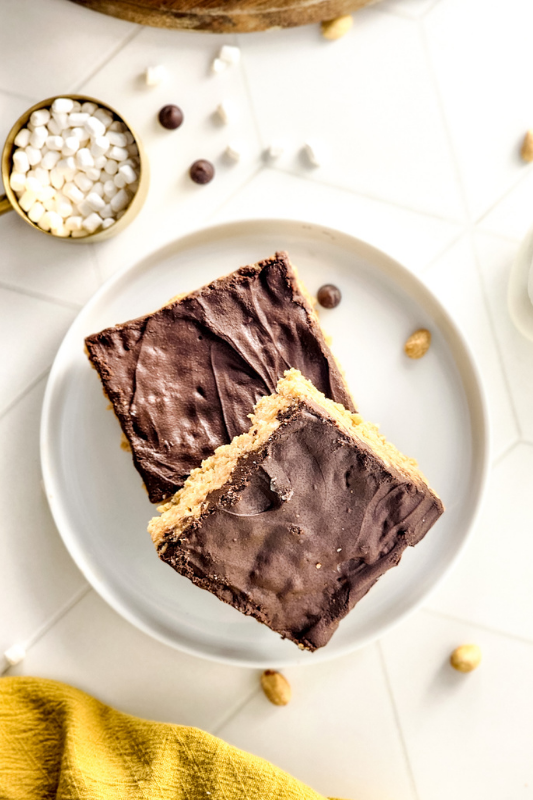
Not necessarily. You can keep them in an airtight container at room temperature for around 2–3 days, provided your kitchen is fairly cool. I prefer keeping them in the fridge when it's warmer, especially because of that lovely thick chocolate topping.
Can I freeze Peanut Butter Chocolate Rice Krispie Treats?
Yes! Once they've completely set, cut them into squares and wrap them individually in plastic wrap. Pop them into a freezer-safe container or bag and freeze for up to 2 months. Let them thaw at room temperature before eating. The cereal might lose a little of its crunch, but they'll still taste good.
Can I use mini marshmallows instead of jumbo marshmallows?
Yes, mini marshmallows work just as well and actually melt a little quicker. Just make sure you use the same weight of marshmallows rather than measuring by the number of marshmallows. For this recipe, you'll need 5 ounces.
How long do chocolate peanut butter Rice Krispie treats take to set?
They usually need around an hour in the fridge, although it might take a little longer depending on how thick your chocolate topping is. I like to wait until the chocolate is completely firm before cutting them into squares, otherwise things can get a bit messy!
Can I make these Rice Krispie treats without peanut butter?
You can leave out the peanut butter, but you'll need to adjust the recipe rather than simply skipping it. The peanut butter is a big part of what holds everything together and gives these treats their lovely flavor. If you don't like peanut butter, I'd recommend using a regular chocolate Rice Krispie treats recipe instead.
How do I stop the chocolate topping from cracking when cutting Rice Krispie treats?
The easiest trick is to let the treats sit at room temperature for about 10–15 minutes after taking them out of the fridge. Use a sharp knife and cut slowly rather than pressing down too hard. You can also warm the knife under hot water and dry it before slicing to help get those lovely neat squares.
Peanut Butter Chocolate Rice Krispie Treats

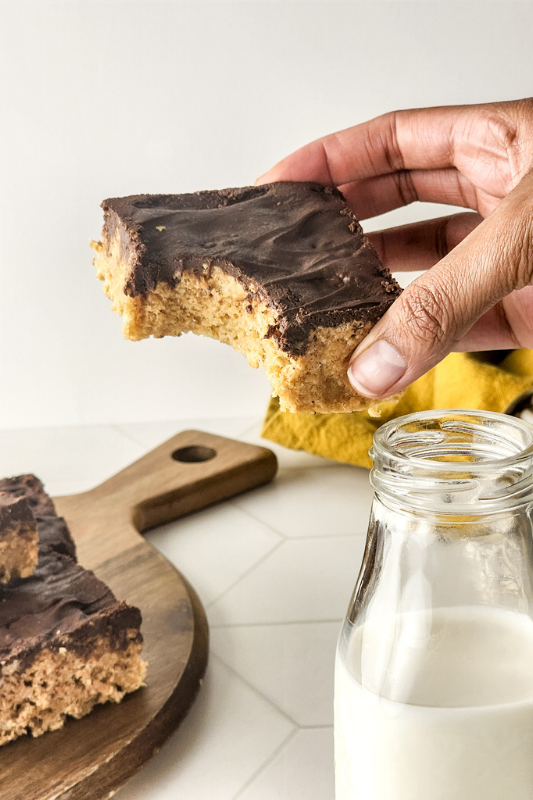
These Peanut Butter Chocolate Rice Krispie Treats are sweet, crunchy, gooey and topped with a lovely thick layer of chocolate. Made with browned butter, creamy peanut butter and melted marshmallows, they're a really easy no-bake treat that everyone will love. Perfect for parties, bake sales or just when you fancy something sweet!
Ingredients
- 5 tablespoons butter, browned
- ½ 10 ounce bag jumbo marshmallows
- 1 cup peanut butter
- ¼ cup sweetened condensed milk
- 6 cups rice crispy cereal
- 1 ½ cups semisweet chocolate chips
- 2 tablespoons vegetable oil
Instructions
1. In a large pot, melt the butter over medium heat until it turns golden brown and gives off a lovely nutty aroma. Keep an eye on it as it can burn quite quickly.
2. Stir in the peanut butter and sweetened condensed milk until everything is smooth and nicely combined.
3. Add the jumbo marshmallows and keep stirring over a low heat until they've completely melted and the mixture is lovely and creamy.
4. Remove the pot from the heat and add the Rice Krispies cereal. Gently fold everything together with a wooden spoon or spatula until all the cereal is coated.
5. Transfer the mixture into a buttered baking dish and gently press it down into an even layer. Try not to press too firmly or the treats can end up quite hard.
6. Place the semisweet chocolate chips and vegetable oil into a microwave-safe bowl. Microwave in 20–30 second intervals, stirring between each one, until the chocolate has melted and is completely smooth.
7. Pour the melted chocolate over the Rice Krispie mixture, spreading it out with the back of a spoon or spatula until the whole surface is covered.
8. Refrigerate for around an hour, or until the chocolate has set and the treats are firm enough to cut.
9. Slice into squares and enjoy! Store the treats in an airtight container, with parchment paper between the layers if you're stacking them.
Notes
- Brown the butter carefully – Keep an eye on it as it can go from golden brown to burnt quite quickly.
- Use creamy peanut butter – Regular creamy peanut butter works best for a lovely smooth mixture.
- Don't overheat the marshmallows – Melt them gently over a low heat to help keep the treats soft and gooey.
- Don't press too firmly – Gently press the cereal mixture into the baking dish so the treats don't end up too hard.
- Melt the chocolate slowly – Microwave in short bursts, stirring between each one to stop it burning.
- Allow time to set – Refrigerate for around an hour, or until the chocolate topping is firm.
- Storing – Keep in an airtight container at room temperature for 2–3 days or in the fridge for up to a week.