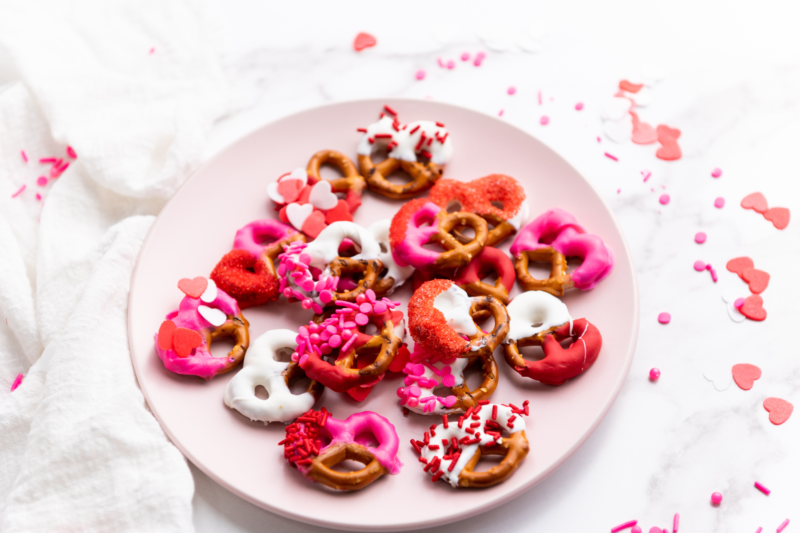
Valentine’s Day Pretzel Treats Made in Minutes
If you’re looking for a Valentine’s treat that’s cute, festive, and honestly couldn’t be easier, these pretzels are it. I love having a quick sweet-and-salty option up my sleeve, especially during busy weeks when school parties, treat bags, and “just one more thing” pop up out of nowhere. These feel special without turning into a whole afternoon project, and that’s always a win in my book.
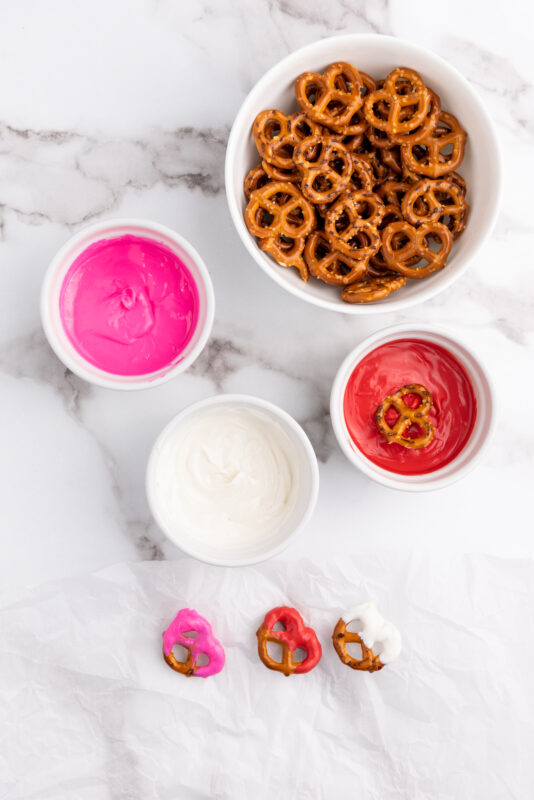
All you really need is a bag of pretzels, some candy melts, and a few fun sprinkles. I usually grab pink, red, and white candy melts from Wilton or Ghirardelli, pop them in microwave-safe bowls, and let the microwave do the hard work. A simple fork or dipping tool works perfectly, and lining a baking sheet with parchment paper makes cleanup basically nonexistent. It’s one of those recipes where everything feels low effort but still looks impressive once it’s done.
These Valentine’s Day pretzels are perfect for packaging up in cellophane bags, adding to a dessert board, or setting out on a party table. They’re also great for getting kids involved without chaos taking over the kitchen. Make them for classmates, friends, or just because you want a little festive snack at home. This is one of those recipes you’ll come back to every February.
If you’re planning a full Valentine spread, these pair so well with other festive ideas. Make sure you take a look at my other Valentine’s Day recipes too:
Why We Love This Recipe
- It’s ridiculously easy. Melt, dip, sprinkle, chill. That’s it. No oven, no stress, and no fancy skills required.
- Sweet and salty is always a win. That crunchy pretzel with the creamy candy coating hits all the right notes.
- Perfect for little helpers. Kids love dipping and decorating, and I love that it keeps them busy and happy.
- Totally customizable. Change up the colors, swap the sprinkles, or drizzle extra chocolate on top. You really can’t mess these up.
- Great for sharing. These make adorable gifts, party treats, or something fun to tuck into lunchboxes.
- They come together fast. Ideal for last-minute Valentine’s plans when you still want something homemade.
- No baking required. Which means less cleanup and more time to enjoy the treats.
Equipment
-
Microwave-safe bowls: You’ll need a few of these to melt the candy melts separately without mixing the colors.
-
Microwave: The real MVP here. It melts the candy quickly and keeps this recipe totally no-bake.
-
Fork or dipping tool: Perfect for dunking the pretzels and letting the extra candy drip off before setting them down.
-
Baking sheet: Gives you plenty of space to lay out the pretzels while they set.
-
Parchment paper: Keeps the candy from sticking and makes cleanup super easy.
-
Spoon or small spatula: Handy for stirring the candy melts until smooth and scraping every last bit out of the bowl.
-
Refrigerator: Helps the candy harden quickly so you’re not waiting around too long to enjoy them.
Ingredients
-
12 oz bag of pretzels: The salty crunch that makes these so addictive and balances out all that sweet candy coating perfectly.
-
3 oz pink candy melts: Adds that classic Valentine’s pop of color and a smooth, creamy coating.
-
3 oz red candy melts: Brings bold Valentine vibes and makes the pretzels extra festive.
-
3 oz white candy melts: Great for mixing things up and giving you a clean base for colorful sprinkles.
-
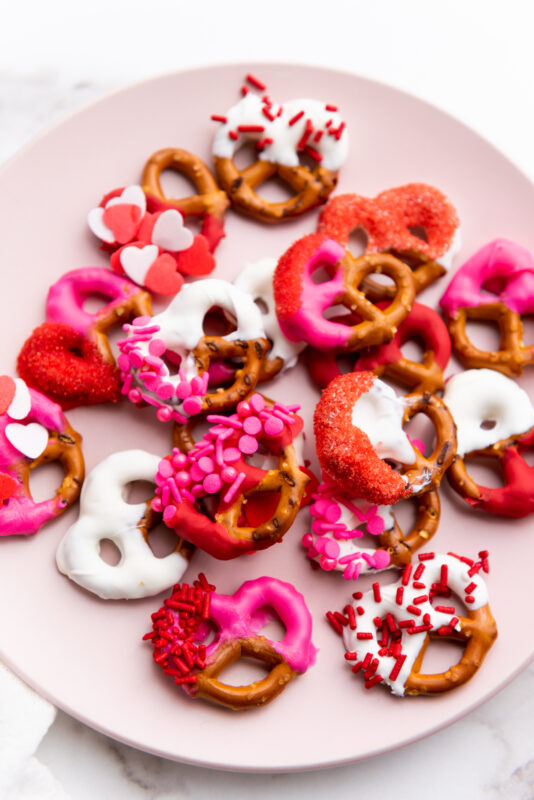
Sprinkles (of your choice): This is where the fun happens, hearts, jimmies, nonpareils, or whatever makes you smile.

Recipe Instructions
You can find a printable recipe card at the bottom of this post.
Step 1: Melt the candy melts in the microwave in 20-second intervals, stirring between each round until completely smooth.
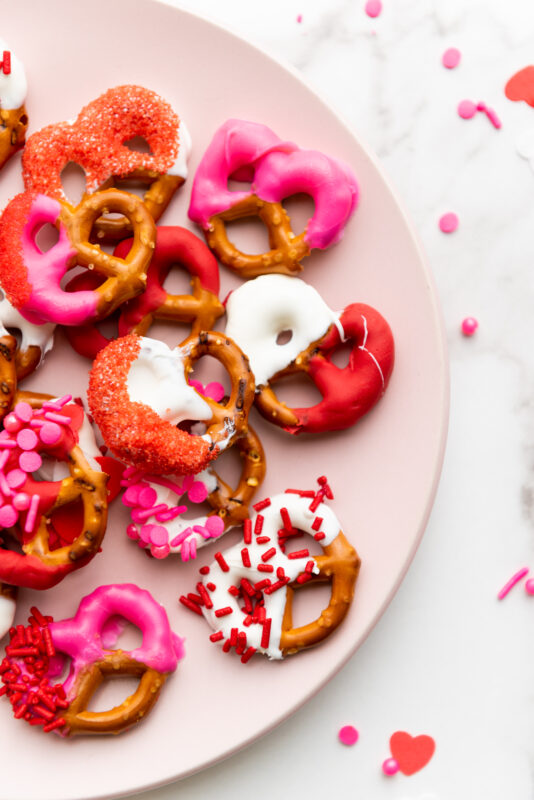
Step 2: Dip each pretzel into the melted candy and add your favorite sprinkles.

Step 3: Place the coated pretzels in the refrigerator for about 30 minutes, or until the candy has fully hardened.
Serving & Storing
-
Serve once they’re fully set. Let the candy harden completely so the coating stays smooth and doesn’t smudge.
-
Perfect for parties and treat bags. Pile them onto a platter, add them to a dessert board, or pop them into cellophane bags with a cute ribbon.
-
Great for make-ahead. You can make these a day or two in advance and they’ll still look and taste great.
-
Store at room temperature. Keep them in an airtight container in a cool, dry spot so the candy coating stays firm.
-
Refrigerate if needed. If your kitchen runs warm, the fridge helps keep the candy from getting soft.
-
Layer with parchment. If stacking, add parchment paper between layers to prevent sticking.
-
Best enjoyed within a week. They’ll last longer, but the crunch and coating are best when they’re fresh.
Variations & Substitutions
-
Switch up the pretzels. Use pretzel rods, mini twists, or waffle pretzels depending on the look you want.
-
Try different candy colors. Swap in pastel melts, milk chocolate, or dark chocolate for a different vibe.
-
Drizzle instead of dip. Lay the pretzels flat and drizzle the melted candy over the top for an easy, mess-free option.
-
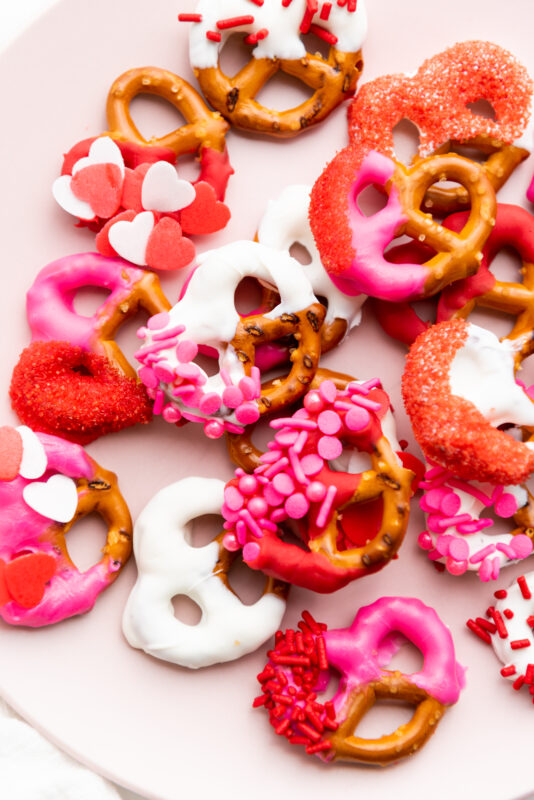
Go sprinkle crazy. Hearts, sanding sugar, nonpareils, crushed candies, or even themed sprinkles all work great.
-
Add a chocolate drizzle. Once the base is set, drizzle another color on top for extra flair.
-
Make them allergy-friendly. Choose gluten-free pretzels or dairy-free candy melts if needed.
-
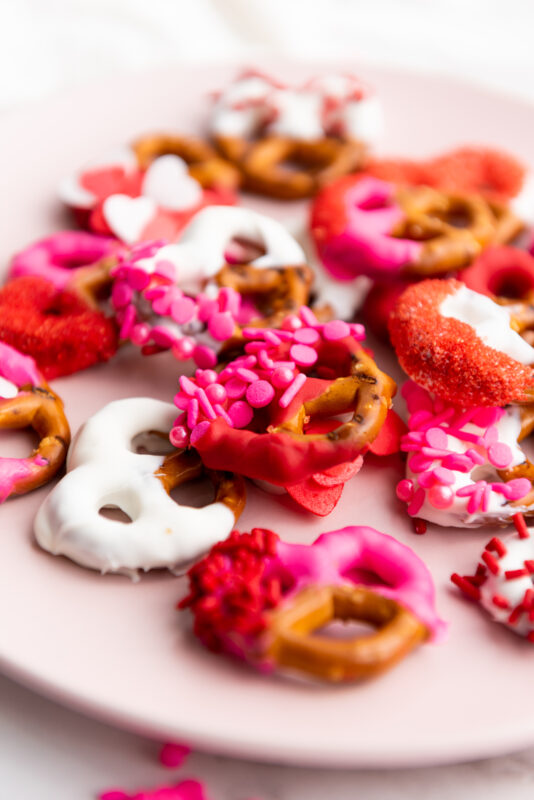
Turn them into gift pretzels. Dip half in one color and half in another for a fun two-tone look.
-
Make them for other holidays. Just change the colors and sprinkles and you’ve got a treat that works year-round.
Little Tricks That Make a Big Difference
-
Melt the candy low and slow. Short microwave bursts with lots of stirring keep the candy smooth and glossy.
-
Use a deep bowl. It makes dipping way easier and gives you better coverage with less mess.
-
Tap off the extra. Gently tap the fork on the edge of the bowl so the coating isn’t too thick.
-
Add sprinkles right away. Don’t wait, the candy sets fast and you want those sprinkles to stick.
-
Line everything with parchment. Trust me, cleanup is so much easier.
-
Work in small batches. Dip a few pretzels at a time so the candy doesn’t start hardening before you’re ready.
-
Let them fully set before stacking. A little patience here keeps them looking pretty and not smudged.

FAQs
Can I make these ahead of time?
Yes, and they’re perfect for it. Make them a day or two in advance and store them in an airtight container until you’re ready to serve.
Do I have to use candy melts?
Candy melts are the easiest option, but you can also use chocolate chips with a little coconut oil or shortening mixed in to help them melt smoothly.
How long do they take to set?
About 30 minutes in the fridge usually does the trick. If your kitchen is cool, they may set at room temperature too.
Why is my candy coating thick or clumpy?
This usually means it overheated. Try melting in shorter bursts and stirring really well between each round.
Can kids help make these?
Absolutely. Sprinkling is kid-approved and dipping is fun too, with a little supervision around the microwave.
How should I store leftovers?
Keep them in an airtight container at room temperature or in the fridge if it’s warm where you are.
Can I freeze these?
I wouldn’t recommend it. Freezing can cause the candy coating to discolor or develop condensation when thawed.

Valentine’s Day Pretzel Treats
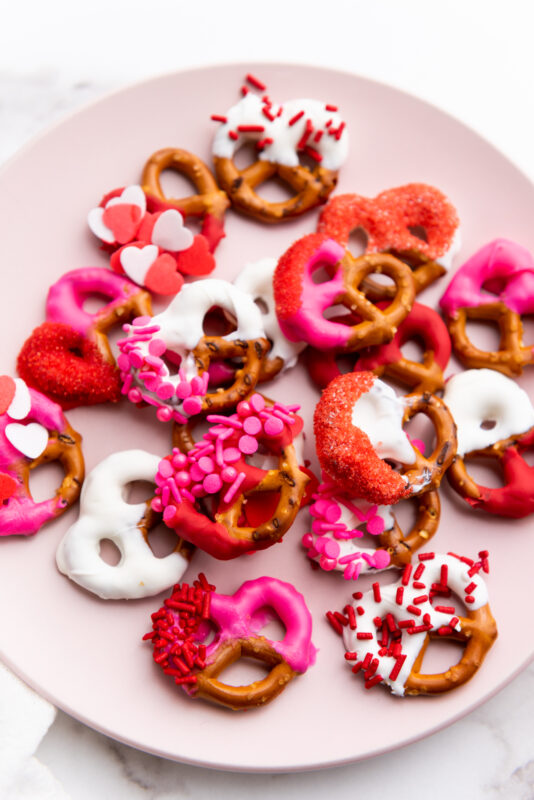
These Valentine’s Day pretzels are an easy no-bake treat made with crunchy pretzels, colorful candy melts, and festive sprinkles. They come together in minutes and are perfect for parties, treat bags, or a sweet homemade Valentine snack.
Ingredients
- 12 oz bag of Pretzels
- 3 oz pink candy melts
- 3 oz red candy melts
- 3 oz white candy melts
- Sprinkles (of your choice)
Instructions
- Melt the candy melts in the microwave in 20-second intervals, stirring between each round until completely smooth.
- Dip each pretzel into the melted candy and add your favorite sprinkles.
- Place the coated pretzels in the refrigerator for about 30 minutes, or until the candy has fully hardened.
Notes
- Melt the candy melts slowly and stir often so they stay smooth and easy to dip.
- If the candy starts to thicken while you’re working, pop it back in the microwave for a few seconds to loosen it up.
- Add sprinkles right after dipping since the coating sets quickly.
- Lining your baking sheet with parchment paper makes cleanup a breeze and keeps the pretzels from sticking.
- Store finished pretzels in a cool, dry place so the candy coating stays firm.
- This recipe is easy to double if you’re making treats for a party, class, or gift bags.
Nutrition Information:
Yield:
12Serving Size:
1Amount Per Serving: Calories: 195Total Fat: 1gSaturated Fat: 0gUnsaturated Fat: 1gSodium: 353mgCarbohydrates: 44gFiber: 1gSugar: 14gProtein: 3g