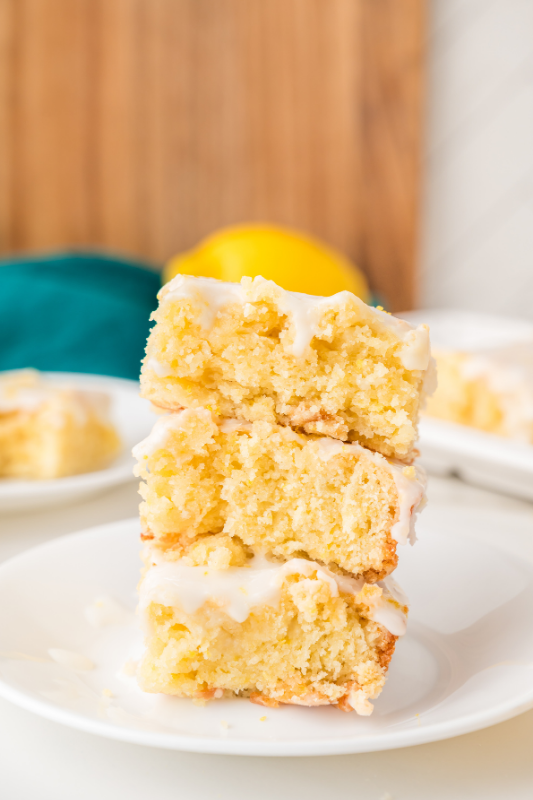
The Best Glazed Lemon Brownies You’ll Ever Make
I always seem to go through phases where I can’t get enough lemon desserts, especially once the weather starts warming up. They just feel so fresh and cheerful compared to heavier desserts, and they’re perfect when you want something sweet that doesn’t feel too rich. These lemon brownies have been a favorite in our house lately because they’re soft, sweet, and packed with bright lemon flavor in every bite.
I also love that this recipe uses simple ingredients I usually already have on hand. Flour, sugar, butter, eggs, and a couple of lemons can turn into a dessert that feels a little special without costing much at all. As a mom of three, I’m always looking for homemade treats that feel fun but still fit into a normal grocery budget, and this one checks both boxes.
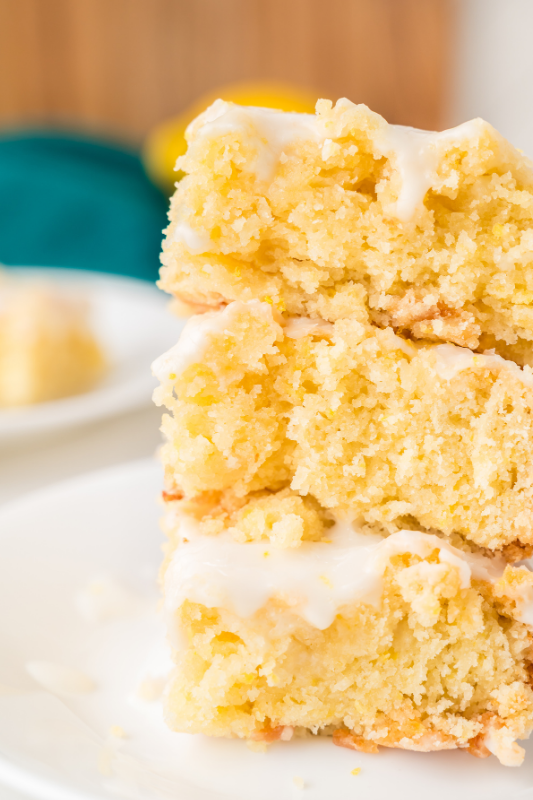
These are great for bake sales, spring gatherings, summer cookouts, or just making on a quiet afternoon when everyone’s craving something sweet. The lemon glaze on top adds just the right amount of tangy sweetness, and they disappear fast every time I make them. If you love easy homemade desserts that feel bright and comforting, you’ll definitely want to save this one.
If you like this recipe then I think you’ll LOVE my Lemon Crumb Bars.
Why We Love This Recipe
- Made with simple pantry staples: Most of these ingredients are things I already have in my kitchen, which means I can whip up a homemade dessert without adding much to my grocery bill.
- Perfect for lemon lovers: They’ve got that bright, fresh lemon flavor that feels lighter than a rich chocolate dessert, especially during spring and summer.
- Easy enough for busy days: The batter comes together quickly in one bowl, so you’re not stuck washing a pile of dishes afterward.
- Great for sharing: These are easy to slice into squares and take to bake sales, potlucks, family get-togethers, or just pass around after dinner.
- Budget-friendly dessert option: A batch makes plenty, and it feels a little special without needing expensive ingredients or fancy decorations.
- That lemon glaze makes them feel extra special: The sweet, tangy icing on top adds so much flavor and makes them look bakery-worthy with very little effort.

Equipment
- Mixing bowl: You’ll need a large bowl to mix everything together, and since this recipe is so simple, one bowl usually does the job.
- Measuring cups and spoons: These help you get the right balance of sweet and tangy flavors without any guesswork.
- Whisk or wooden spoon: A whisk works well for combining the batter smoothly, but I’ve also made these plenty of times with a simple wooden spoon.
- Zester or fine grater: This helps you get fresh lemon zest, which adds so much flavor and makes these brownies taste extra fresh.
- Citrus juicer or your hands: You can absolutely squeeze the lemons by hand, but a small juicer makes it quicker and helps you get every last drop.
- 8×8 baking dish: This size works well for thick, soft lemon brownies that slice nicely into squares.
- Spatula: Handy for spreading the batter evenly in the pan and smoothing the glaze over the top once they’ve cooled.
- Cooling rack: Letting the brownies cool properly helps the glaze set nicely before you slice and serve them.
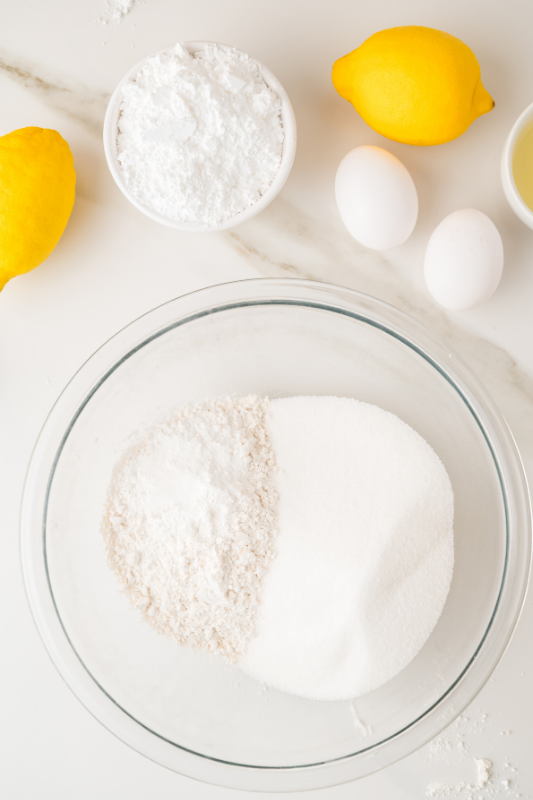
Ingredients
- All-purpose flour: This gives the brownies their soft, sturdy texture and helps them hold together nicely once sliced.
- Granulated sugar: Adds just the right amount of sweetness to balance out the bright lemon flavor.
- Baking powder: Gives the brownies a little lift so they stay soft and tender instead of feeling too dense.
- Salt: Just a small amount helps balance the sweetness and brings out the lemon flavor.
- Unsalted butter, melted and cooled: This adds richness and keeps the brownies soft and moist without needing anything fancy.
- Eggs: These help bind everything together and give the brownies their soft, chewy texture.
- Lemon juice: Fresh lemon juice gives these bars that bright, tangy flavor that makes them so hard to resist.
- Vanilla extract: A little vanilla rounds out the lemon flavor and adds extra sweetness.
- Lemon zest: This adds even more fresh lemon flavor and makes the brownies taste extra bright and homemade.
Icing
- Powdered sugar: This creates a smooth, sweet glaze that sets beautifully on top of the brownies.
- Lemon juice: Mixed with the powdered sugar, it creates that sweet and tangy icing that makes these extra special.
- Lemon zest, for garnish: A sprinkle on top adds a pretty finish and gives each bite even more fresh lemon flavor.

Recipe Instructions
You can find a printable recipe card at the bottom of this post.
Step 1: Start by preheating your oven to 350℉ and greasing your baking dish with butter.
Step 2: Then stir together the flour, sugar, baking powder, and salt, in your bowl.
Step 3: Add in the melted butter, eggs, lemon juice, vanilla, and zest, and stir well.


Step 4: Pour into your baking dish and bake for 40-45 minutes, or until a toothpick comes out clean.


Step 5: Allow the brownies to cool while making your icing.
Step 6: To make the icing, simply stir together the powdered sugar and lemon juice.
Step 7: Once the brownies are cool, spread the icing over the top and sprinkle more lemon zest on top of the icing before slicing and enjoying!


Serving & Storing
- Let them cool completely before slicing: I know it’s tempting to dig in right away, but letting them cool helps the glaze set properly and gives you cleaner slices.
- Serve with coffee or tea: These make such a lovely afternoon treat with a cup of coffee, hot tea, or even iced tea on warmer days.
- Great for sharing: I love bringing these to bake sales, potlucks, baby showers, and family get-togethers because they travel well and always disappear fast.
- Store at room temperature: Keep them in an airtight container on the counter for up to 3 days if your kitchen stays fairly cool.
- Refrigerate for longer freshness: If you want them to last a little longer, store them in the fridge for up to 5 days. Just let them sit out for a few minutes before serving so they soften up a bit.
- Freeze for later: You can freeze the sliced brownies in a freezer-safe container for up to 2 months. I like placing parchment paper between layers so they don’t stick together.

Variations & Substitutions
- Use bottled lemon juice in a pinch: Fresh lemon juice gives the brightest flavor, but bottled works fine if that’s what you already have in the fridge.
- Add white chocolate chips: If your family likes sweeter desserts, a handful of white chocolate chips makes these feel a little more indulgent.
- Try lime instead: Swap the lemon juice and zest for lime if you want a fun citrus twist that’s just as fresh and delicious.
- Make them extra tangy: Add a little extra lemon zest to the batter or glaze if you really love bold lemon flavor.
- Use gluten-free flour: A good 1:1 gluten-free baking flour can work well if you need a gluten-free option for your family.
- Skip the glaze: If you want something a little less sweet, you can leave off the icing and dust the top with powdered sugar instead.
- Add berries on top: Fresh raspberries or blueberries make a pretty topping if you’re serving these for brunches or spring gatherings.

Little Tricks That Make a Big Difference
- Use fresh lemon zest before juicing your lemons: It’s much easier to zest whole lemons first, and you’ll get every bit of that fresh citrus flavor into the batter.
- Don’t overmix the batter: Stir everything until it’s just combined so the brownies stay soft and tender instead of turning out tough.
- Let the melted butter cool slightly: If the butter is too hot, it can start cooking the eggs when you mix everything together. I usually let it sit for a few minutes first.
- Line your baking dish with parchment paper: This makes cleanup easier and helps you lift the brownies out in one piece for cleaner slicing.
- Check them a little early: Every oven runs differently, so I like checking around the 40-minute mark to avoid overbaking.
- Glaze once they’re fully cooled: If the brownies are still warm, the icing can melt right off instead of setting nicely on top.
- Use a sharp knife for clean slices: Wiping the knife between cuts helps keep the squares looking neat, especially if you’re serving them at a party or bake sale.

What to Serve with Lemon Brownies